Ever since I started drinking, I've been collecting beer caps. Partially out of the pack rat mentality, mostly because beer caps are so nifty. A good beer cap is like the art on a record, not the album cover but the center part that's got some indication that this is the record for Blue Oyster Cult and not the one for Ronnie Davis. You can make a statement for your company and something instantly identifiable with just over an inch.
 |
Or say nothing at all
<http://cthreedesigns.bigcartel.com/product/blank-bottle-caps-perfect-for-necklaces-and-hair-bows> |
They're also good reminders of beers gone by. I've got some well liked beers from Pennsylvania (Yuengling), North Carolina (Big Boss, Roth, Lone Rider.... keep em comin!), Maine (The Kennebunkport Brewing Company), Maryland (Terrapin) and the National Beer of Texas (Lone Star). My friends and I actually tried to win land; yes, the beer company was giving away some acreage like some version of the Beer Monopoly game. I know, awesome was the first word in my mind too.
 |
| The Homestead Act had nothing on this |
Of course, even better than reminiscing about old beers is discovering new ones! To feel fancy talking about the brews you've just acquired from your new find down the street/in total wine/at the grocery store you need a minibar to serve them stocked with pint glasses, coasters, and snackage.
 |
Get drunk with class
<http://www.apartmenttherapy.com/cb2-acacia-mini-bar-66246> |
So as part of the greater effort to class up my drinking act as well as showcasing the diversity of beers that have helped along the way, I've refurbished an old cabinet into a beer cap topped mini-bar.
Materials:
bottle caps; lots. I needed 346. (+2 for the knobs) Get drinkin.
clear drying glue
Square ice cube mold (note: not Ice Cube. It'd be pretty fly though)
2, 32oz cans of clear resin
tin foil
thin cardboard
painter's tape
duct tape
container to mix resin
A well ventilated area that you can leave things in undisturbed
A piece that needs a good home or other cabinet that's drink friendly
So after stumbling into Good Will trying to id something that'd fit the above bill, I ran into this little gem just saying "take me home... love me."
 |
| "Loooooove me... please?" |
Tips for looking for a cabinet that could also make a good minibar: make sure there are some shelves that you can place pint glasses as well as your mixers. Since this one doesn't have the whole minifridge going for it, we're going for maximum storage capacity. The one picked up had a two shelf system. Since there are additional wood supports for the top, you can always add hanging storage by screwing in S-hooks
 |
| Thankfully the inside is white because it'd be so hard to see in there otherwise |
Also, the second shelf had a place where the doors (made of the most resilient wood known to man: paneling) could lock closed. Obviously there was a reason that this was only $8.
 |
| Sharp objects and alcohol don't mix |
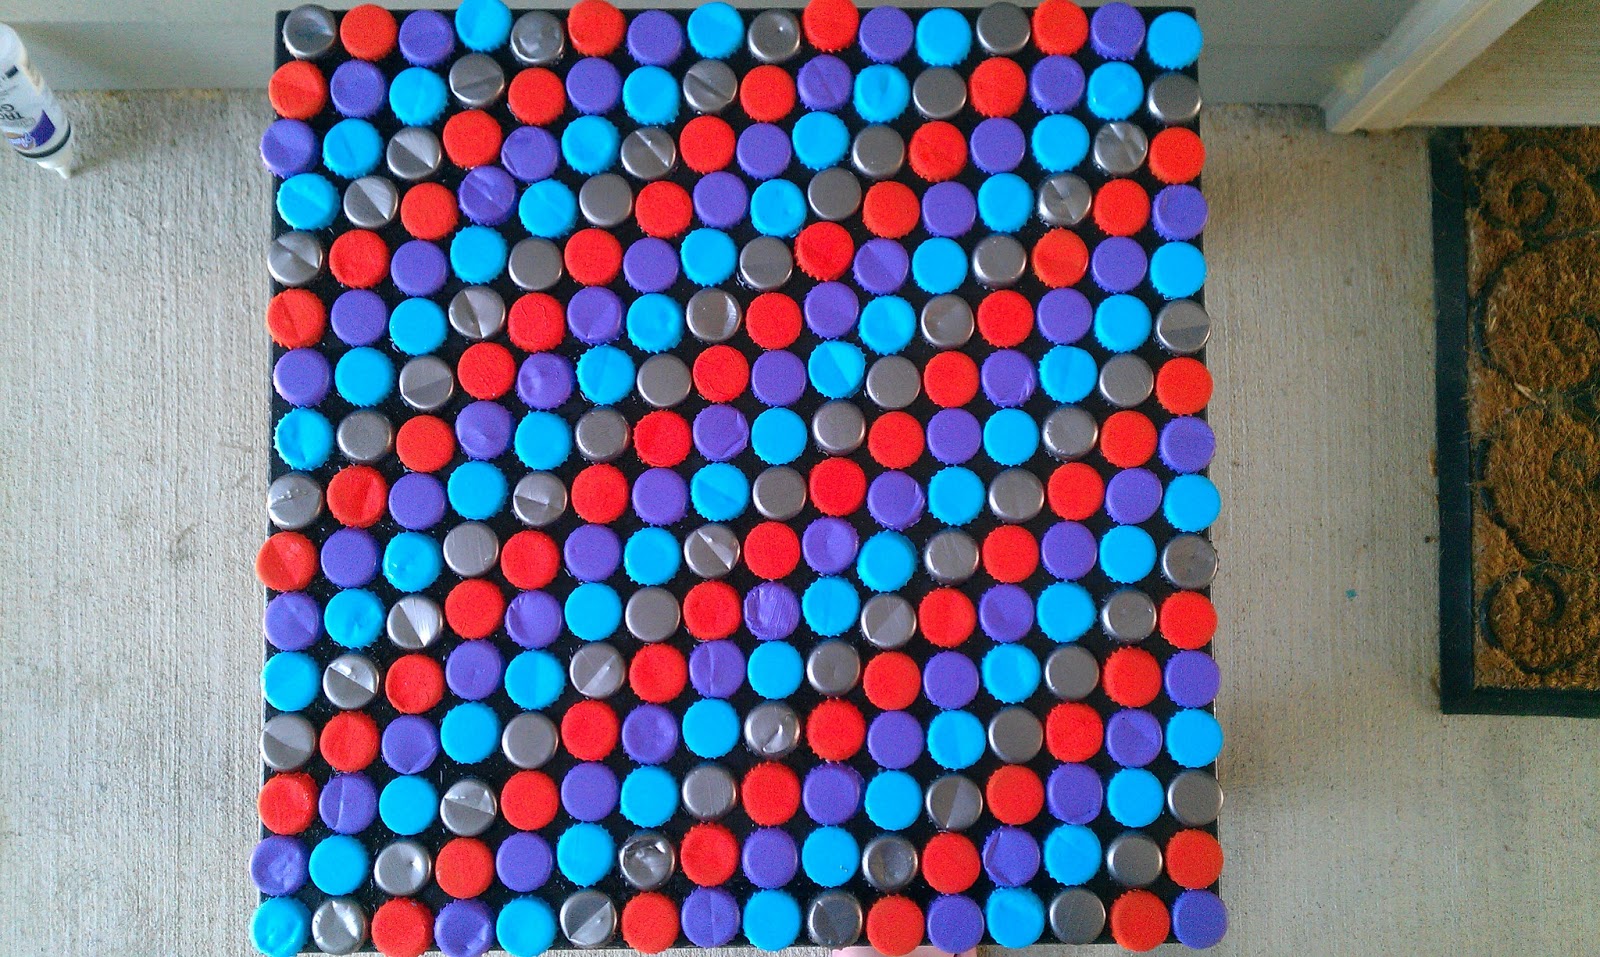
After getting your Good Will, hand-me-down, totally from Home Goods but we can pretend otherwise bar base home, we're going to work on laying down the bottle caps. You can do whatever type of pattern you'd like, you're only limited by your colors and your imagination. Here we're going to do a chevron pattern with a different color "stripe" of each color. The stripe will be 2 bottle caps high so you'll actually get an idea that it's chevron when standing farther away from the bar. Sort your caps into piles based on the colors: silver/gray, blue, green, yellow, red, black, gold, white, and orange/brass/brown/odd. Start at one corner and lay one color. I started with silver because I had a lot of silver.
 |
| Leaving exposed wood is also a creative option. It says I need to drink more diverse beers |
The pattern is go down for 3, bottom point, go up for 3 making a zig-zag of 7 bottlecaps. I tried to pair bottle caps from similar breweries together and scatter the ones I had a lot of along the length of the table. After doing a couple rows of complete rows, take some time to step back and change around the colors if you don't like how it's arranged.
 |
| Here, the silver and the blue are really close in color; swap with the red or the black to get some visual separation |
You will also end up with some incomplete rows where the pattern won't be complete because you run off the edge. These are perfect for the ones you only have a few of. There are so few breweries that use green for their caps; it was a Heineken and Woodchuck party down on the bottom of the table. Also, white came in clutch for filling in some of the holes. If you aren't lucky to have caps like that, I advocate reusing colors, just make sure that when you fill in the pattern, it'll still follow the chevron stripes.
 |
| The hole was for the cap of the beer I was drinking during layout. |
You can glue the caps down with any type of glue that will dry clear. This will keep the caps from shifting during pouring the resin. There is an excellent
beer cap table tutorial over at Instructables that I used for figuring out how to pour the resin. I highly recommend following it for the next couple of steps. Always mix your resin according to the instructions on the label & make sure you're mixing in a clean container
 |
| A justification for my soda habit |
The Instructable says to tape around with the tinfoil. I also highly recommend using some cardboard to add some structure to the outside of the tinfoil, just to keep the resin from flowing down and creating an uneven edge around the top of your table. It's next to impossible to chip away the resin. As my tablecloth can tell you.
 |
| ProTip: lay down a tarp |
Spread the resin across all the bottle caps so it covers all the caps evenly.
 |
| Enjoy this action shot of resin drying |
 |
| Get the corners |
After a week of drying, you can peel off the tin foil. Surprisingly this is a lot easier than expected.
 |
| Reeeeeeveal |
There might be instances where the tin foil gets stuck. Don't worry it's not actually stuck, it just requires a bit more to peel it back. And if there are instances of where the resin went over the painters tape, it's very easy to also pull this off. Finger nails or a trusty xacto knife are clutch in these situations.
 |
| Not nearly as bad as it looks |
There are also techniques for putting the foil up to the edge to get a smooth edge. These can all be used if you know how high you want the edge to be before you pour your resin.
I also did a handle using one of the bottle caps. It looks so... official. The other option I'd go with for doing knobs would be to use the caps from a Steel Reserve. This is your Reserve and hopefully it has $40 worth of stuff in there.
 |
| Here, here. |
Happy drinking!
</sidebar>