It's been awhile since I've crafted something. I was about to say "at all", but really more "original enough to serve in this sidebar". I'm definitely a devotee of Pinterest and of the todo list so I'm terribly into trying to knock out every single one of the things I pin. I think that people fall into 2 categories: those that get the satisfaction from finding the pin, and those that get satisfaction when they've personally done the pin.
 |
No matter what the result. Or lack there of.
<http://www.boredpanda.com/funny-pinterest-fails/> |
I've also been kinda silent on here for awhile because I'm trying to figure out how to make this personal effort look better. Your cell phone + not-editing photos can only take you so far. Like to your personal albums. #vaca4evr
 |
| I heard lens flare is a cool effect. |
Not to say I'm trying to serve up drinks just because I have 2 hands and a keyboard. I've also got a dedicated crafting corner and Kitchen Aid. I'd like to share some unique ideas and give back to the community that's given me so much over the years. I went from feeling like the only one who looks at everything through the eyes of the modifier to discovering that there are people out there that like to take things apart, create new things, and gift kit the shit out of holidays!
 |
If I knew about this years ago, life probably would have gone in a different direction
<http://makezine.com/> |
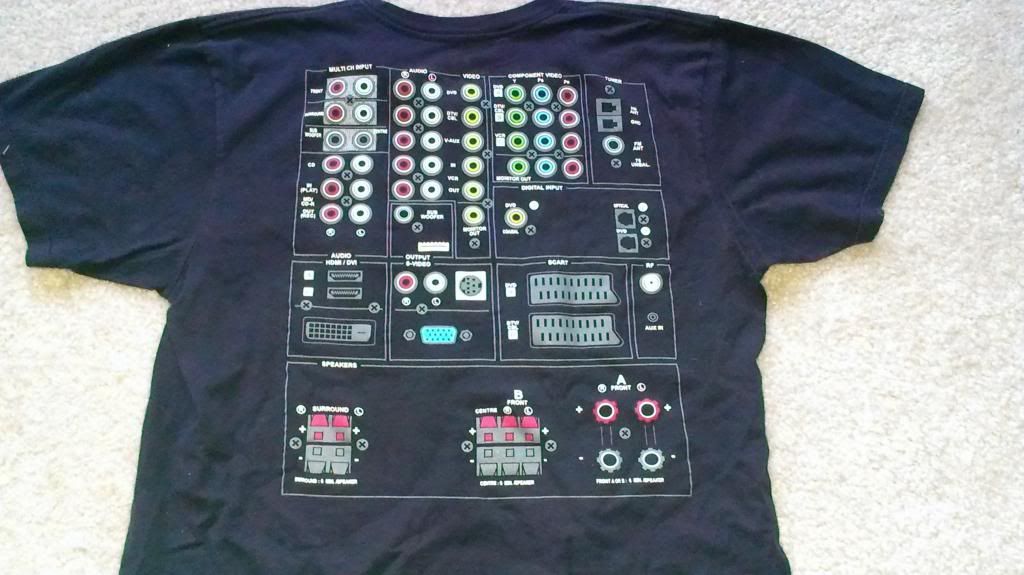
So, after waxing poetic and checking to make sure my Diet Coke didn't also include some rum, I'm back to showing off this nifty tshirt bag. I'm sure you've seen bags made from tshirts, and just about every which way under the sun too. This one had an interesting pattern on the back worth saving, and I squared the bottom to enable easy carrying of square boxes.
Materials:
Old (or new) tshirt
..... and that's about it.
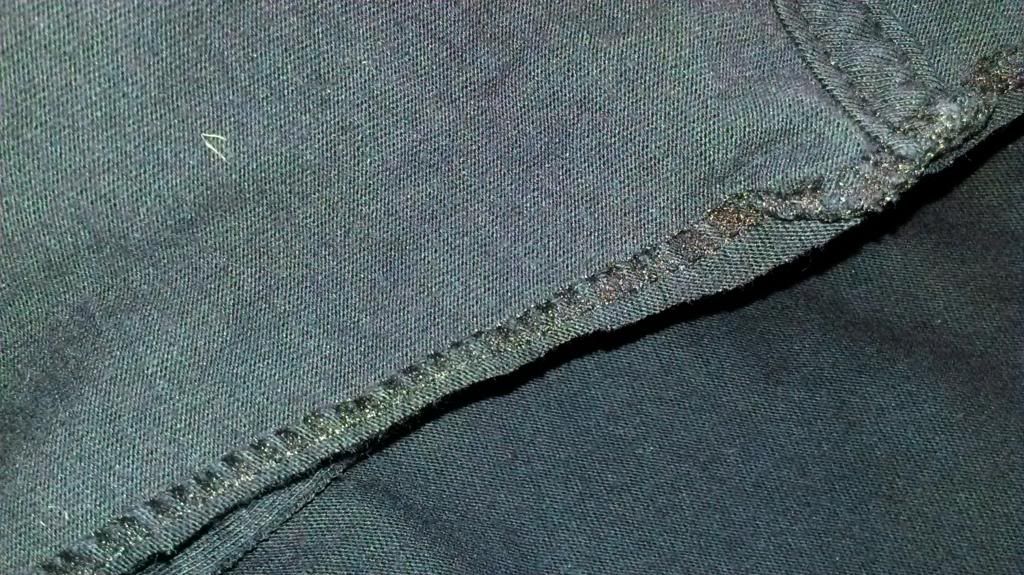
Tshirts are great for modification because if you cut them just right, your seams are taken care of. This prevents unraveling. We're going to turn the sleeve holes into the handles for our bag, so we'll start the cutting journey there. Remove the sleeves avoiding cutting through the seam holding them to the tshirt proper. Leave the seams on the shirt for some extra reinforcement.
 |
| Doesn't have to be perfect, that's why the seam is there |
At the bottom of the shirt cut out a 2"x2" square from each of the sides. This will create a 4" long base giving you a pretty rectangular tshirt bag. I didn't count below the bottom hem in my measurements since we'll be using that as the marker to sew the bottom of the bag.
Flip the shirt inside out and sew he bottom closed. Sew as close as you can get to the hem. Fold the squares along the diagonal so the bottom seam is in the center of the diagonal. Sew straight across the hole. I left about a presser foot distance away from the edge of the fabric. Repeat on the other side.
 |
| & sometimes you still take shitty pictures |
You could stop there, but why not make this a bit fancy? You can highlight the effective bottom of you bag by creating an edge running around the outside of the bag with an extra stitch. You could use matching or contrasting thread to make it a highlight or something that blends in. Make sure the side is flat; iron if necessary.
Keep the stitch about a 1/4" or side of the presser foot away from the edge.
On the top of the shirt, make a small snip 3 inches from the edge of the sleeve holes.
Cut a wide sweeping arc from one snip mark to the other. On the back, make sure you don't cut into the design.
On the front, cut a deeper arc from one snip mark to the other. This can be as deep as you deem necessary; don't go more than about 5-6" down from the "top edge" of the shirt.
Leave the edge raw, and fill up with groceries to make what's currently flagged in your cookbook/Pinterest boards!
</sidebar>