Showing posts with label woodworking. Show all posts

Friday, August 14, 2015

Spa Bench-Style Hall Table

One sign of someone who keeps clean floors in their house is a requirement to take shoes off at the door.  This at least keeps all the mess consolidated to one carefully or piled in one singular spot.  Others don't mind, get giddy when watching floors become clean like vacuum commercials, or have had irreparable damage done by paint when cleaning up the last piece of newspaper used as drop cloth during their first craft project in a brand new apartment.


To help struggling guests with their shoes, I found the incredibly awesome website of the woman-who-pretty-much-makes-my-life-literally-and-figuratively Ana White.  You pick a room/life setting + skill type, and she will have something for you.  Not only that, it'll be incredibly well documented so even if you have no idea what you're doing to start with, you will be able to create a piece of furniture.  I would totally serve up a celebratory round for her any time.
BFF

I built and painted the Spa Bench with well-placed built in shoe storage.
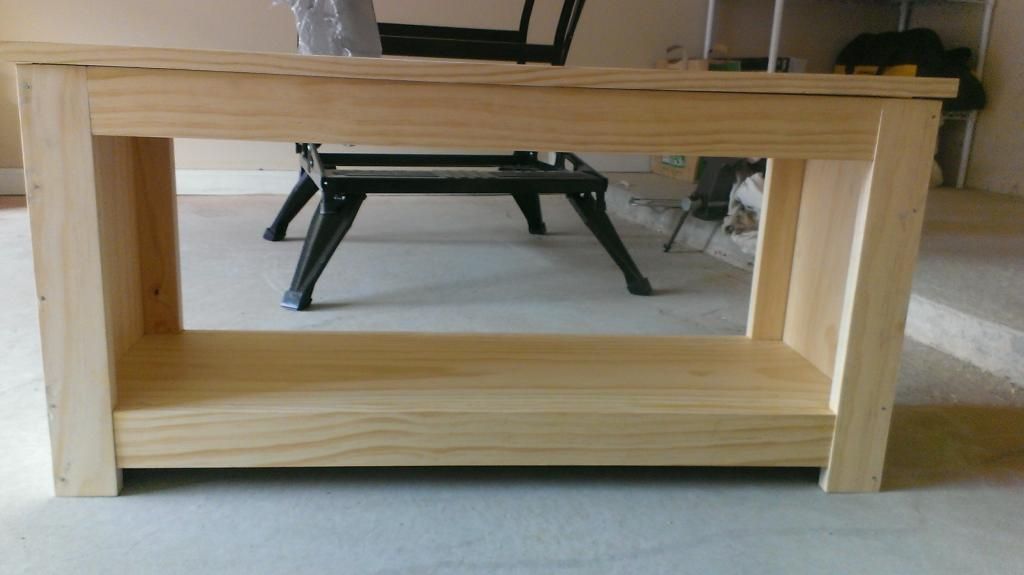
Apparently the bench doesn't actually make it a spa.
Of course, now that visitors have somewhere to put their shoes, they need somewhere to put random other little things.  (Jackets?  psh, way too seasonal.)  Instead, I created this small hall table to complement the bench.  It follows the same design elements of the bench, but was built to try to use up as many pieces of scrap material I have laying around my workshop.  I've also included measurements for those who don't want to try pouring outside the recipe.
<spa hall table>


Materials
3 - 1"x3"x8' boards
2 - 1"x10"x11" boards
1 - 1"x12"x13" board
wood glue
nails - optional.  (since there's not a lot of pressure on the sides, they'll hold on fine with glue)
paint or stain

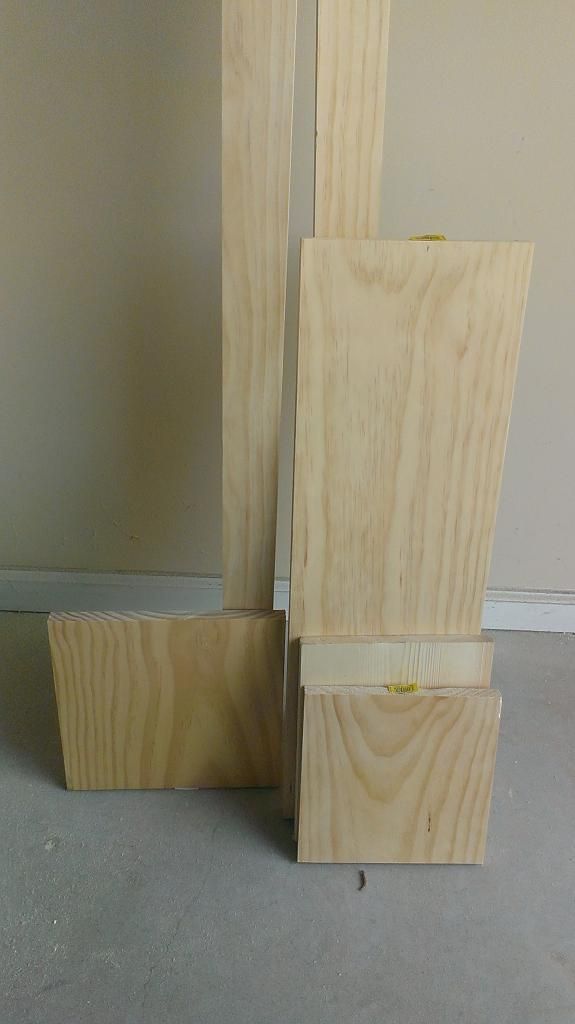
Cut the 1"x10" and the 1"x12" boards down to 2 boards of 9 1/4"x 9 1/4" (shelves) and one board of 11"x11 1/4" (the top).  I used scrap for these pieces as they are often sold in much larger pieces.
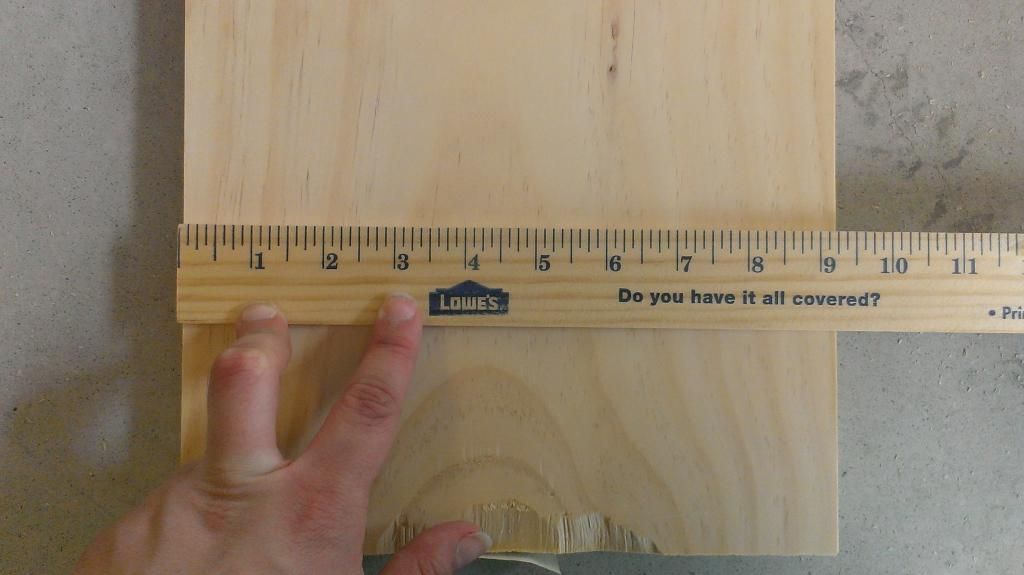
Using dimensional lumber results in this having a sliiiiiiightly rectangular shape which was perfect for the space.  It also fits with the rectangular bench.  If you'd like a true square, adjust your cuts to be the width of the boards, but you'll have to change the cuts of the smaller trim sides.
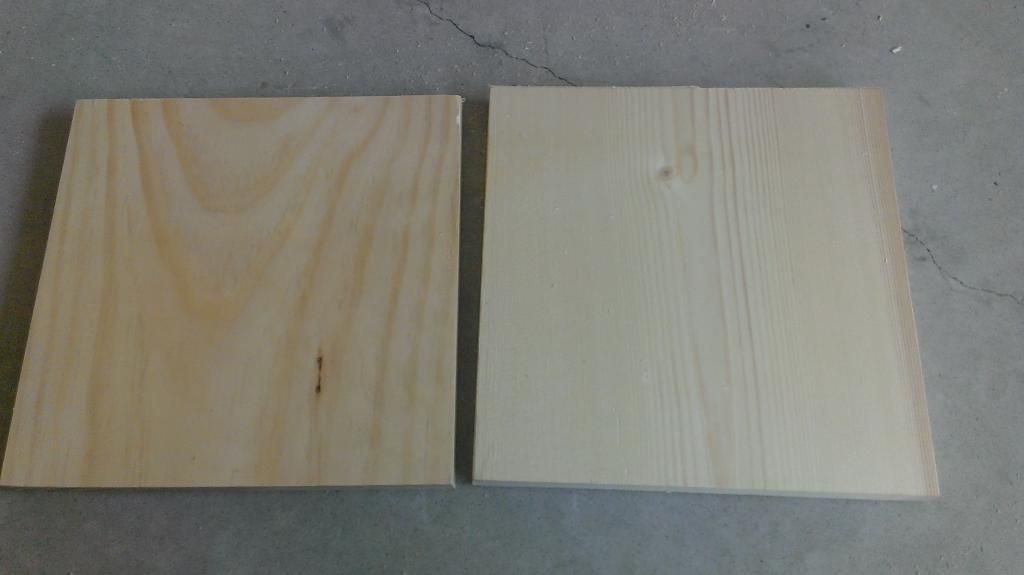
From the 1"x3", cut 8, 30" boards.  These are the legs.  Pair them so you end up with groups

With each group, place the width (~3" side) of one board against the long side face (~1" side) of another making sure to line up the long edges of each together.  Essentially we want to make large "L"s with the legs.  This does mean that one part of the L will be longer than the other; that's perfect.  Glue and let dry.
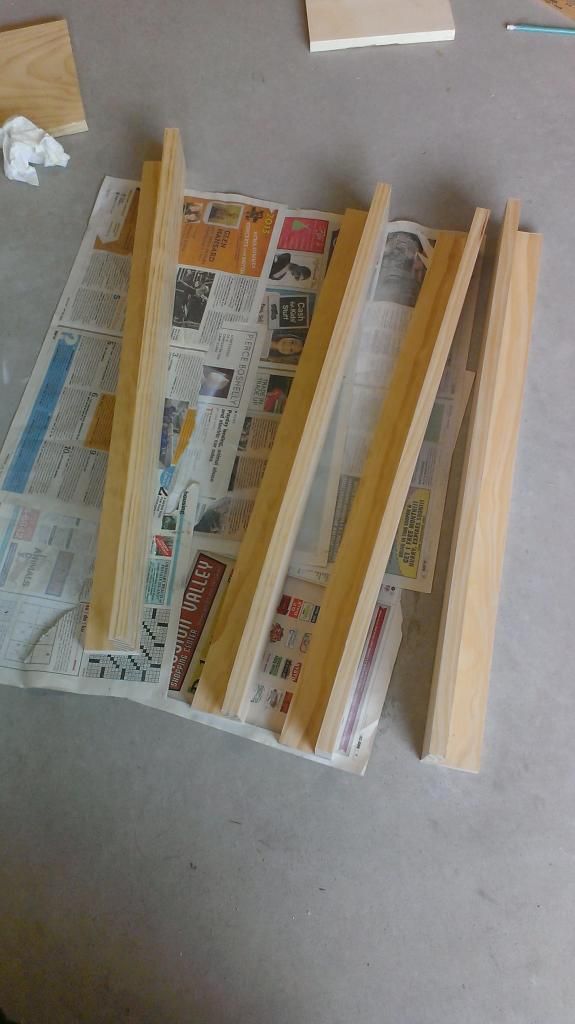

Glue one of the shelves to the very top part of the legs.  Make sure that the long side of the "L"s are on the same side.
This is the long side face
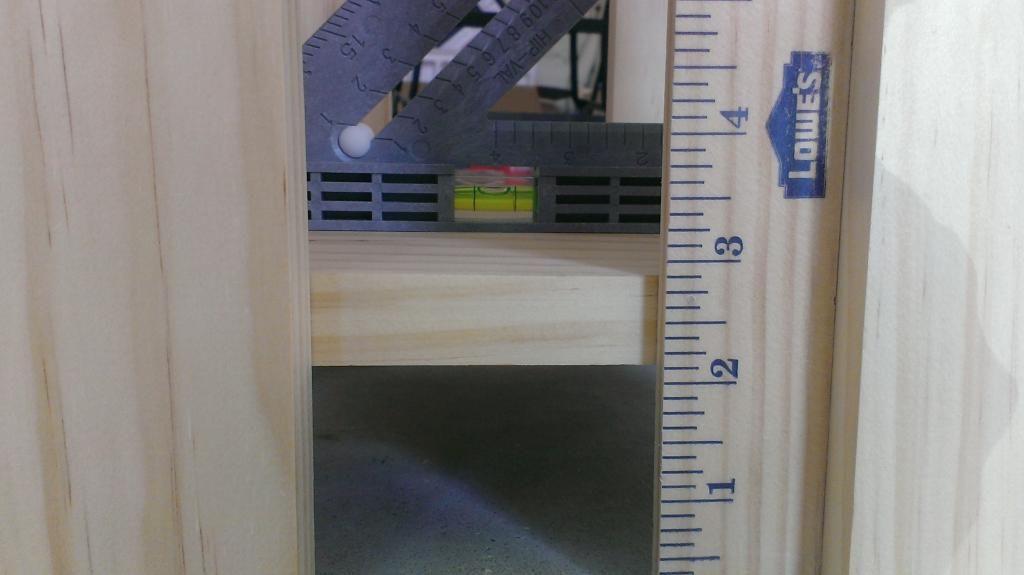
Place the second shelf 3" up from the ground, and make sure this board is level.  Glue and clamp to the legs like the previous step


Now you need to make all the decorative side rails.  Measure each of the gaps between the legs, and cut the remaining 1"x3"x8" to the various widths.  I waited to cut these pieces just so they would fit the most snug and have the fewest lines.
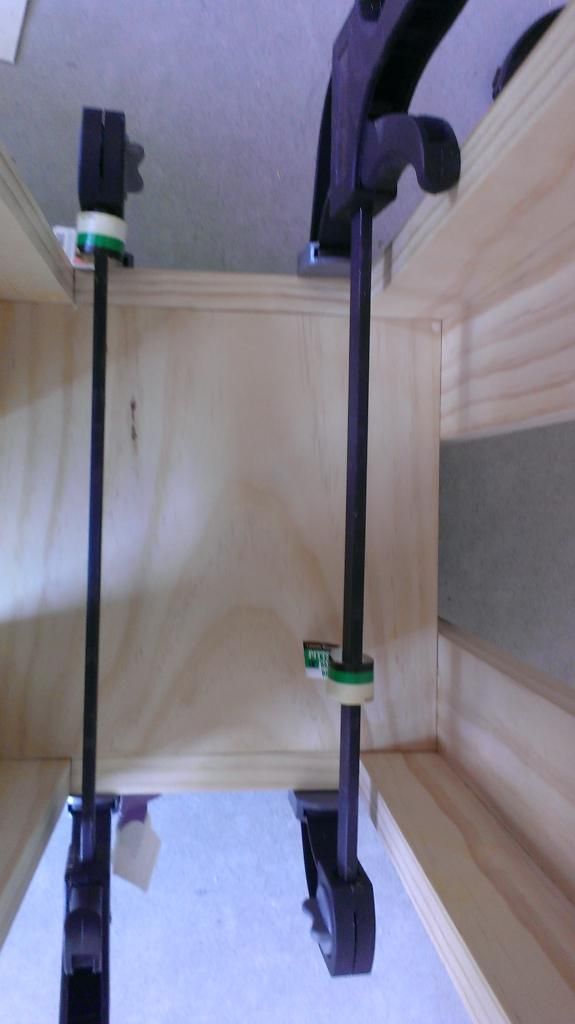


Glue all in place!  Lots of clamping, and lots of glue.  You can see how the sides are laid out a lot clearer here.
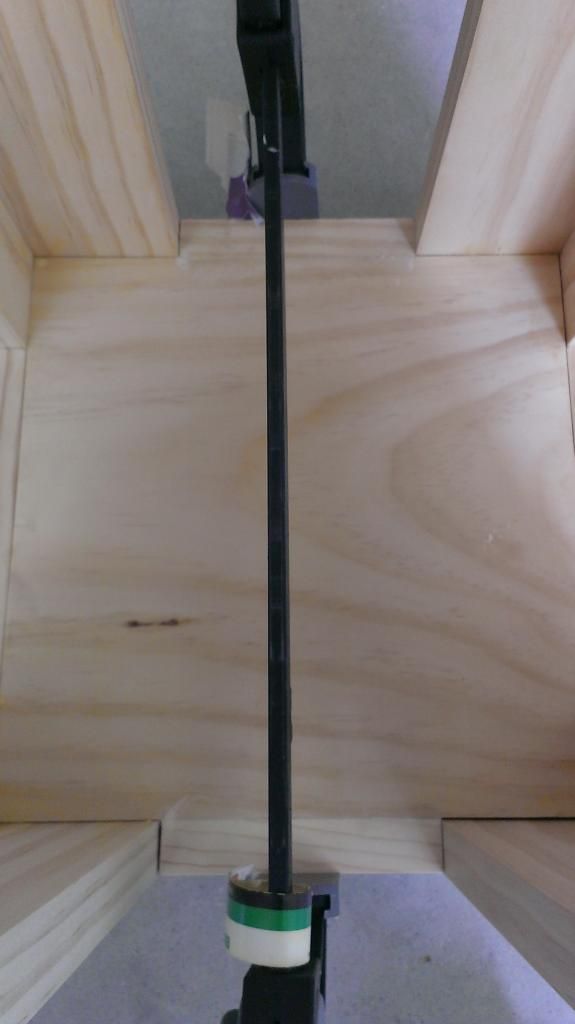
Last piece!  We'll sand/plane the top flat after glue.
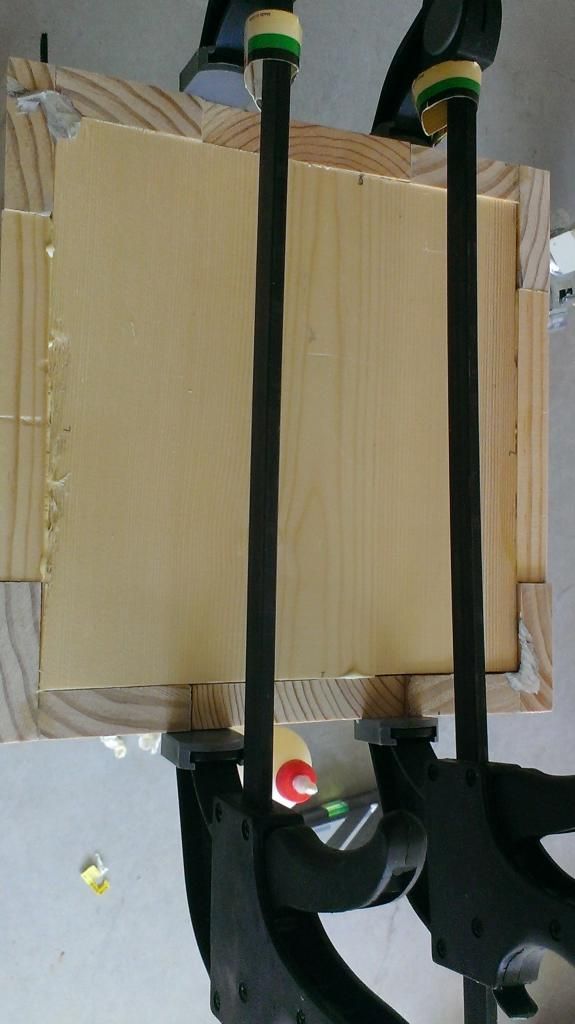
Cover the top (previously shown) with glue and set the top.  Weigh it down while drying for the best set.  I placed some heavy bags.
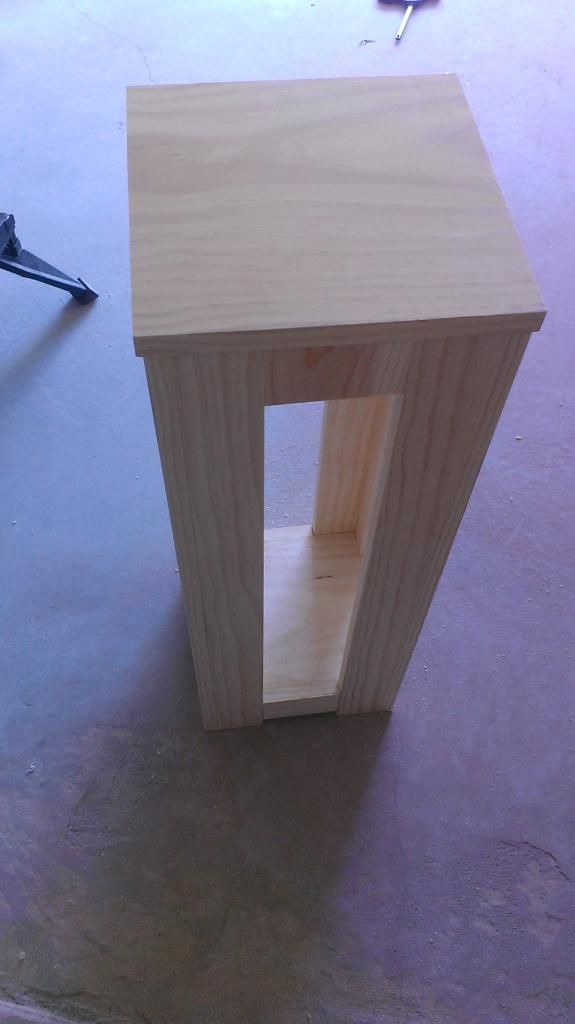

You're done!  Just paint and set free on the world.

</sidebar>

Tuesday, May 13, 2014

Wooden Crate with Lid

Summer is awesome for a wide variety of reasons.  Most of them being picking/snacking on fresh fruits and veggies, drinking a fresh brew on the patio in the evening, and getting back into my shop because it's no longer a health risk to expose bare flesh.  I'm saying summer because we kinda skipped over that whole spring thing and went right from pollen season to heat season.
Weather.com
Summer is also great for all the different outdoor games that have been unlocked with the arrival of outdoor-tolerable temperatures.  I Kickstarted (that has now officially been made a verb) a game last summer which was really interesting, but unfortunately was contained only by the US Postal Service's large standard shipping box.
Picture of Finishing Touches!
Not anymore!
So my first instinct was to build a proper storage crate for the pieces.  I also wanted a lid, so nothing would get on the game pieces when transporting them places.  And bonus!  I could balance things on the lid like snackage when bringing it to people's houses.
Picture of Wooden Crate with Lid
Fits a 8x8 or 9x13 dish on the top!
It's 12x12x7 so it can hold a lot of stuff.  Actually, whatever you can fit into a USPS Flat Rate Large Box as the interior dimensions are just an inch taller. Head on over to Instructables to see the complete build at Wooden Crate with Lid.

</sidebar>