Showing posts with label sewing. Show all posts

Friday, May 16, 2014

Upcyled T-Shirt Tote Bag

It's been awhile since I've crafted something.  I was about to say "at all", but really more "original enough to serve in this sidebar".  I'm definitely a devotee of Pinterest and of the todo list so I'm terribly into trying to knock out every single one of the things I pin.  I think that people fall into 2 categories: those that get the satisfaction from finding the pin, and those that get satisfaction when they've personally done the pin.
No matter what the result.  Or lack there of.
<http://www.boredpanda.com/funny-pinterest-fails/>
I've also been kinda silent on here for awhile because I'm trying to figure out how to make this personal effort look better.  Your cell phone + not-editing photos can only take you so far.  Like to your personal albums.  #vaca4evr
I heard lens flare is a cool effect.
 Not to say I'm trying to serve up drinks just because I have 2 hands and a keyboard.  I've also got a dedicated crafting corner and Kitchen Aid.  I'd like to share some unique ideas and give back to the community that's given me so much over the years.  I went from feeling like the only one who looks at everything through the eyes of the modifier to discovering that there are people out there that like to take things apart, create new things, and gift kit the shit out of holidays!
Tech-savvy DIY Enthusiasts Innovative Projects and Ideas
If I knew about this years ago, life probably would have gone in a different direction
<http://makezine.com/>
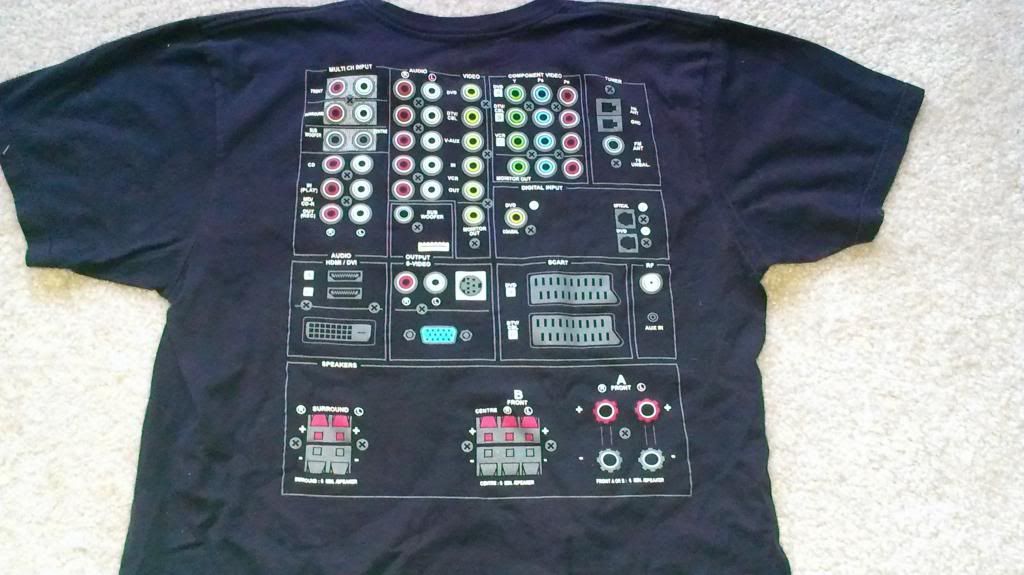
So, after waxing poetic and checking to make sure my Diet Coke didn't also include some rum, I'm back to showing off this nifty tshirt bag.  I'm sure you've seen bags made from tshirts, and just about every which way under the sun too.  This one had an interesting pattern on the back worth saving, and I squared the bottom to enable easy carrying of square boxes.


Materials:
Old (or new) tshirt
..... and that's about it.

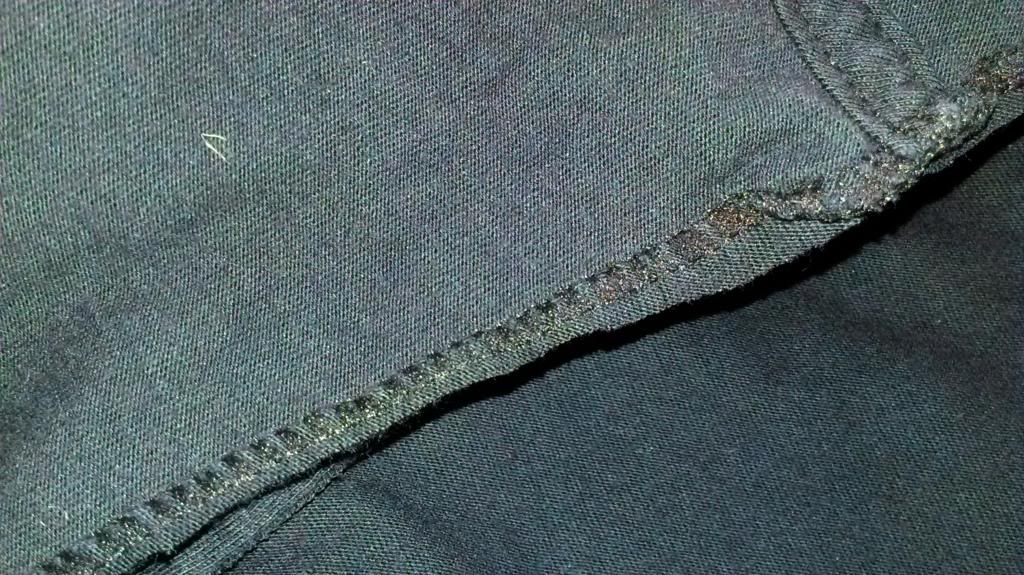
Tshirts are great for modification because if you cut them just right, your seams are taken care of.  This prevents unraveling.  We're going to turn the sleeve holes into the handles for our bag, so we'll start the cutting journey there.  Remove the sleeves avoiding cutting through the seam holding them to the tshirt proper.  Leave the seams on the shirt for some extra reinforcement.
Doesn't have to be perfect, that's why the seam is there
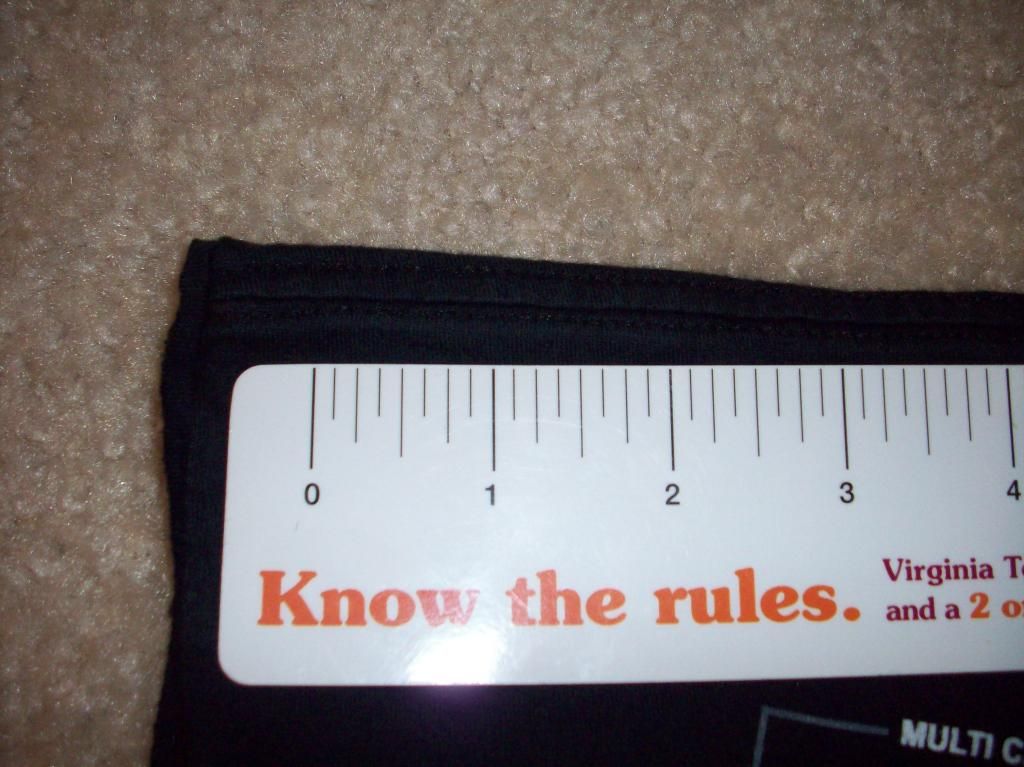
At the bottom of the shirt cut out a 2"x2" square from each of the sides.  This will create a 4" long base giving you a pretty rectangular tshirt bag.  I didn't count below the bottom hem in my measurements since we'll be using that as the marker to sew the bottom of the bag.


Flip the shirt inside out and sew he bottom closed.  Sew as close as you can get to the hem.  Fold the squares along the diagonal so the bottom seam is in the center of the diagonal.  Sew straight across the hole.  I left about a presser foot distance away from the edge of the fabric.  Repeat on the other side.
& sometimes you still take shitty pictures
You could stop there, but why not make this a bit fancy?  You can highlight the effective bottom of you bag by creating an edge running around the outside of the bag with an extra stitch.  You could use matching or contrasting thread to make it a highlight or something that blends in.  Make sure the side is flat; iron if necessary.

Keep the stitch about a 1/4" or side of the presser foot away from the edge.


On the top of the shirt, make a small snip 3 inches from the edge of the sleeve holes.


 Cut a wide sweeping arc from one snip mark to the other.  On the back, make sure you don't cut into the design.

 On the front, cut a deeper arc from one snip mark to the other.  This can be as deep as you deem necessary; don't go more than about 5-6" down from the "top edge" of the shirt.

Leave the edge raw, and fill up with groceries to make what's currently flagged in your cookbook/Pinterest boards!


</sidebar>

Sunday, October 13, 2013

Seatbelt Car Bag

Sometimes there's something that just looks so really cool and obvious that you wish that you had thought of it first.  And when it's using unusual materials it's even cooler.  The idea was a purse, and the material was seat belt webbing.
HOW DID I NOT THINK OF THIS!?!?!  Made in the USA. :)
<http://www.seatbeltbags.com/>

My huge weakness in accessories is handbags.  Or totes, pretty much anything that can be used to carry random things.  Because you should be able to carry a full pharmacy around with you at all times.  You never know when you might need something.  Like emergency cash.  For tipping your bartender!
cash-wad
This is approximately the amount you need.
<http://preppercentral.com/?p=1629>
However, the seat belt purse DIY was always just out of reach as I I'd have to go through the process of ordering the seat belt material.  Laziness or just not wanting the mailman to think that my place is a permanent stop on their route.  The junk yard closed so early that it was hard to go out there and cut them out of cars.  Which is fun, but a bit disruptive.  After a quick trip out to the Scrap Exchange, that all changed: there were seat belts!  I decided to start small with a trash can for my car to get everything sorted out


Materials
Seat belt webbing - 226" long
Basket Protector, Longaberger Small Boardwalk - optional
Stapler w/ staples
Lighter

I made all the measurements around the protector since I wanted a bit of extra support.  The protector is about 6" high and 24" around on the top.


Cut 3 strips to 24".  Seal the edges with the lighter.  Staple, or if you're really good, fuse the edges of the seat belt material together.

There are 2 separate sides: the longer sides which are juuuuust slightly lager than 2 inches wide.  And the wider side is about 4 seat belts straps wide. Cut 2 strips 20" long, 2 strips 16" long, and 1 38" long.

The 4 strips that go along the sides are laid out: 16 - 38 folded in half to form a loop - 16.

Weave the strips into a basket pattern.  Slide 3 bands up the 4 strips.  Staple the ends of the longer bands to the top band around.  This holds the bands in place as you go about weaving the ends.  Make sure that the seams are hidden behind the upright straps when you're weaving.

After you weave in the ends, staple the edges.  You don't have to keep these staples in; after we do this next step, you can pull them out!  Cut the last strip, or take what you have left, 24" and we're going to use this as our top edging.  This will be folded in half and sewn across the top.  You can use a sewing machine or do this by hand.

Start the edge on the inside of the handle.  The overlap will be covered or not seen from the outside of the bag.  Though this is a trash can, we're not going to be going for anything too fancy.  Also, I encountered some.... issues with the sewing machine.  It was a bit thick, so I finished it out by hand.  Meet the edges by the strap.

Add the protector with trashcan.  Place in car and be ready for some happy passengers.  Now they have somewhere to place all the fruit by the foot wrappers for post-car snack happiness

</sidebar>

Friday, December 21, 2012

Gift Kit: Evening at the Home Spa

One of the most fun things about holidays and birthdays is getting to give people gifts.  Granted, you can give gifts anytime, but I get squirmy thinking of just showering my friends with gifts whenever I make things.  So I save my giving till I can get them all together in one place.
And the boxiness really highlights your legs
<http://m.inmagine.com/image-ptg00158663-Woman-buried-under-Christmas-gifts-with-only-legs-visible.-Isolated-on-white-background..html>
This year, I've decided to pull the powers of Pinterest together for a small kit for relaxation in the home.  The goal for Christmas gifts is to also keep the total under $20 per gift.  I think the result ended up being fairly good.

 
Components:
Custom votive
DIY candle
Hand turned wood box
Tea Soak
Scrubbie
Emergency Chocolate
Small tub

In this post, I'll cover what I did for the different elements and share the links to the various men, women, and stars of the interwebs who helped me pull this together.

Custom votive & DIY Soy Candle

I've already done 2 tutorials for getting these votives cleaned out and prepped:
Recycling Glass Votives
Marbled Votives

The next thing I did was make the candle following the directions on the back of the box of soy wax I got from Michaels.  Luckily candle making is more about the hardware than anything else.  For a short tutorial on candle making:

Materials:
soy wax
sent blocks/Yankee candle sent blocks -> chopped up if in blocks
color dye -> chopped up if in blocks
wicks; highly recommend using the wicks with the clips already attached designed for soy.  Makes life so much easier
wick glue/wick glue dots -> yes, it's as awesome as it sounds

Glue the wick to the bottom of the votive.  Use the Melt the soy wax in a double broiler until the temperature reaches 170 degrees.  After reaching that add the color and the scent blocks and stir in.  Surprisingly the Yankee candle blocks work well if they're crumbled up, and they're a) much cheaper and b) much more diverse than the "specialty blocks" they sell at Michaels.  Or at least my Michaels which seems to restock once in a blue moon which is probably when everyone besides me visits a craft store.  The hardest part seems to be the ability to grab the pot to pour the wax into the votive.  But you can do it!  Let it cool then clip the wick.

You can substitute 2 candles for the tea soak in box & it'd work just as nicely.  I used recycled Glade votives for the candles.

Hand-turned Wood Box with Tea Soak

I've recently discovered turning wooden boxes on the lathe and it's awesome (thank you Tech Shop!) The class is taught by the Weekend Turner.  The complete directions are over on his blog: pop fit boxes.  Seriously, they're the easiest thing to make after getting over the whole "omgtherearen'ttwopointsonthewood" part.
Pop!

So you're probably asking how I'm serving up this drink to ya after talking about reducing costs.  Well folks, not going to lie, sometimes you got to pay extra for the Bull Rush instead of just getting a vodka and lime.  My love goes out to all the bar tenders who treat vodka and lime as a glass of vodka with a slice of lime on the side..  I love making things by hand, so the personalization was worth it.  Plus it means that I can keep making copies of the same thing so I can crank out duplicates if there arises a time where I'll need an extra set of them.
Mass production
So after turning, I stained them with Ipswich Pine and coated with food-safe wax.  I know a little goes a long way, but it's really important to make sure it is because you're putting things that will hit a body in here.  Just extra safe peoples.  Filled them with some oatmeal tea soak.
Ahhhh
Now you're ready to draw some water.  And that leads to needing...

Scrubbie

So as my fuddled interwebs searches would indicate I really don't know too much about what actually happens at a spa.  I assume there's relaxation and no work but those things are mythical.  Luckily Beverly over at Flamingo Toes has a better idea of what a day at the spa is.  I used her idea of a tea soak and a scrubbie to add some swag to the kit. Spa Scribbie and Tea Soak
Shimmy shimmy coco bop
I pretty much followed her pattern for shapes, but I decided to use 2 layers of terricloth instead of cotton.  Because it works.
Yep!
They look good!
You know, after you trim the edges

Emergency Chocolate

There are 3 things that you need in every crisis: duct tape, medical tape, and chocolate.  Everything else can be derived.  For relaxation, chocolate is key.  Include some sort of chocolatey indulgence as the cherry on top.  Chocolate covered cherries are optional
Went all the way to Denmark to fix this emergency.

Small Tub

Target has me coming back for one thing: the dollar bin.  I don't know how many dollars it's got from me with that siren song of a price.  It knows I'll keep coming back.  And that I'll text my mom about my find.  It's better than Goodwill for those smaller items; I know, a big claim.  So when this showed up, I knew I had a winner on my hands.
It just speaks: "Should have stockpiled me...."
 One thing crafters and hoarders have in common is the ability to see things and think that they can use it at a later date.  I used to raid the clearance isle at JoAnn Fabrics near my house for cheap notions that I could use to decorate my knitted bags.  I have a stash of addons that makes Michaels reroute to me.  So I went digging through and found some premade pins to attach to the tubs.
Probably the easiest thing to make in this guide.
If you are not packing the stash, I suggest checking out Target, Kohls, or Walmart for discount broaches.  I don't know who's actually wearing them, so that might be how they're in clearance.
The same for the earrings.  They must complement big heads

Hold up, you may be thinking.  Didn't you JUST go on about how much greater it is to have homemade things?  Don't think you're getting out of that one.  To this: sure you can knit up a swatch, felt it, and sew your own flower to attach.  I'll admit I'm trying to craft stash burn.  I recently overflowed into a 3rd milk crate so raw materials must go down dear patrons.  & yes, I do have flower pin kits.
Happy now?

  Putting it all Together & Final Product

Last but not least you've got to put it together!  If you have extra stuff that you bought for your spa kit, you can slip it down in the tub.  One nice thing is that this tub can hold a lot.
On a mini boat
Time to wrap and give.
How appropriate
</sidebar>