Friday, November 18, 2016

All Things Open 2016: Additional Jenkins Comments (Part 1)

At the end of October, I gave a talk about my day job at a little conference called All Things Open. I LOVE sharing what I do, especially since I can now.  Not like I ever couldn't in the 3 letter agency way of "I work with computers". The 3 letter company I previously worked for was commercial. Not everyone gets excited about autoconfiguring rack architecture. Except maybe the Open Stack people.

Jenkins, the open source automation application, is amazing. The community is incredibly active, and it seems as if I'm constantly learning some new plugin or trick to make my pipelines go. Because the best thoughts/suggestions/witty retorts are always the ones you have while you're attending the next session in the conference, I wanted to share some of them with whoever happens to come across this space. Because I have several thoughts, I'm spreading out the love over a few posts.

First things first: repo + slides are available up on GitHub. That app is so basic... It also made me realize the Javascript/Node world is pretty much Professor Farnsworth's nanobot world. 99% guarantee it's using the embers of the old hotness.

The sample project is great for demonstrating the function of MultiBranch Pipeline, the final form of pipeline management. Sidebar: The ultimate form, automated management of an entire organization of multibranch pipelines, can only be reached by GitHub Organizations and BitBucket Teams. If you're starting from "I just want to lay down some test groovy", start with the "Pipeline" job.  A field of possibilities awaits you there


There are effectively no limits to what you can do with your Pipeline jobs. In my personal development, I use the inline script to test out ideas and quickly get going. I'll use the "from a file in your repository" option as my more permanent pipeline. I like versioning my pipeline, and have it update right after I push new code without having the extra step of logging into Jenkins to update the job.
From this...

...to this


Working on SCM managed code is, I would argue, necessary when there are many people going in and out of a common job. In release, we not only develop Jenkins but we're heavy users too. We've been using pipelines since they came to be, and we manage the various scripts through essentially a library. The pipeline jobs in Jenkins look similar, just they use a different "flow" for actions.  This gives us all a chance to see exactly what's happening in each of our flows, do code reviews, handle versioning, backup for all the things, preventing wild wild west job modification, and pretty much any other benefits from using scm.

Some repos require digging through the layers of Troy: different mix of pipeline abilities in older scripts. We're already starting to convert to using Jenkinsfiles for running our jobs, translating the extremely common, yet subtlety customized, code flow into individual repos. This also keeps the associated helper scripts and additional tweaks with the job. The common scripts are now put in a library accessible from the individual jobs.

Of course, not everyone wants or should know the details of what happens in your jobs. That's probably the main driving force for the question above In that case, then this works too.  The peeps with teh powa admins can control whatever they need to in their repository, and jobs can chug along without others having to see how the sausage (or more appropriately for the Sidebar: beer) gets made.  Sidebar: beer pairs well with pipelines.

This longer ramble answers one question that came up during the Q&A: can I set up one repo with a common build script and use it with a combination of helper scripts to manage several different similar tasks. Yes, yes you can. We're doing it today. There are a few suggestions I'd like to make if you go that route, especially since there are so many features that didn't exist before:

  • You potentially lose the benefits of managing that common job within your scm. Changes must be applied within Jenkins itself to all your jobs. And that's a pain. </understatement>
  • CloudBees offers a Templates Plugin that really solves this problem. Check within your company to see if you have a CloudBees subscription as that will really shorten your configuration time.
  • You could possibly get around your helper script by using variables that just tell your main job which helper script to load. Make sure you have good security set up before going down this route.
I'll be experimenting with some more of these suggestions as part of just further Jenkins discovery, and will share what I find! Feel free to ask questions, and share how you've used Jenkins pipeline. I'll do some other posts with additional thoughts and reflections so stay tuned.

</sidebar>

<sidebar>
I'm trying to consciously only add 1 space between typed sentences because along that front the Manual of Style put up another "W" for Chicago (no pressure Bears). It's so hard after living double spaced 4-lyfe. I think it looks cramped as if everything is one run on sentence in a poem that never found its way. But hey, the people who get passionate about typography say 1 space. However, you'll pry semicolons out of my cold, dead hands.
</sidebar>


Friday, October 7, 2016

Converting from HudsonTestCase to JenkinsRule

<speedrack alt_text="Getting your plugins up to speed">
</speedrack>

Let's be real: testing is usually not the first thing on software developer's minds when creating a new system. I may or may not have been involved in a project or 2 like that in my day.  And the "test driven development" that we tried to learn in the early days of programming didn't really prove much other than driving home certain coding styles.  Curse you WebCat.... Not putting in a good word for your fellow felines.

However; as we get older, we learn from our mistakes.  Namely the ones found in debugging.  If you're reading this, you've already gotten to the wiser part, and jumped headfirst/feetfirst/behindfirst/bellyfloped into Jenkins, throwing some abandon in when taking up custom plugin development.  You've also decided to go feet first since you're looking to test what you use for tests.  Bonus points for keeping your plugin up to date.  The way not to let the defect tide crash over your head is to get that core version up.  My fellow crew, change your dependency to the plugin parent pom, and get ready for overall plugin improvements.

The tide of progress hides some interesting sandbars, and the first one you hit while paddling out of the shallows is Junit4.  While I'm about ready to keep rolling in the deep with this ocean metaphor, I'm going to stay on shore and just let the cruse control of the new @Rule handle things for me.

Hot: JenkinsRule
Not: HudsonTestCase

Using the amazing powers of JenkinsRule, we are able to replace a lot of things one to one.  I've included a good list of changes in the following gist.  Check out the official Jenkins docs for extra unit test tips and tricks.

Along those lines, I found a few other snags that might need some extra explaining.  Since the tests aren't a subclass of HudsonTestCase, you won't have the benefits of being a RootAction.  But it's not an issue since JenkinsRule throws in this functionality too.  Simply create a subclass of JenkinsRule, and customize away.  Don't forget to move your resource into a subfolder for your custom JenkinsRule; check out this.  Ex: /test/resources/com/example/UnitTest/hello.jelly -> /test/resources/com/example/UnitTest/CustomRule/hello.jelly

So while we definitely are out there running tests, acting all carefree, looking at the green checkmarks in GitHub, there's one last struggle you might hit in your tests: using a security realm.  MockAuthorizationStrategy combined with setting JenkinsRule.jenkins.setAuthorizationStrategy(), you can easily throw together a whole system of permission for users.  One of the best examples of this is cloudbees-folder-plugin/FolderTest.

Hopefully this helps with potential snags that you might run into when writing tests for your test framework.  See you on the friendly IRC/Google Groups/GitHub PRs!

</sidebar>

Friday, June 17, 2016

Cherries & Cheerwine - Three Ways

<speedrack alt_text="Cherries + Cheerwine = endless deliciousness">

</speedrack>

Cherry season seems to blow by.  One minute they appear in the front of the grocery store ripe and busting with possibility.  The next, they've been replaced by grapes.  Grapes.  They're good and all, but not cherries.
The cherry baking struggle is real.
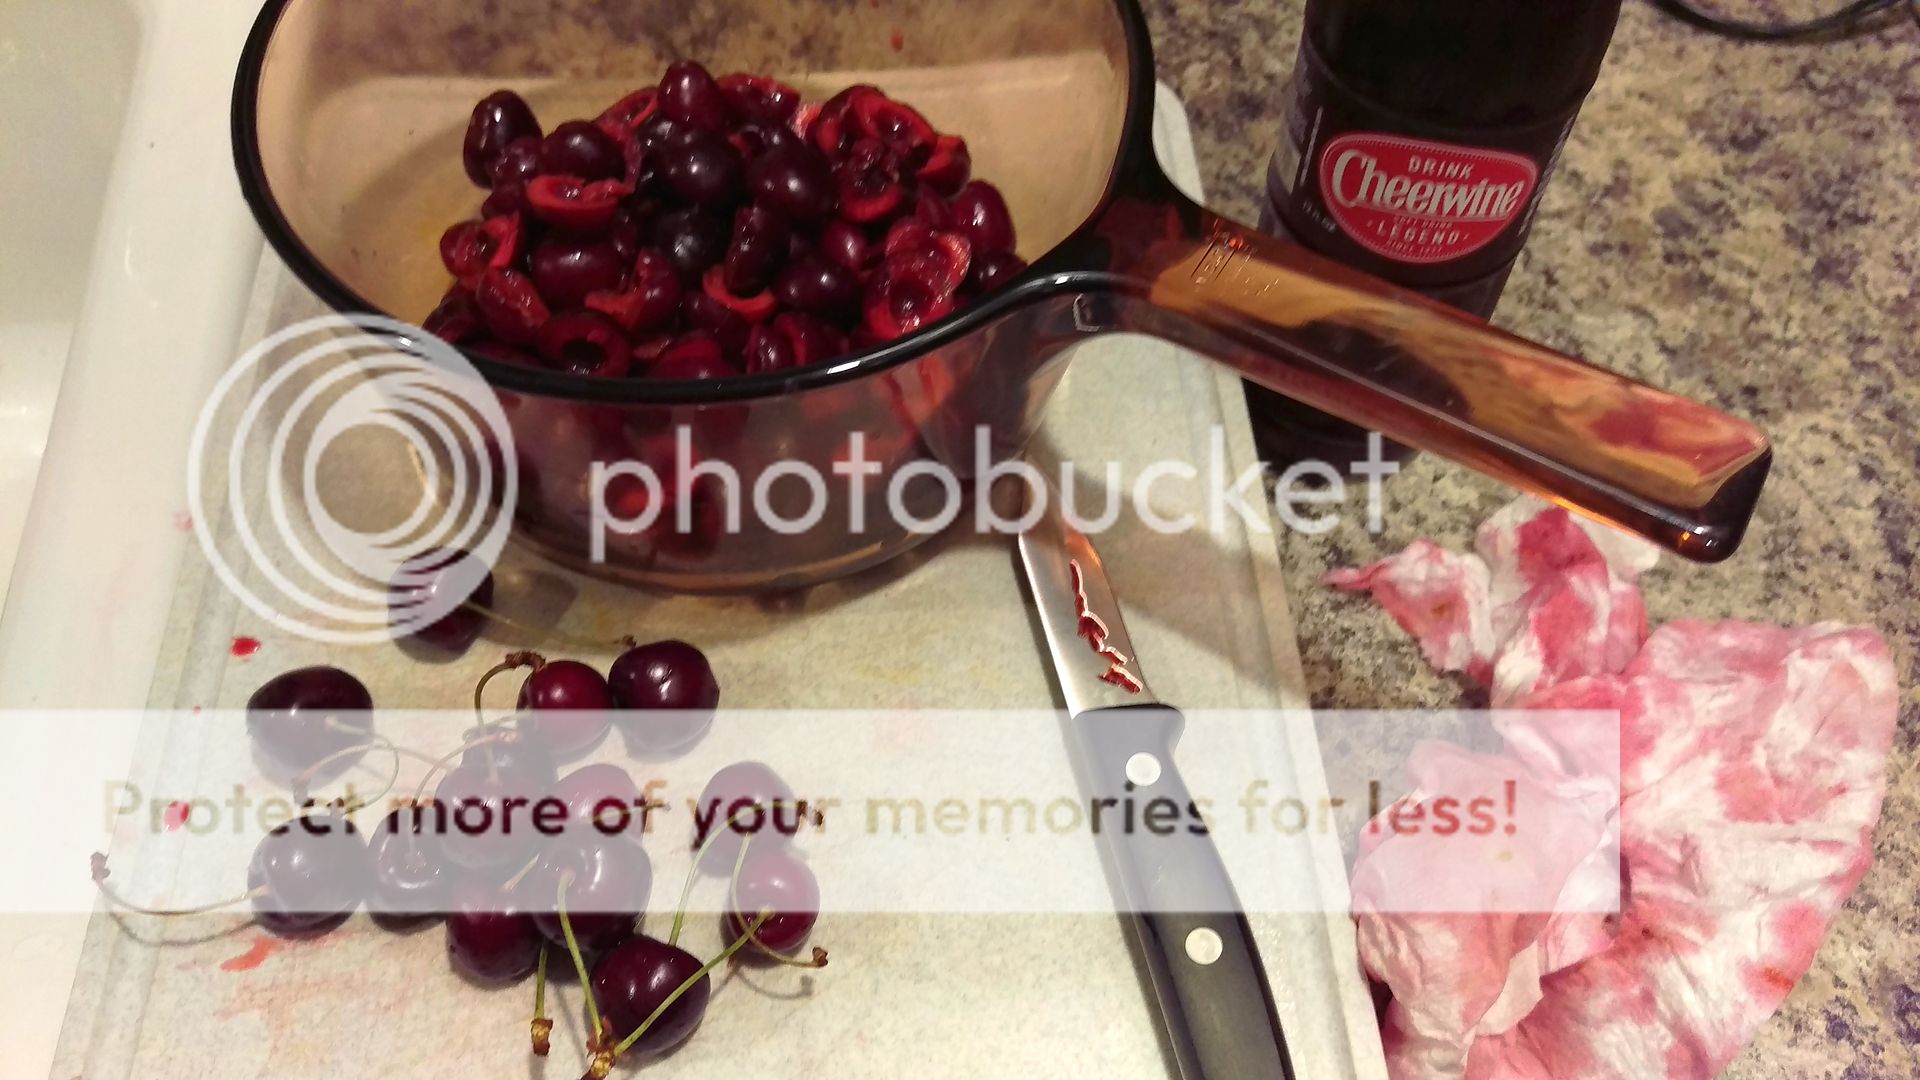
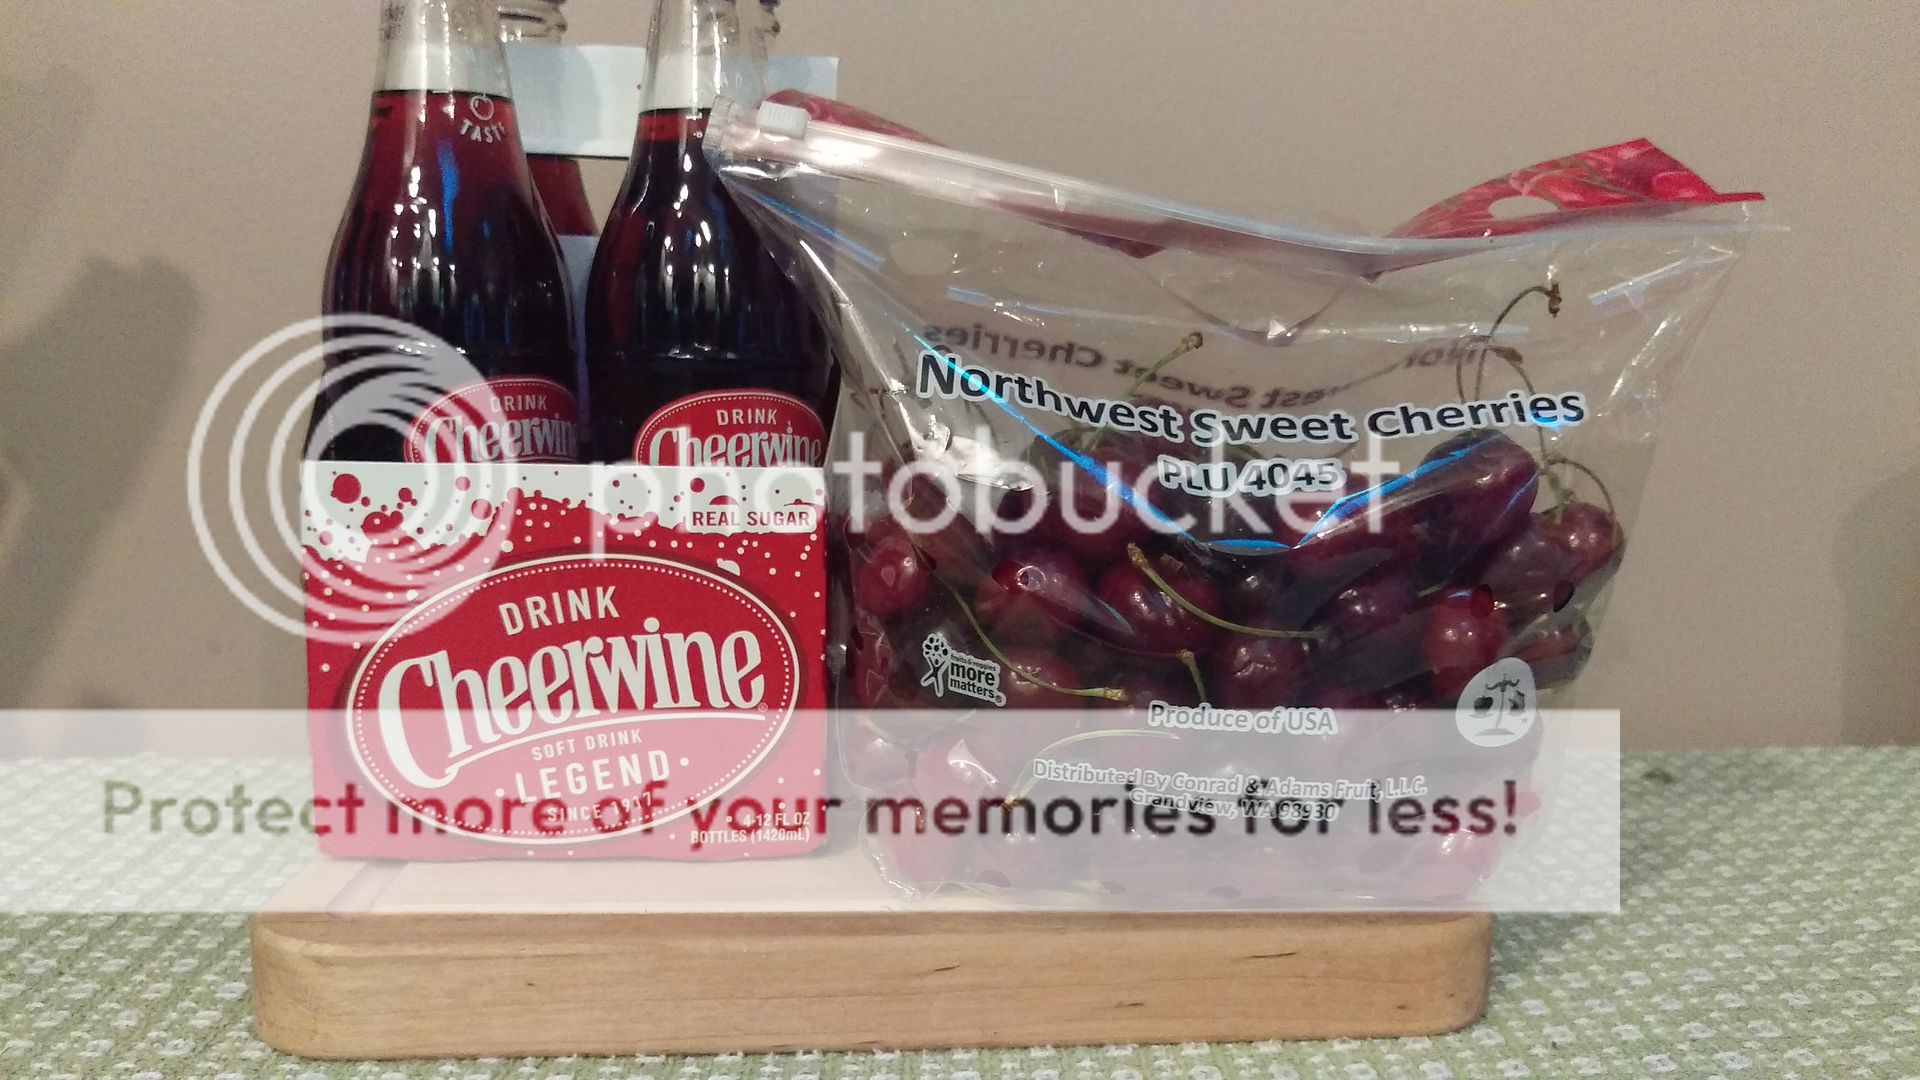
As you might have noticed in the picture (there will be a quiz at the end of this article), these cherries brought along a friend!  North Carolina is home to a particular cherry-flavored soft drink called Cheerwine.  While not wine our good friends grapes provide, which is enough to forgive them for showing up in the cherry bin at the grocery store, Cheerwine is quite a North Carolinian staple.  And the variety out the glass bottle is the best.  Just sayin.  It also has become a fresh ingredient in a lot of dishes!  Many times pared with it's BFF cherries.
Reunited and it tastes so good!
Steve Gordon, the food blogger for Our State, the magazine covering all things North Carolina, blended Cheerwine and cherries in a simple and intuitively delicious dessert: Cheerwine Cherry Cobbler.  By reducing cherries in Cheerwine (sidebar: the glass bottled stuff), one of the best cobbler fillings is created and North Carolina bats 3 for 3 for the title of "best state ever".  I definitely lean towards 1lb cherries (unpitted) to 1 bottle of Cheerwine.
About 10 minutes away from reduced heaven
However!  This delicious mixture can be used in a variety of different ways simply by separating the reduced Cheerwine Cherry Syrup from the Cherrwine Cherries. Aka: strain the cherries and get a-baking!  Of course the first thing I made with both is bundt cake.
Now saying you ate a whole cake by yourself is slightly less impressive
I was inspired by this Cheerwine Bundt Cake at A Spicy Southern Kitchen. This cake defeated me the first time we met, but I knew we were headed in a positive direction.  The main problem boiled down, or rather over-onto-my-oven-floor, to carbonation in the Cheerwine.  The Cheerwine Cherry syrup had no carbonation, plus deeper flavor and color from the cherries.  A win all around!  This, topped with a vanilla, almond, or chocolate glaze, ice cream, or nothing at all is the Cheerwine Cherry Bundt Cake of your dreams.
Notice how one didn't even make it into the picture-taking experience

Cheerwine Cherry Bundt Cake substitutions:
Red food coloring = slightly more Cheerwine Cherry syrup (we're talking like a 1/4-1/3 tsp) to make up the liquid ratio
1 cup Cheerwine = 1 cup Cheerwine Cherry Sauce
1/2 shortening = 1/2 butter; this sub can be made, and I sometimes prefer it so the outside doesn't darken as much.  Let the beautiful red out!


This left me with the "problem" of the Cheerwine Cherries.  After some thinking during my first solution (read: eating with a spoon), I decided to throw them into my favorite berry bundt cake recipe: Strawberry Yogurt Cake from Tide and Thyme.  I stumbled into this cake while trying to find something to do with a leftover raspberry reduction.  I find it's a great lighter vehicle for any fruit or fruit reduction.
Why yes those are the cherries going in the next batch.
Strawberry Yogurt Cake substitutions
12 oz strawberries = 1 heaping cup of Cheerwine Cherries.  I added cherries until it looked good for me personally; just mind the volume increase

Of course this is only the beginning for this delicious mixture.  I've also used the Cheerwine Cherry Syrup in a frosting recipe (results: delicious), and the Cheerwine Cherries as a topping for mini white chocolate pudding cups (results: indeterminate due to "mysteriously vanishing" pudding.  Oh darn, going to have to make it again...).  I'm doing further experimentation with these 2 wonderful ingredients which hopefully you'll read about right here.  Stay tuned, and go forth to experiment yourself!
Easiest photo setup ever.


</sidebar>

Friday, June 10, 2016

Starting a Jenkins Agent on the Same Machine As the Master

During long-run testing, I found that I wanted to make sure my Jenkins instance was properly executing jobs on an agent and not deadlocking.  Which would be all sorts of bad.  I also didn't have a lot of resources to try this out, and determined the easiest way to test this would be to launch an agent on the same machine as my master.  You might want to do this if you're trying to separate out jobs based on named agents, or just (as I was) trying to check if you're going to run into deadlocks!

For this tutorial, I'm using the brand new Jenkins 2.0 on Fedora.  There are so many other great things it can do, including pipelines.  Also, set up a directory with full read-write permissions for the agent's workspace.

On your Jenkins master, go to "Manage Jenkins" > "Manage Nodes" > "New Node"

Choose to create a "new node" with a name like "test_agent".  "secret_agent" also works.

Choose to run the node through JavaWebStart.  Download the agent.jar and place into the agent's home directory.

On that same page, you should have a command to run from the agent's directory. Log into your machine, move to the agent home directory, and run the given start command.  Your agent should connect and be ready to run workloads.

Have fun exploring the new features of Jenkins, and running your workloads on your new "agent".

Some helpful references:
Distributed Builds from the Jenkins website (now at jenkins.io)

Friday, June 3, 2016

NC BBQ Dim Sum: Potlikker Soup with Collard Greens Wontons

<speed rack alt_text=A Few Extra Steps for Something Transcendent>

</speed rack>

One of the coolest parts of a CSA is discovering new veggies.  Collard greens, while fairly common in southern dishes, were something I never had picked up before.  Spinach is in my wheelhouse, and leafy greens had bitten me in the past.  Curse you arugula; that's waaaaay too bitter for me.  So when collards started showing up, it was a new challenge to find recipes that weren't just using them as sandwich/wrap alternatives.  While trying to replace bread is not a great way to get into my good graces, collards redeemed themselves and may have even pushed past spinach with this recipe.  I don't prefer soup, but I finished every drop of the leftover broth.  The extra nutritional value is just a bonus on top of the tangy, savory taste.


Ingredients  Based on Southern Style Collard Greens from Southern Living (I made 1/2 a serving)
6 oz salted pork belly finely chopped
1 medium sweet onion, finely chopped
3 garlic cloves, finely chopped
1 - 1.5, 32oz container chicken broth
1.5lb collards washed and trimmed.  Cut into ribbons.
1/6 cup apple cider vinegar
1/2 tbsp sugar
1/2 tsp salt
1/4 + 1/8 tsp pepper
46 wonton wrappers

Heat a large stock pan over high heat.  Cook pork belly over heat until browned.  Remove from heat; add sweet onion and garlic cloves.  Cook until soft.  Add back pork belly.

Deglaze pan with chicken broth.  Add all the ingredients except the wrappers.

Put lid on pot.  Let cook for 3 hours until soft.  Check the liquid level and add some water if it gets too low.

Take off heat and strain the solids from the liquid reserving all the liquid.  This is the soup!  Let the greens cool a bit.

Time for some wonton folding!  I followed the tutorial from the Kitchn.  I used the soup to wet the edges of the wonton wrapper for an extra vinegar punch.

This might take awhile.  In the meantime, boil some water to cook the wontons.  You might alternatively want to boil the soup and cook the wontons there.  I didn't want to lose more liquid.
I couldn't wait and had a bowl of soup while boiling wontons. Sorry, not sorry.
Cook in batches; give the wontons some room in the pot.  Boil for about 5 minutes.
There are about 4 in the pot here.
Strain out and add to the soup.  Enjoy!  This is amazing reheated if it lasts that long; I was excited every day I had this for lunch.

</sidebar>

Friday, May 27, 2016

NC BBQ Dim Sum: Eastern-Style Cole Slaw Baked Egg Rolls

<speed rack alt_text:"Southern Eastern cuisine, remixed!">

</speed rack>

Cole slaw was never my favorite part of barbecue.  The mayonnaise and the spices killed it for me, and it doesn't keep well on a plate on a hot summer day.  Unfortunately, barbecue almost requires cole slaw to the point where it's on the sandwich.  Luckily, you can usually scrape it all off in one piece (score!) or get it on the side.  Or!  If you're really lucky, you can find a recipe that uses vinegar just like the good sauce.

Cole slaw translates pretty well into egg rolls or spring rolls.  Since I had a bunch of leftovers, I actually ended up eating it straight from the serving bowl while the egg rolls were in the oven.  Cook's gotta eat!


Ingredients  Recipe: Eastern North Carolina Slaw from Southern Living
1/2 cup white vinegar
1/4 cup sugar
1 tsp. kosher salt
1/4 tsp. freshly ground black pepper
1/2 head green cabbage (about 1 lb) grated - I usually get it preshredded
1/2 cup chopped celery
Egg roll wrappers
Olive oil

Mix all ingredients, toss to coat. Let stand 1 hour before serving, tossing occasionally.


Preheat the oven to 400F.  Assemble the egg rolls.  Spread a small amount of cole slaw into the center of the egg roll wrapper.


Fold the bottom of the wrapper over the cole slaw, wet and fold in the 2 sides.  Wet the edges of the top part of the wrapper and roll closed.


Assemble as many as you'd like to eat.  This make approximately 10 egg rolls depending on the amount of filling you use.  Brush the tops of the egg rolls with olive oil.  Put in the oven at 400 for 10 minutes or until golden.


Let cool and enjoy!  I find these are best when cooled, and the reheat very well.


</sidebar>

Friday, May 20, 2016

NC BBQ Dim Sum: Banana Pudding Tartlettes

<speedrack alt_text="Turn pudding into a spoonless treat!">
</speedrack>

Until I moved to/further down in the South I could probably count on one hand the amount of times I ate banana pudding.  There are about 30 million different types of pudding I would rather have.  Chocolate full stop.

However, I discovered the best part of banana pudding is not the pudding itself, it's the Nilla Wafers.  After sitting in the pudding, they absorb the sweet pudding flavor, and it's like eating saturated milk-dipped cookies... with a spoon!!!  So much awesomeness.

When assembling the NC Dim Sum recipe list, I knew that this one of the first things I had to convert simply for the deliciousness.  And the fact this is a huge Southern dessert.  When the pudding sets, the shell lightly absorbs the pudding, and makes this perfect for a quick snack out of the fridge.


Crust from Mini Banana Cheesecakes with Nilla Wafer Crust by Baked by Rachael.
20 Nilla Wafers
2 1/4 tsp sugar
1 1/2 tbsp melted butter

Pudding Base from Southern Banana Pudding by Evil Shenanagans.
2 cups milk, 2% or higher
2/3 cup sugar
3 tablespoons cornstarch
2 teaspoons vanilla bean paste (or vanilla extract)
1/4 teaspoon salt
1 egg
1 egg yolk
2 tablespoons butter

For Assembly:
1-2 bananas 

Whipped Cream
1 cup heavy cream
3 tablespoons powdered sugar
1/2 teaspoon vanilla extract

Grind the Nilla Wafers in a food processor until very fine.  Mix with sugar and melted butter.  Push into greased mini muffin tin. 

Bake at 350 for 5 minutes until slightly browned.

Make the pudding!  In a medium sauce pan whisk together the milk, sugar,  vanilla bean paste (if using), cornstarch, salt, egg, and egg yolk.  Once well combined place the pan over medium heat and cool until thick and bubbling.


Note: at this point, it should look/stir a lot like pudding.  Remove the pan from the heat and add the butter (and vanilla extract if you are using) and whisk until completely melted.  Pour through a strainer to separate all chunks.

Cut the banana into small pieces.  Place 1 piece in the bottom of each mini crust.  Pour the custard into each crust.  Chill in the fridge for 4 hours.

Optionally, make the whipped cream.  Add the heavy cream, the sugar, and vanilla to the bowl of a stand mixer.  Whip until thick!  Can also use a hand mixer if you don't have a stand mixer.  Try not to eat too many at once!

</sidebar>

Friday, May 13, 2016

NC BBQ Dim Sum: Eastern BBQ Pork Buns

<speedrack alt_text="The Cornerstone of our Dim Sum Meal">
</speedrack>

I never order chicken off menus.  My mom made a ton of really good chicken at home, so it never felt "special" enough to justify getting at any restaurant trip.  As I've gotten older and cook a wide variety of foods, I just keep thinking "I can make that at home" and the list of special foods has dwindled down to things I either don't have the desire to learn (sushi!), expensive/hard to come by/I-really-can't-justify ingredients (sushi!) or is impossible for me to do at home (Eastern North Carolina style barbecue).

Cooking barbecue right is a process.  Whole hog roasting over wood or charcoal for hours upon hours isn't something you can just do in your backyard for dinner.  I mean, the smell alone means all your neighbors will want some.  Your sauce game needs to be on point too.  There are some things best left to the masters.  Plus, clean up is so much easier.

The barbecue that I used in this recipe is from one of my favorite barbecue places in North Carolina: Allen and Son in Pittsboro. NC.  It's on the side of a highway and you might have to pull a u-turn to get there, but you're probably waiting behind at least one other driver who's there to grab one of the tastiest plates in the region.  For real, these guys are on the North Carolina Barbecue Society Heritage Trail.  Definitely another trip added to the list.

<ingredients>
 BBQ Pork Buns dough recipe from Char Siu Bao by Cherry On My Sundae.
1/4 cup sugar
1 3/4 cups warm water
1 tbsp yeast
6 cups flour
1 tbsp baking powder
2 tbsp butter
BBQ pork - purchase from a barbecue joint or make your own!  Use a Eastern NC recipe (go team vinegar!) or for a fun twist, use Cakalacky Cheerwine sauce

Let's make the dough.  Warm the water, mix in the sugar and yeast.  Let rest until foaming.  Blend in the other liquid, the baking powder.  Mix in the flour until it pulls away from the sides of the bowl.  Cover and let rise until double (about an hour.)

Tear the dough into small pieces; flatten into disks.  Put a small piece of BBQ into the center of each disk.  Pull up each of the sides creating a pocket.  Pocket making skills may vary.

At this point, you can watch some videos and try to work on folding buns.  Me?  I was never able to master the folds, so I worked on pulling corners to seal the bun.


Keep going until you're out of BBQ or dough.  I ran out of BBQ, so you can make plan buns with the rest of the dough.  Or stuff with cheese!  Or cinnamon sugar...   Let rest for 10 minutes.

Set up your steam situation.  I used the metal steaming basket in my standard set of pots.  Fill the bottom pot with a small layer of water.  Place a piece of parchment paper on the bottom and poke holes through so the steam can get through.  That's how we're cooking our buns!

Boil the water.  Add the buns to the pot without overcrowding.  Let steam for 15 minutes.

Open the lid slowly to not shock the buns.  They will collapse!  Let cool slightly and devour!

They also freeze really well, so you don't have to try to eat all of them in one sitting.  Before steaming, flash freeze, then place in freezer-safe bags.  When reheating, I've always cooked them in the toaster oven at 350.  Delicious!
</sidebar>

Friday, May 6, 2016

NC BBQ Dim Sum: The Menu

<speed rack alt_text:"Southern Eastern cuisine, remixed!">

</speed rack>

Let's get one thing straight before we keep going here: Eastern NC BBQ is the best on the planet.

For real.  It's the vinegar.  There's nothing better than that tang.  The love of tangy flavors can even be found across the globe in the frequently used rice vinegar of many Asian dishes.  Seems like everyone needs more of that flavor!  And in bite-sized form.  I'm up for a global potluck whenever you are.  Seriously, who's bringing dessert?

I guess that explains the popularity of fusion cuisine.  And the next flavors in the reactor are dim sum and eastern North Carolina style barbecue.  We've got breakfast/brunch + lunch/dinner, with the required dose of vinegar and small dishes.

I'll be breaking these dishes into a few different posts so you don't get overwhelmed by all the different options.  There are a lot of different possibilities for the southern-to-dim-sum conversion.  There might be a few barbecue dishes that appear in multiple forms; I don't think that's a bad thing!  The more the merrier around the table right?  And it definitely increases your chance to grab something you like!

The Starting Menu as shown above:
Eastern NC BBQ Buns
Eastern-Style Cole Slaw Baked Egg Rolls
Bacon-Wrapped Green Beans
Potlikker Soup with Collard Greens Wontons
Banana Pudding Tartlets
Sweet Tea
Cackalacky Cheerwine Sauce - can also sub in the Original

</sidebar>