To help struggling guests with their shoes, I found the incredibly awesome website of the woman-who-pretty-much-makes-my-life-literally-and-figuratively Ana White. You pick a room/life setting + skill type, and she will have something for you. Not only that, it'll be incredibly well documented so even if you have no idea what you're doing to start with, you will be able to create a piece of furniture. I would totally serve up a celebratory round for her any time.
 |
| BFF |
I built and painted the Spa Bench with well-placed built in shoe storage.
 |
| Apparently the bench doesn't actually make it a spa. |
<spa hall table>
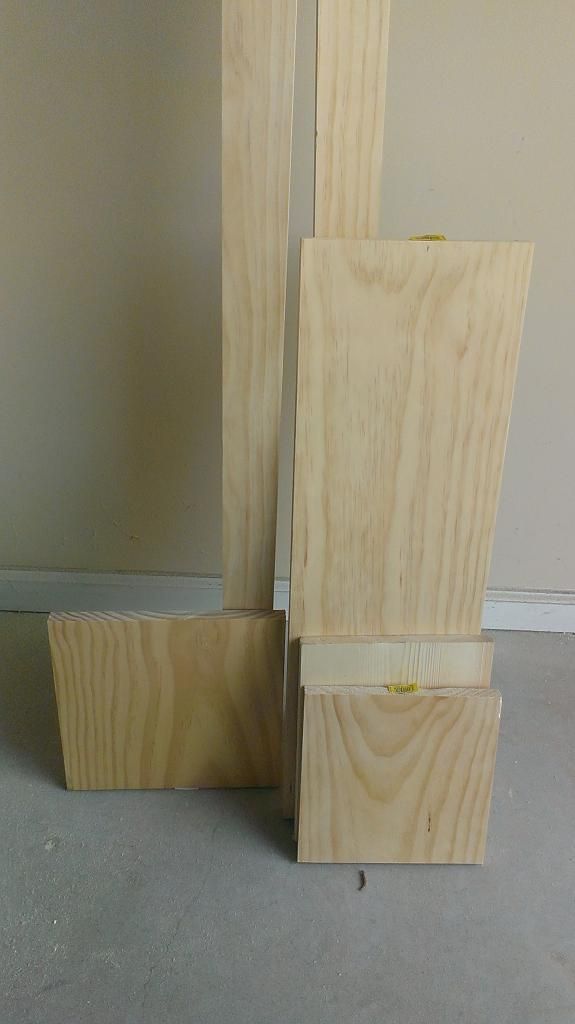
Materials
3 - 1"x3"x8' boards
2 - 1"x10"x11" boards
1 - 1"x12"x13" board
wood glue
nails - optional. (since there's not a lot of pressure on the sides, they'll hold on fine with glue)
paint or stain
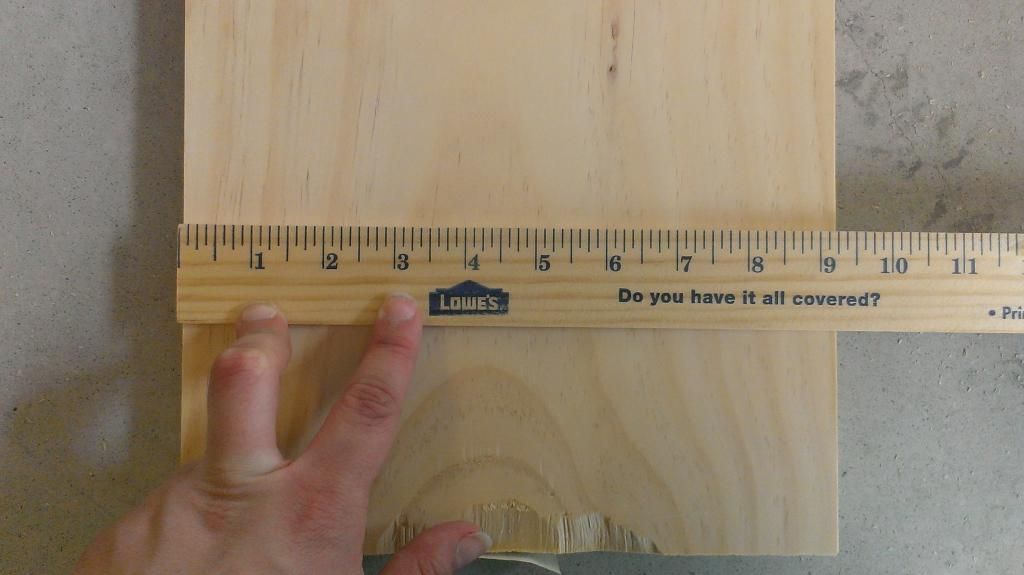
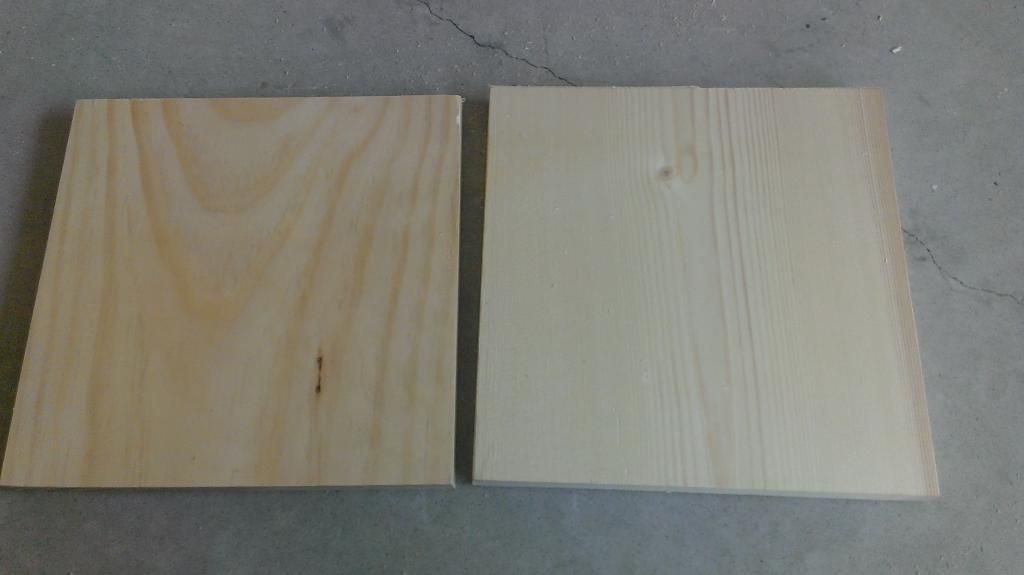
Cut the 1"x10" and the 1"x12" boards down to 2 boards of 9 1/4"x 9 1/4" (shelves) and one board of 11"x11 1/4" (the top). I used scrap for these pieces as they are often sold in much larger pieces.
Using dimensional lumber results in this having a sliiiiiiightly rectangular shape which was perfect for the space. It also fits with the rectangular bench. If you'd like a true square, adjust your cuts to be the width of the boards, but you'll have to change the cuts of the smaller trim sides.
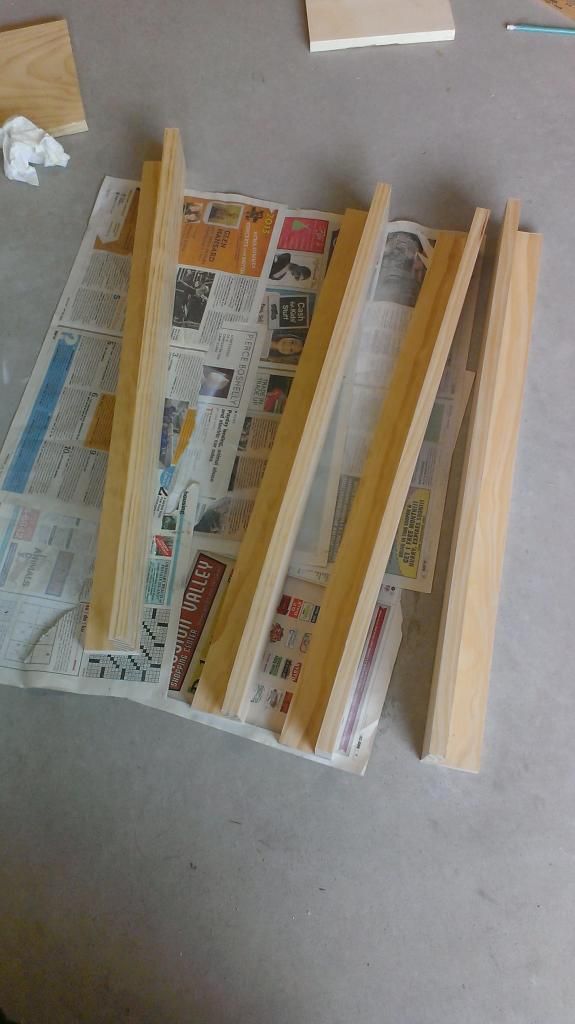
From the 1"x3", cut 8, 30" boards. These are the legs. Pair them so you end up with groups

With each group, place the width (~3" side) of one board against the long side face (~1" side) of another making sure to line up the long edges of each together. Essentially we want to make large "L"s with the legs. This does mean that one part of the L will be longer than the other; that's perfect. Glue and let dry.
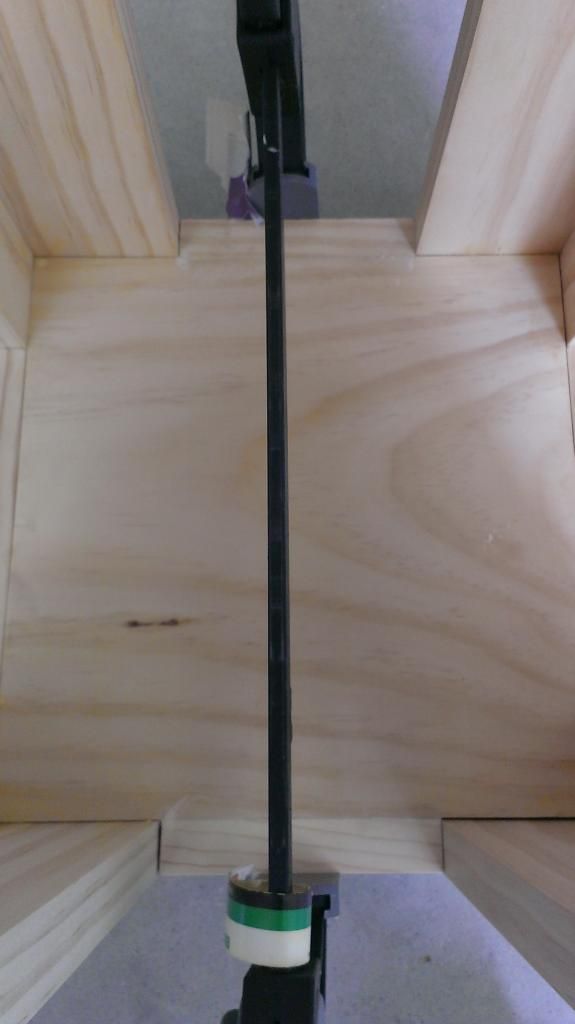
Glue one of the shelves to the very top part of the legs. Make sure that the long side of the "L"s are on the same side.
 |
| This is the long side face |
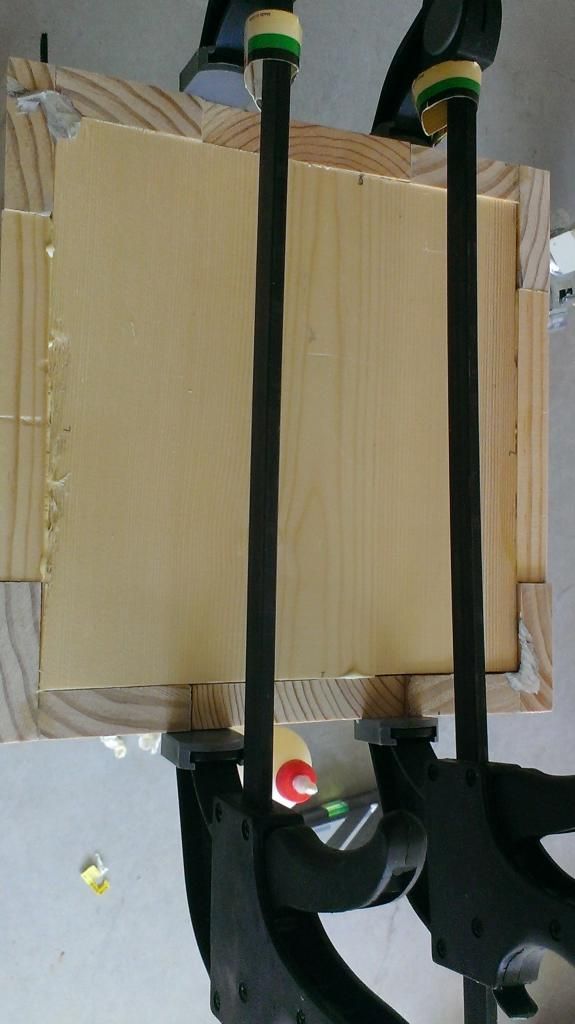
Now you need to make all the decorative side rails. Measure each of the gaps between the legs, and cut the remaining 1"x3"x8" to the various widths. I waited to cut these pieces just so they would fit the most snug and have the fewest lines.

Glue all in place! Lots of clamping, and lots of glue. You can see how the sides are laid out a lot clearer here.
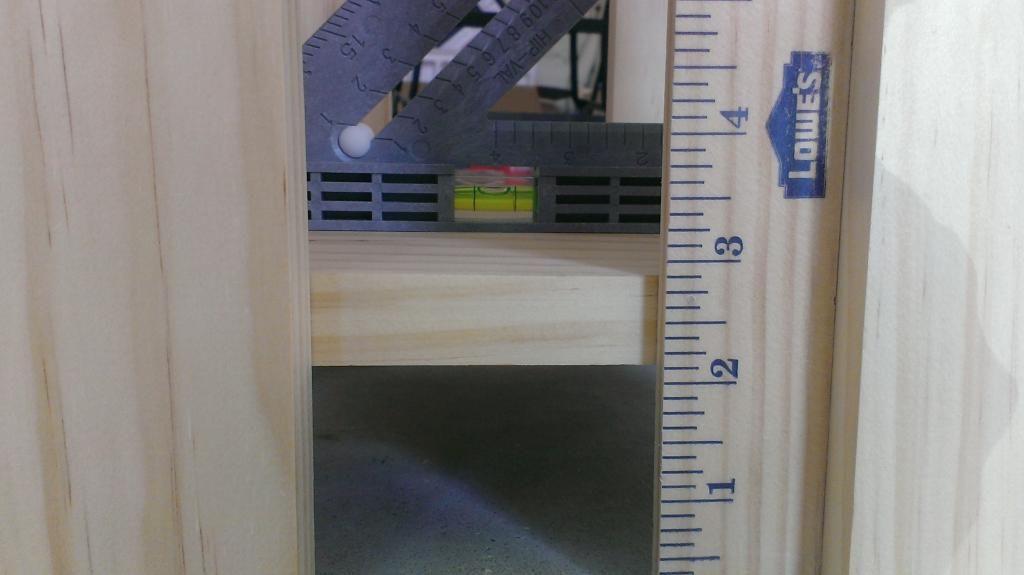
Last piece! We'll sand/plane the top flat after glue.
Cover the top (previously shown) with glue and set the top. Weigh it down while drying for the best set. I placed some heavy bags.
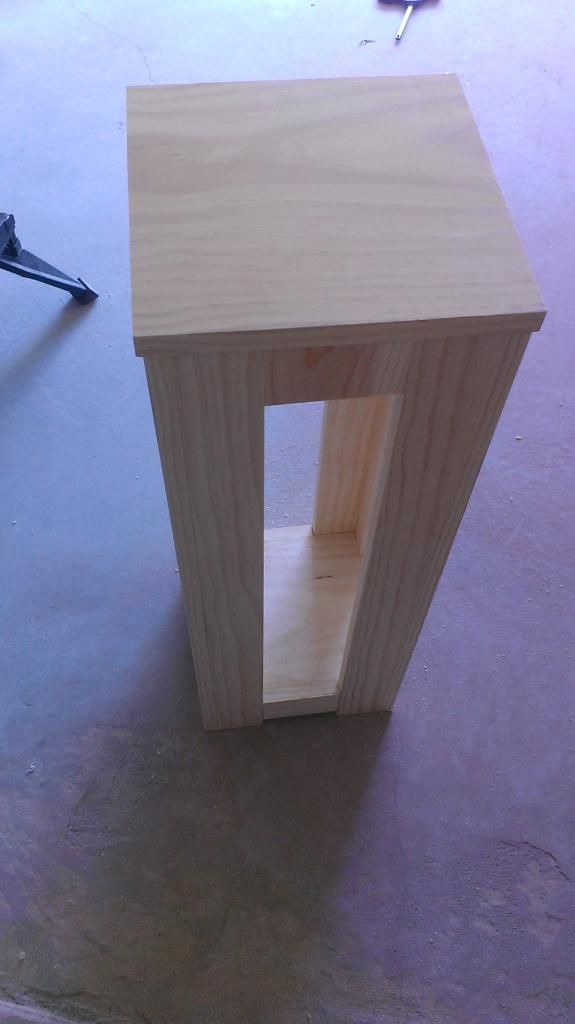
You're done! Just paint and set free on the world.
</sidebar>
No comments:
Post a Comment