| Order a la mode flambe immediately <http://livepretty.com/2011/12/29/a-new-years-eve-tradition-fire-ice-cream/> |
| Chips do not have the structural integrity needed |
A nice, good quality scoop will last you years, and look really nice in a kitchen as a display piece or when having a grown up dinner party. Since most of these finer pieces look good in a set but never actually come in a set, it's really nice to be able to make your own. At that point, you'll have the bonus condition of matching them to your kitchen. Which, in some cases, is well worth it on it's own.
| I'd try to make a joke about how bad it looks, but organized anything looks so right <http://www.slowyourhome.com/2012/05/22/10-steps-organised-kitchen/> |
| Only part of the set you can purchase. <http://www.thinkgeek.com/product/eaba/> |
Materials:
Ice Cream scoop kit
Pie server kit
2 pieces of stock 1.5"x1.5"x6" (I used Kingswood)
Food Safe Wax
Epoxy or strong glue
Drill
Lathe
When doing any type of turning for pieces that will be or what not, you'll want to drill the hole first. This is because when you start with the stock already cut, you already have a good idea where the center should be. Granted cutting the hole is going to make it difficult to mount, but the hole will be centered so you should be good to go. One of the easiest ways to find center on a piece of stock you know is square is to make an X on each end; the cross is the center.
Sidebar: one thing I find useful before turning all the main piece where you can't exactly put wood back after you've shaved it away, is to create a rough practice piece. This piece is for you to figure out the shape you generally want and to get the cuts down that you're going to have to make on the real deal. There are no take backseys in wood turning. Also, ergonomics of a scoop can be taken into consideration here as you're making it your own! Fit your own hand! I found that you're going to want something to grip at the top, have it expand a bit into the main part of your fingers and contour down into the palm of your hand.
 |
| A bit like this |
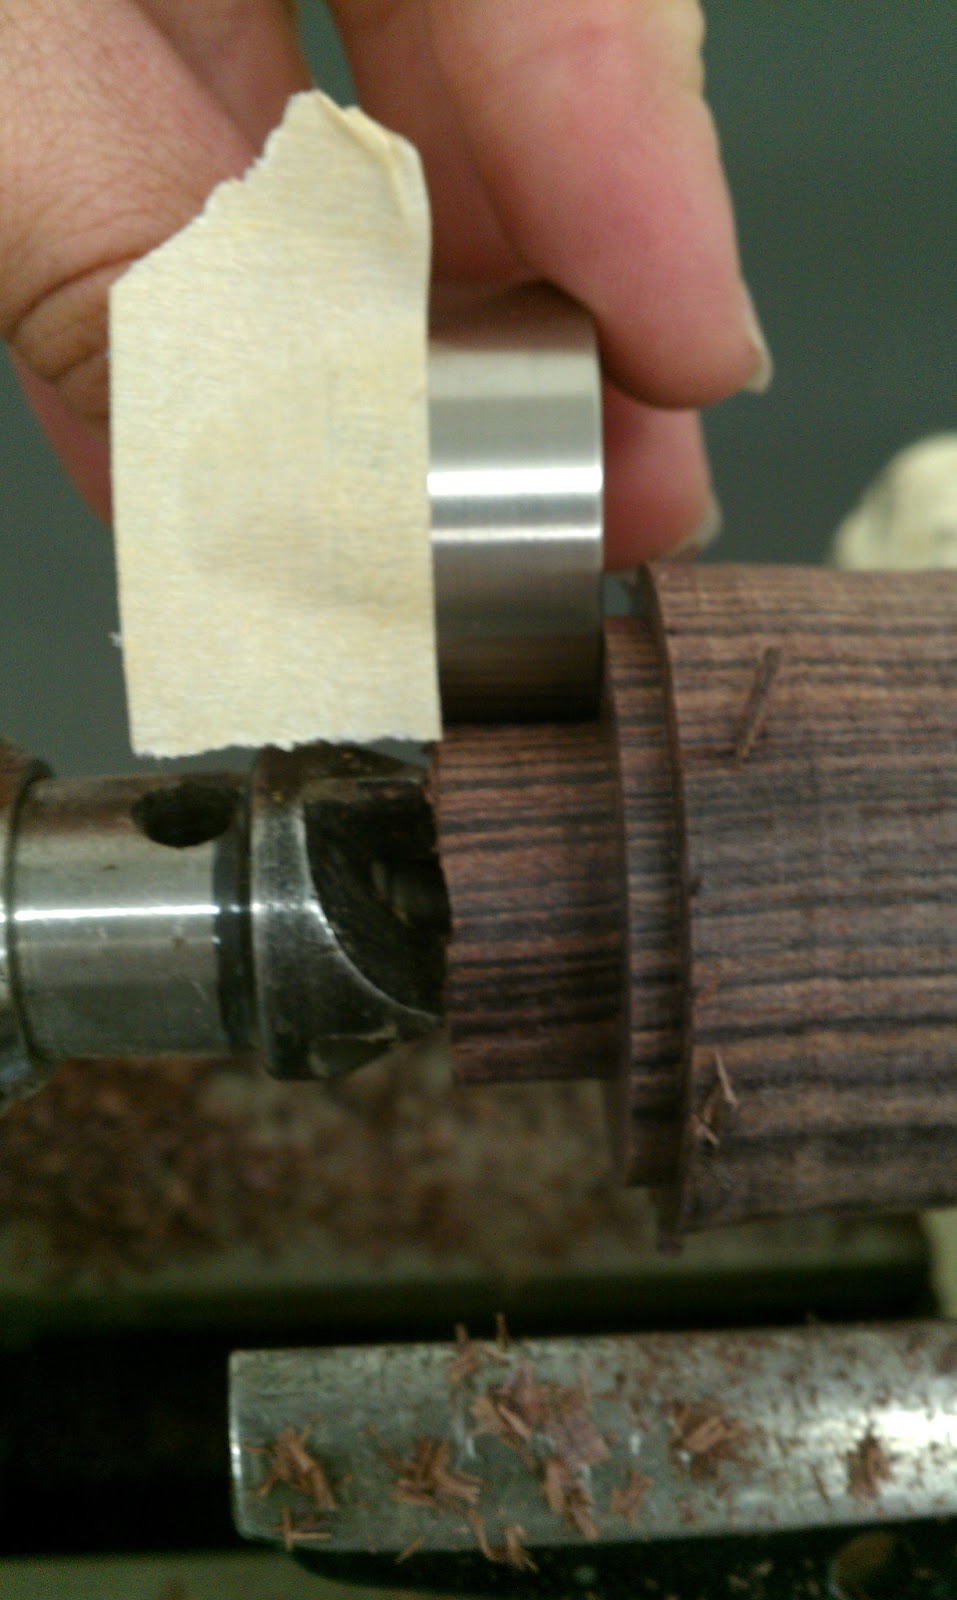
After you find what fits you best, you want to turn the actual piece. Follow the included directions for the size and depth of hole to drill. Mount the piece between centers and start cutting the top part for the ferrule. You'll not to only measure the proper depth for a good fit,but a good size to account for whatever hardware also nestles down in there. If this is the case, mark the difference in distance with a bit of tape and use that to compare to your piece on the lathe.
Check your piece often while turning it to make sure that you'll be able to hold it comfortably. Here you can more clearly see the shape I was describing before. Note the bottom is unfinished.
 |
| Action shot! |
 |
| Some examples of ends. Bottoms up! |
After you turn in, take sand paper to this sucker. We're going to go with various grits up to 400 grit, no more than 100 at a time. This will finish off the piece and provide a comfortable, smooth surface that is the hallmark of a finished piece. Also it will feel better in your hands as you're digging into your pint of Cookies and Cream. After sanding apply the wax and take off the lathe!
 |
| It's shiny! |
 |
| And adding beads and coves highlights it to no end |
 |
| An actual workout |
</sidebar>


No comments:
Post a Comment