Friday, January 10, 2014

Gift Kit: Easy Like Sunday Morning

After a long Friday night-Saturday of experiencing the weekend to the fullest, sometimes a Bloody Mary isn't enough to shake that feeling of restlessness.  The "have I done enough with my weekend" feeling that never really goes away if you think about it for too long.  And the conquering of the next day goes best with grabbing a cup of coffee, tea, or hot cocoa.  With a towel and a coaster to prevent catastrophes of course.


Components
Cappuccino Mug
Hot Chocolate on a Stick
Printed Tea Towel
Coasters
Coffee-Scented Candle
Fun Straws
Tea Bags
Biscoff Biscuits
Emergency Chocolate

Personalized Cappuccino Mug

When I was in Italy, I got used to drinking 2 cappuccinos a morning.  The first day, my right leg about shook itself off my body.  By the last day, the second cup was what I needed to get through the rest of the caffeine free day.  Now, in my defense, these were European portions, not the huge cups I found for this kit.  Two cups this size and I would have been able to climb up and down those hundreds of steps along the Amalfi Coast... twice.


Materials - from Kate's Creative Space's Primal Instincts
Ceramic Cappuccino Mug
Chalkboard paint - black or contrasting color
Enamel paint - used sage green

Trace or freehand draw a tea bag on the onto the mug using a pencil.  Or freehand for expert level crafting!  Fill in with chalkboard paint.  Let dry; and paint in the opposite direction.  Let dry for 24 hours.

Paint on the string from the end of the tag into the cup.  Remember!  Don't wash in the dishwasher and be careful around the paint!


Hot Chocolate on a Stick

The puppeteer Jeff Dunham taught me you can put anything on a stick or "steek" and make it awesome, while the cake pop revolution taught me that virtually any food item on a stick makes it more tasty.  This is something sushi can claim partial hipster points for since it is eating using sticks.


Ingredients - adapted from 30 Pounds of Apples's Hot Chocolate Sticks and King Arthur Flour's Cocoa Blocks
1/4 cup heavy cream
7oz (1/2+1/8 cup) sweetened condensed milk
1 1/2 cups semisweet or bittersweet chocolate - melted
6 tbsp cocoa powder
2 tbsp oil
1 tsp coffee - optional if the recipient likes coffee
72 mini marshmallows
wooden stir sticks/cake pop sticks

Mix all ingredients minus the marshmallows together.  Pour mixture into silicone (simply for easier removal) ice cube tray.  Place 4 marshmallows in the corners of each cube & a stick in the center.


Let sit in the freezer overnight.  Pop out and wrap in clusters.  Small tags with how to make hot chocolate on a stick are optional because it's much more entertaining to figure out how to make it yourself.  Personally I go for the "dissolving in saliva" method; it's emergency chocolate on the go.  Sticks really do make everything better!

Printed Tea Towel


Materials - from Brit + Co's DIY Neon Patterned Tea Towels
Spray Dye
Napkins or tea towels
painters tape

Iron and lay out tea towels.

Tape out pattern on the tea towels.  I did a diamond and a tartan pattern.  Use up that painters tape.

Spray the paint onto the towels.  I used 2 colors per towel: green and blue on the tartan tape, yellow and green on the diamond towel.

Let dry for 4 hours.  Remove tape.

Coasters

I've already covered how to make bottle cap coasters and how to use alcohol ink for decoration (scroll to the section on "Coasters" - incredibly original).  If neither of those is what you're looking for in your gift kit, you can try the 3rd option in the flight: using washi or decorative tape on a tile coaster.  I see your challenge and I'm accepting it - you will find a coaster you like.

Materials
Washi tape
Tile in white or complementary colors to your tape
Sealant
sugru, small rubber feet, or no-skid pads (4 per coaster)

It couldn't be more simple: lay the tape however your heart desires across the tile.  Let a little overlap the edges.  Cut; I found using an exact knife worked well.  Seal.  Let dry.  Enjoy not marking your furniture.
Examples of patterns
I recommend designs that don't end with the tape in the middle of the coaster because it looks like you honestly forgot to finish extending the tape.  Plus your cuts have to be perfect, and that's quite annoying after awhile.

Coffee-Scented Candle

From the amount of times I use old votives in crafts, you probably getting the correct impression that I'm addicted to candles.  Extra drinks for you.  I had some ones in the new Glade 3oz design which unfortunately can't run through the dishwasher and masquerade as something new.  Curses, looks like I'll have to burn the midnight candle on repurposing those.


Materials - from Henry Happened's French Vanilla Scented Candle
3 oz votive
Soy wax
Wick with holder and glue
Whole coffee beans
Vanilla beans chopped or vanilla scent

To fill these most votivey of votives, I decided that I wanted to perfectly replicate the smell of an easy Sunday morning all day long.  So much easier than trying to fire up the coffee maker, and grind the beans, and wait for the coffee... Makes me want to just eat a hot chocolate on a stick.  Or enjoy coffee porter.

Extras

In case you haven't figured it out yet, I'm confident the only shot that needs to be served in any situation is chocolate.  Preferably dark.  Just like my coffee.  And beer.  Rounding out a morning you can look forward to as much as the fun experience of the night before are tea bags of assorted teas and some Biscoff cookies. The world's problems can be solved with a simple supplement of these embodiment of goodness each morning.

Putting it All Together

Place items in cup & place in bag with newspaper as support.  Because they've been running around so much before, the recipient probably haven't had a chance to catch up on local news in their or your neighborhood.  Due to how this also is constructed, you can place the kit in box to wrap as well.  In the world of gift bags, it's nice to have something substantial to unwrap.  After assembly, enjoy 1 drink of choice as this gift is as easy as whatever day on which you've finished assembly.

</sidebar>

Friday, January 3, 2014

Biscoff and Apple Cinnamon Rolls


Breakfast is probably the best meal of the day.  Other meals are made better when you have breakfast again: brinner anyone?  Sidebar: this is discounting all the beers that are like chewing bread.  Arguably you can make a bread out of them and then have that for breakfast.  See?  The Bartender knows.
Tattooed Martha - Hard Apple Cider and Cinnamon Bread (11)
Apple Cider Breakfast Bread.  Are you not entertained?
<http://www.tattooedmartha.com/2013/09/29/hard-apple-cider-and-cinnamon-bread/>


The best breakfast is going to be birthday breakfast.  Where you get Cinnabons.  Because I have have yet to figure out any other justification for purchasing them.  Wait... 2 for 1 coupon.  Not without coups baby.  After combing though a bunch of of apple recipes I found one for apple Cinnabons.  Best ever!  Plus, I can get away with eating them on a regular weekend.

Warning: this is not a scratch and sniff picture
<http://en.wikipedia.org/wiki/Cinnabon>
You're probably thinking the only way these could get better is if there was more cinnamon.  And you know, you'll always get what you ordered at this bar.  And I'll give you top shelf: melted Biscoff spread drizzled on the inside and, if you're really adventurous, over the top.  Double shot!

Ingredients - Inspired by Caramel Apple Cinnamon Rolls by Gimme Some Oven
Dough:
1 cup milk
1/4 cup butter
3 1/2 cups all-purpose flour
1/4 cup sugar
1/2 tsp salt
1 packet yeast
1 egg

Filling:
1/3 cup sugar
1/3 cup brown sugar
2 tbsp cinnamon
1-2 diced apples (I used Granny Smith)
1/2 cup melted Biscoff spread

Melt butter and milk in the microwave.  Usually it's easiest to pre-chop the butter and then just nuke for 20 seconds.

Mix 3 cups flour, yeast, sugar, & salt.  Add egg and butter/milk.  Beat until combined.  Add rest of flour and mix until combined.

 Beat until dough starts separating from the sides of the bowl and forms a ball.  Cover with a damp towel and let rise for 10 minutes.

Whisk together sugars and cinnamon for the filling.  Heat up the Biscoff spread.

Roll out the dough into a rectangle.  Pour & spread the Biscoff over the dough.

Sprinkle the apple chunks over the dough.

Sprinkle the cinnamon sugar over everything else.

Roll up the dough length-wise.  These form smaller, more pinwheel sized rolls.  If you want to get adventurous, you can roll up the dough width-wise.  Fun fact: you can use unflavored dental floss to cut rolls of dough.  Slide it under the roll, cross across the top, and pull all the way through the roll.  & you don't end up crushing the roll!

Arrange the rolls in a greased pie plate, cover, and let rise for about 25 minutes in a warm place.

 Preheat the oven to 350.  Bake for 15-20 minutes until golden.  Let set for 5 minutes


If you're really adventurous, drizzle some melted Biscoff over the finished rolls.  Enjoy with other breakfast essentials: eggs & smoked sausage!

& yes, seconds are encouraged.  You have to start the day off right, am I right?  You don't want any left behind!  *stuffs face with cinnamon rolls*
Round 2!
</sidebar>

Saturday, December 14, 2013

Adventure Go Bag

There's a recent TV add that brought up an excellent point a body at rest tends to stay at rest while a body in motion tends to stay in motion.  The only reason I'm able to remember or even see that commercial is I was trapped on the elliptical where it ran about every commercial break for the show I was "watching". The time I spent focusing and/or reflecting on that commercial was time I wasn't focusing and/or reflecting about how much I had to be on said elliptical.
Winter is Coming.... now back to our feature presentation.
<http://f2cbootcamps.com/3-common-workout-sins-for-fat-loss/>
I don't have arthritis, so while I can't support their main message, bear with me: my way-in-depth-analyzation-skillz show it does make sense. Who hasn't tried to come up with a grand idea of traveling somewhere, thinking of all the things to do when there, & then left it at that?  Body at rest.  Just as a passing thought as we go back to the trip we make every day: the chocolate stash.  Or the cream cheese stash.
Some of them are for emergencies... like, pumpkin?  That qualifies.
Sometimes all we need is a good push and the right equipment.  The habit of adventuring is much like sampling cookie dough: once you start, you can't stop.  Much like the level of sneak needed to get the cookie dough from under the nose of others who may be in the kitchen, you need the right equipment to get started without also figuring out how many different ways you can lay out a Target. "Go bags" are a collection of everything you need collected and easily at hand if you have to get moving right away in an emergency situation.  Power grid outages and the zombie apocalypse wait for no one.  I created this adventure version with a day trip of hiking in the mountains in mind & a magazine to spark future trips.  It's a good starting point and you can tweak as needed for your choice of destination.


Components
*Square Pack from Drifter Bags
Dark chocolate orange from Private Selection
*Topo Water Bottle - Yosemite from Liberty Bottle Works
2 emergency kits from Coleman
*Paracord
*Planters Nuts mix (granola + crasins + almonds + pistachios)
Aleve 50 75 count - I've seen this medicine work in ways I've never thought possible.  Miracle in a bottle, hands down
*Migraine Strength Excederin 50 count - hands down the best for headaches ever.  I carry a bottle everywhere with me.
*Included pouch from Drifter (oh yeah bonus camera case/emergency money pouch!)
*Go Escape travel magazine
*Bantam BHW pocket knife by Buck Knives
LED pocket flashlight from Coleman  (would have really liked to get a CREE made in the USA one, but those are neigh impossible to find in sizes below "tactical")
*Emerald cinnamon-roasted nuts

* - Made in the USA

That above asterisk is pretty important to me.  I happen to live in that awesome country where a lot of goods are still manufactured.  I even try to go one step further and buy local whenever I can; it's good to support your community since, well, that's where you chose to live.  And I figure everyone wants their community to be vibrant and booming.  Also, those products bring quirks to your area and make it a wonderful place to adventure itself!  I will so take my beer from all the local breweries in a to-go cup please!

All packed away.  I left the waterbottle in the box because I wanted the recipient to be extra surprised!
(it's the favorite national park!)
May the road rise to meet you.  Carpe diem!

</sidebar>

Wednesday, December 11, 2013

Gift Kit: Simple Girls Night Kit

No matter how old you get, there's nothing like a girls night that makes you appreciate the good things.  Like the grownup version of a sleep over where you talk about "boys/girls/romantic interest" (they still have cooties), work (isn't it funny how homework never really leaves you), and how your extracurriculars are going (how much sleep you're getting after rush hour).  However, one startling departure is everyone actually listens to their bedtime.
<pic complete kit in somewhat of a use>

Juice and snacks have been partially supplanted by wine and snacks that you get to pick out.  Even if they're the same snacks you had before minus the oatmeal raisin cookies.  No more will they masquerade as the superior oatmeal chocolate chip cookie.  Celebrate friendship and a night out-yet-in by supplying the hardware.  Cheers!


Components
Wine glass
Wine Charm
Cloth Napkin
Coaster


Wine Glass and Charm

You can always get incredibly fancy and paint the wine glass's base and use that as a marker so you don't accidentally (I see your "accidentally") drink out of someone else's glass.  I like to go the wine charm way because a) whenever I try painting it never turns out the way I want it to, b) I have lots of supplies for making wine charms holed up in various places around my crafting materials.  I made this really easy: just add some seed beads to a wire ring in different color patterns.  You can add a charm for personalization.  Or make some using shrinky dinks.


Cloth Napkin

Feeling classy with your wine?  You're already getting fancy with the charm.  Plus you need something with which to wipe up the crumbs of baked brie.  That was a bad example, you should never have crumbs of this god-like party food.  Maybe from... carrots.  Yeah, veggies.... *chews more baked brie*
Yeah I did it first.  My Bad...
Materials
pencil with flat eraser
blank cloth napkins
fabric paint

Using the rubber eraser of a pencil as a stamp, create rows of dots across the napkins.  For bonus points, measure how long each end of the napkin is and place dots evenly down the row.  Combo breaker: draw on a grid in pencil over your napkin and stamp the corners.  I went with option 1; the rows have "personality" even if a few of them are of someone who didn't have a firm grasp on the concept of straight.

I decorated this bag with the same pattern.  And I might have totally repurposed a Brit Kit for this.  Which is more fun: popcorn or wine?  Popcorn with beer is also an accepted answer.  I used the white chocolate for the covering of Irish Car Bomb Cake Balls.  Appropriate.

Coaster

Because putting the glass down on a nice wooden surface is the ultimate faux pas (It leaves a ring!  It's not even your furniture!  Coasters are the coolest!  Respect the bar!), if you're going to provide glassware, you should provide the accompanying coaster.  You can make some bottle cap coasters if you know the gals in question are beer or soda lovers.
Or Cheerwine lovers!
Or you can take ordinary tiles to new heights by using alcohol inks.  These work wonders with rubbing alcohol and non porous surfaces.

Materials
alcohol inks
white or light tile
rubbing alcohol
sealant (like ModPodge)
sugru, small rubber feet, or no-skid pads (4)

Pour a bit of rubbing alcohol on tile & spread around.  Before it dries, apply drops of color across the tile itself.  I went all of one color, then added the next 2.  Sometimes the later color would "eat" the space you thought you had for one of the first colors.  In that way I recommend not going overkill on the darker colors.
It spreads all over the place
After the ink dries, seal with the sealant.  Put feet into each of the corners or use the sugru to make small equal-sized balls for the feet.

Extras

Because nothing is complete without some emergency chocolate, put in your favorite candy bar.  Add some for this kit and it's complete!  You can wrap the wine glass in the napkin for some protection, or fold it nicely and place it in the glass


Bring gifts + good wine to your next event because you know as soon as these are opened, they're going to be put to good use.  & don't forget the brie.  & sampling it to make sure that this batch was good cheese.

</sidebar>

Sunday, October 20, 2013

Cheesy Chicken Taquitos

Sometimes you can have too much a good thing.  Even if that good thing started off in a small package.  After you shredded it into something much larger.
Like this big.
<http://www.brushmepretty.com/2012/02/tempting-tuesday.html>
After eating and celebrating and eating some more, there was easily over half of this dip left.  The accompanying pretzel bites however: gone.  Totally gone.  That is truly the testament of how good soft pretzels are.  And it's perfectly possible to have them whenever you want!  I'm raising a glass.

Woot!
<http://www.algonquinbooksblog.com/blog/beer-and-pretzels-and-football-and-books/>
However, the cheese dip has to be handled.  It's still staring at me and taunting a bit.  The spicyness of the cheese just begged for some other reincarnation and I was thinking Mexican.  And taquitos.  Because everyone loves taquitos.  They're the perfect for munching & for bar night part 2.  And it's great to also chew though the left overs in your fridge.


 Materials
Spicy Cheese Dip, approximately 2 cups or entire recipe from Baked Cheese Dip but Brush Me Pretty
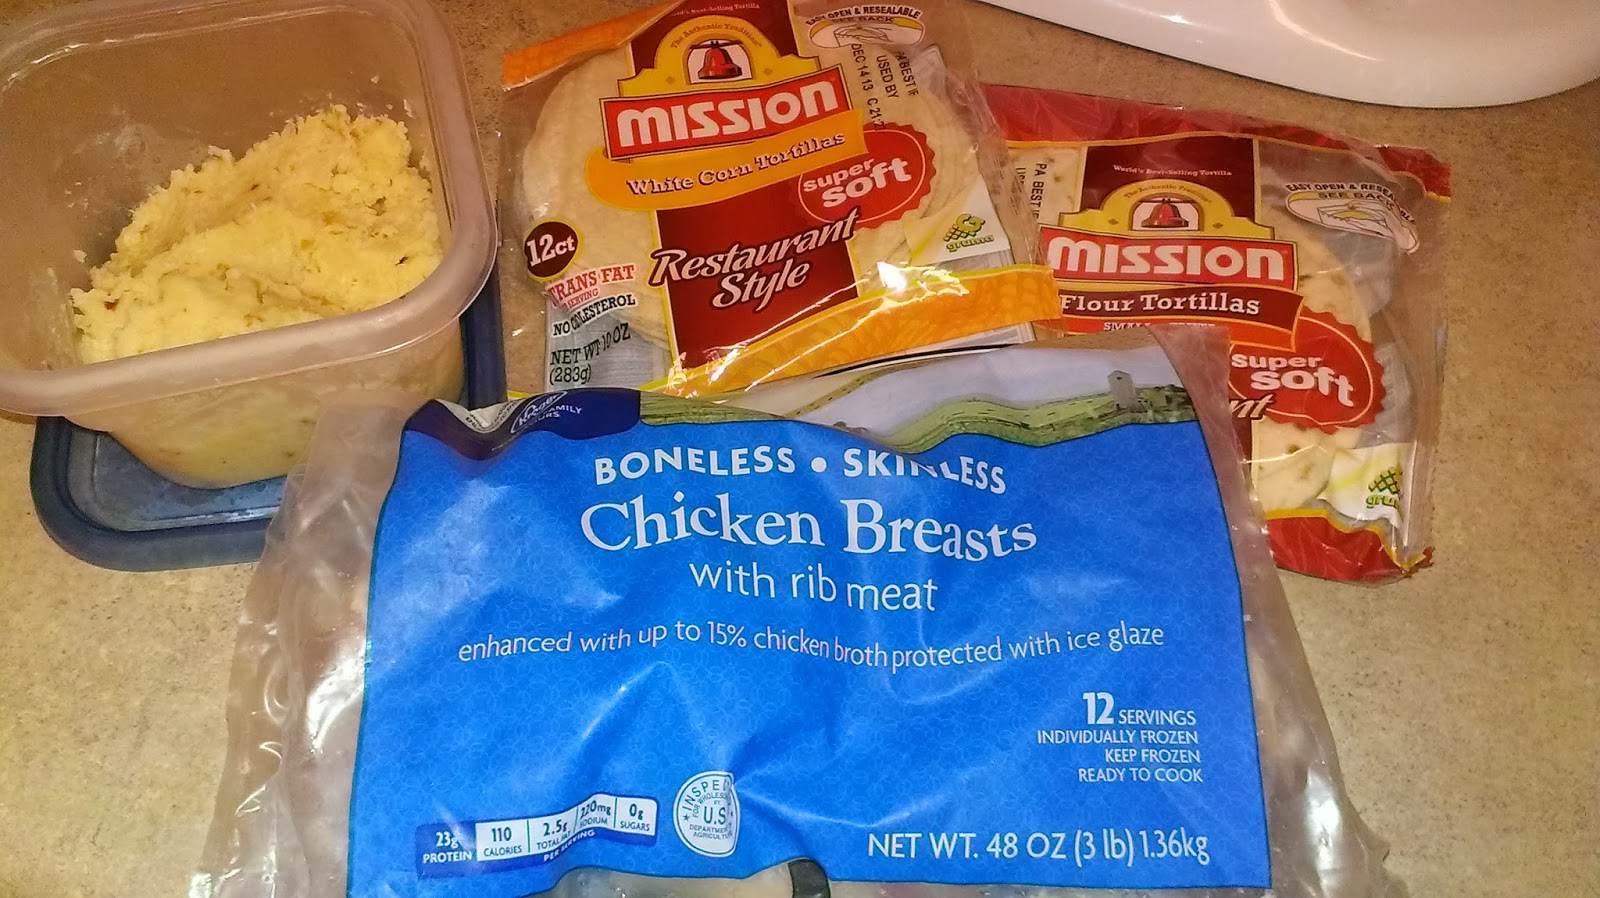
3, 3-4oz chicken breast pieces
10-15 mini tortillas
oil for frying

Cook the chicken!  All the way through.  Might take a bit... frozen over here

Make your cheese dip.  If you've been storing your cheese dip, heat it up now.  Shred the chicken.  I found it easiest to do it with a fork and knife in the bottom of a bowl.

Mix the chicken with the cheese dip.  Spread a bit on one of your tortillas.  I used about this much.

Fold one flap and then the other in a burrito style.  Lightly fry with oil in a skillet.

Test for a light golden brown color on each side.  You want it to be crispy!

I tried using corn tortillas and they kinda fell apart.  As I'm normally into flour, I'd say to stick with them.  Or maybe there's a corn tortilla technique out there.  I'd have to find it to be 100% sure.

Serve and dip into some tasty salsa!  Corn and flour alike.  Cheese and chicken extend beyond their simple containers.

</sidebar>

Sunday, October 13, 2013

Seatbelt Car Bag

Sometimes there's something that just looks so really cool and obvious that you wish that you had thought of it first.  And when it's using unusual materials it's even cooler.  The idea was a purse, and the material was seat belt webbing.
HOW DID I NOT THINK OF THIS!?!?!  Made in the USA. :)
<http://www.seatbeltbags.com/>

My huge weakness in accessories is handbags.  Or totes, pretty much anything that can be used to carry random things.  Because you should be able to carry a full pharmacy around with you at all times.  You never know when you might need something.  Like emergency cash.  For tipping your bartender!
cash-wad
This is approximately the amount you need.
<http://preppercentral.com/?p=1629>
However, the seat belt purse DIY was always just out of reach as I I'd have to go through the process of ordering the seat belt material.  Laziness or just not wanting the mailman to think that my place is a permanent stop on their route.  The junk yard closed so early that it was hard to go out there and cut them out of cars.  Which is fun, but a bit disruptive.  After a quick trip out to the Scrap Exchange, that all changed: there were seat belts!  I decided to start small with a trash can for my car to get everything sorted out


Materials
Seat belt webbing - 226" long
Basket Protector, Longaberger Small Boardwalk - optional
Stapler w/ staples
Lighter

I made all the measurements around the protector since I wanted a bit of extra support.  The protector is about 6" high and 24" around on the top.


Cut 3 strips to 24".  Seal the edges with the lighter.  Staple, or if you're really good, fuse the edges of the seat belt material together.

There are 2 separate sides: the longer sides which are juuuuust slightly lager than 2 inches wide.  And the wider side is about 4 seat belts straps wide. Cut 2 strips 20" long, 2 strips 16" long, and 1 38" long.

The 4 strips that go along the sides are laid out: 16 - 38 folded in half to form a loop - 16.

Weave the strips into a basket pattern.  Slide 3 bands up the 4 strips.  Staple the ends of the longer bands to the top band around.  This holds the bands in place as you go about weaving the ends.  Make sure that the seams are hidden behind the upright straps when you're weaving.

After you weave in the ends, staple the edges.  You don't have to keep these staples in; after we do this next step, you can pull them out!  Cut the last strip, or take what you have left, 24" and we're going to use this as our top edging.  This will be folded in half and sewn across the top.  You can use a sewing machine or do this by hand.

Start the edge on the inside of the handle.  The overlap will be covered or not seen from the outside of the bag.  Though this is a trash can, we're not going to be going for anything too fancy.  Also, I encountered some.... issues with the sewing machine.  It was a bit thick, so I finished it out by hand.  Meet the edges by the strap.

Add the protector with trashcan.  Place in car and be ready for some happy passengers.  Now they have somewhere to place all the fruit by the foot wrappers for post-car snack happiness

</sidebar>