Friday, October 3, 2014

USB Pendant Necklace

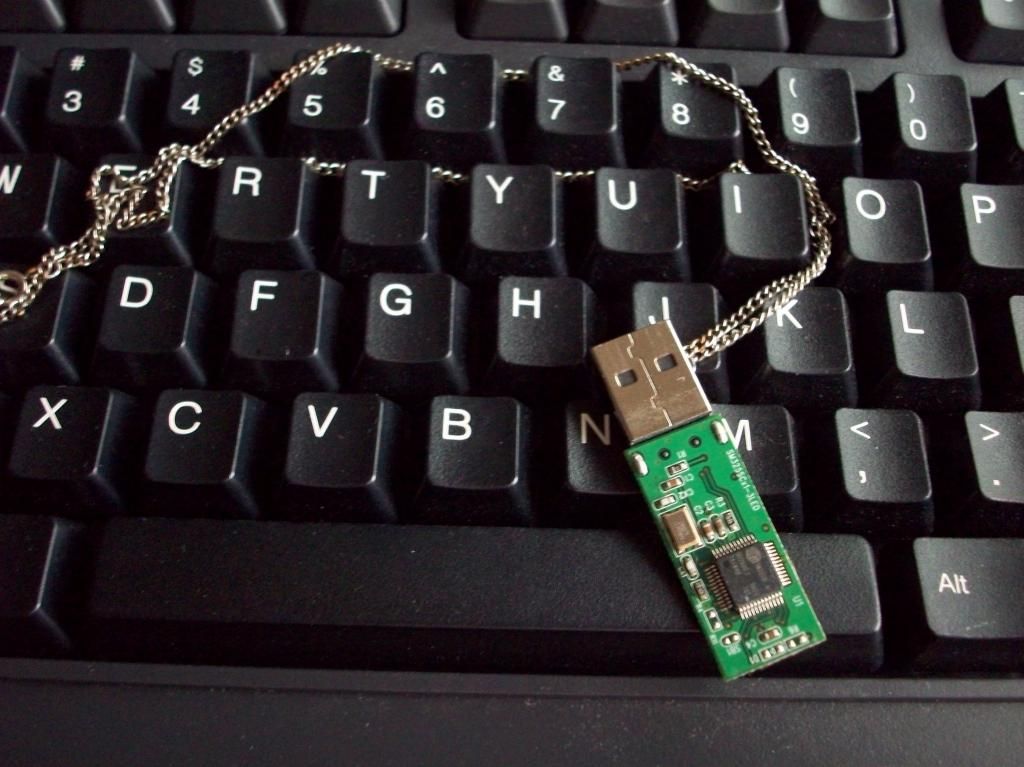
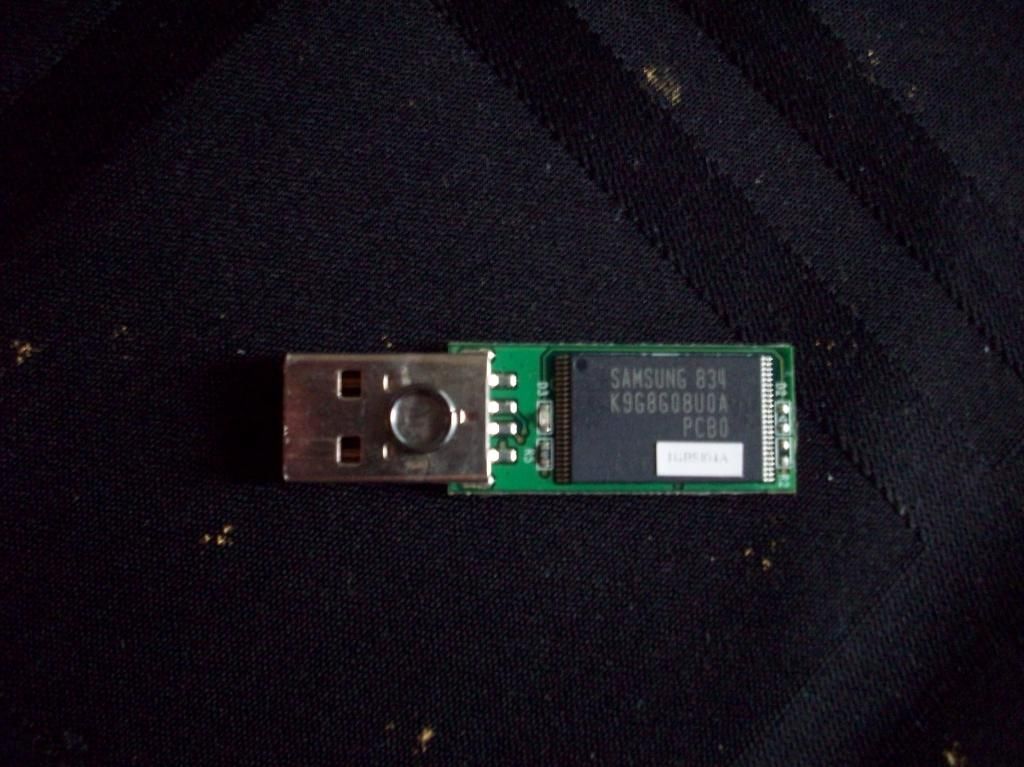
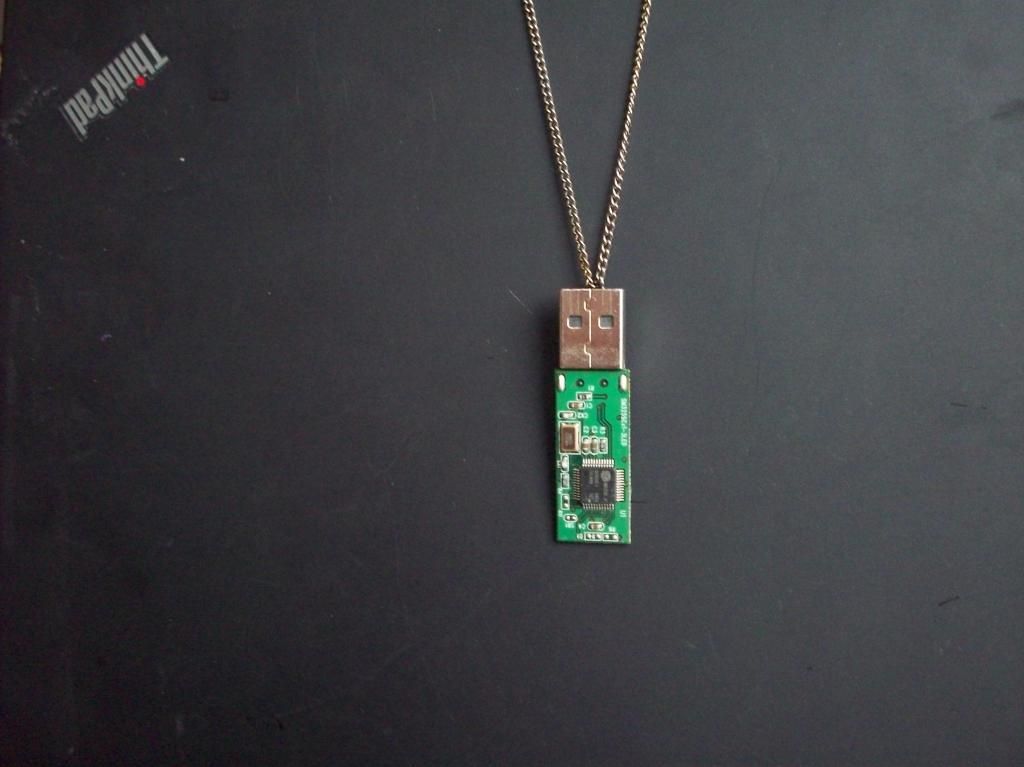
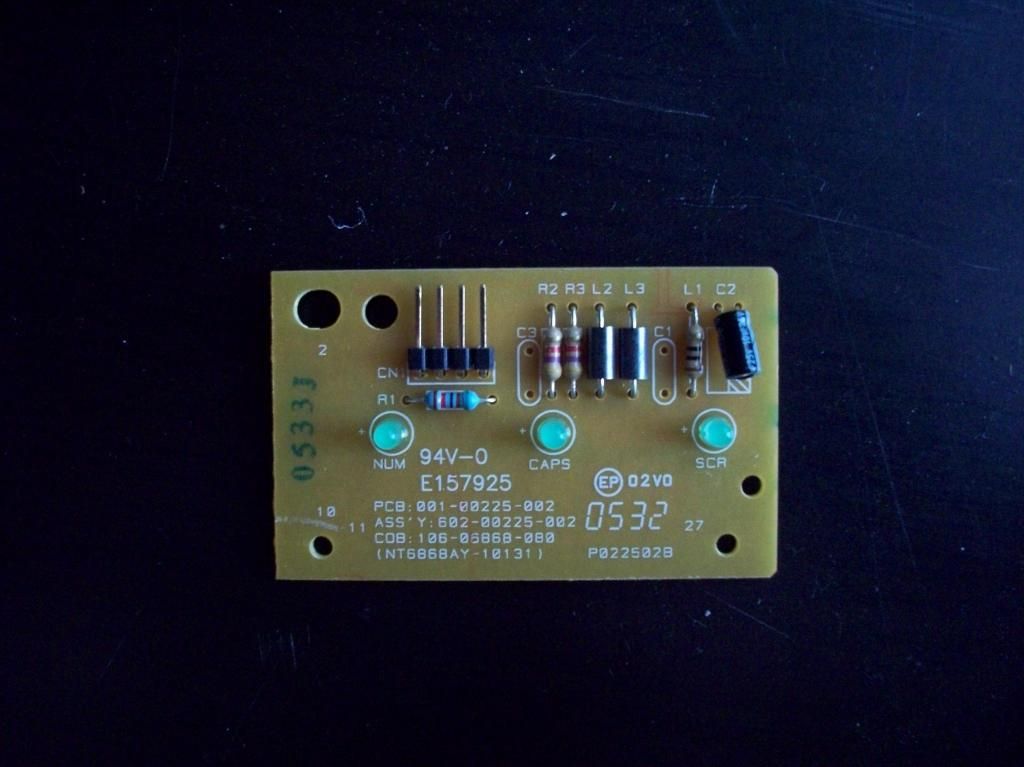
I'm convinced that whoever was talking about beauty being on the inside was talking about tech.  You can take your sleek aluminum casing, I want to see the guts!  The kelly green background to a swirl of silvers, tans, and flecks of resistor bands.  Look at this and tell me it's not cool:
You know you've seen this in a museum... of computer history
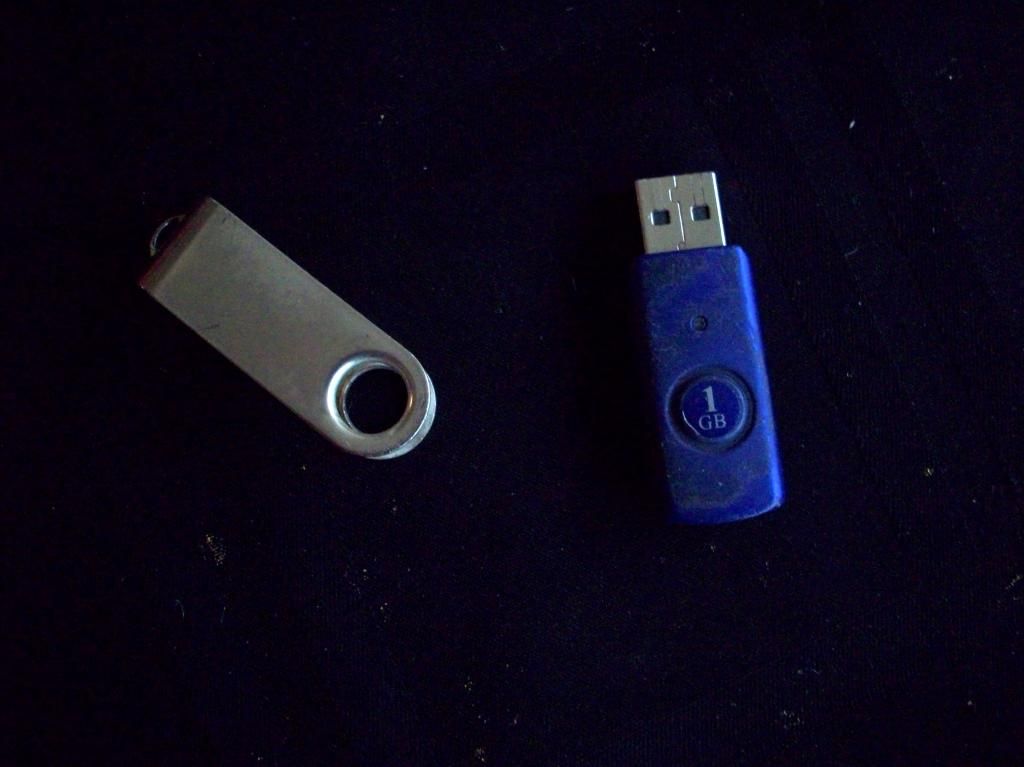
When my handy, dandy 1GB *dies laughing* drive died from being, politely put, "overexposed to adverse conditions", aka living on my keyring for 5+ years, I decided to pry it apart and squeeze just a bit more out of it.  Can USB drives be the next lemon?  You can use the pulp, juice, and zest?

Note: if lemon, do like Meatloaf and get your money back
Of course, you don't have to do this with a dead USB drive.  If you have something special, like some photos, a killer drink recipe, or your super secret spy program, you can also store on this device.  I don't know how it'll stand up to the elements, so make sure you have that drink recipe backed up.  It'd be a shame if the world was deprived of another great way to use gin.  *pours out a glass*

MaterialsUSB drive
2 jump rings - 6mm
chain

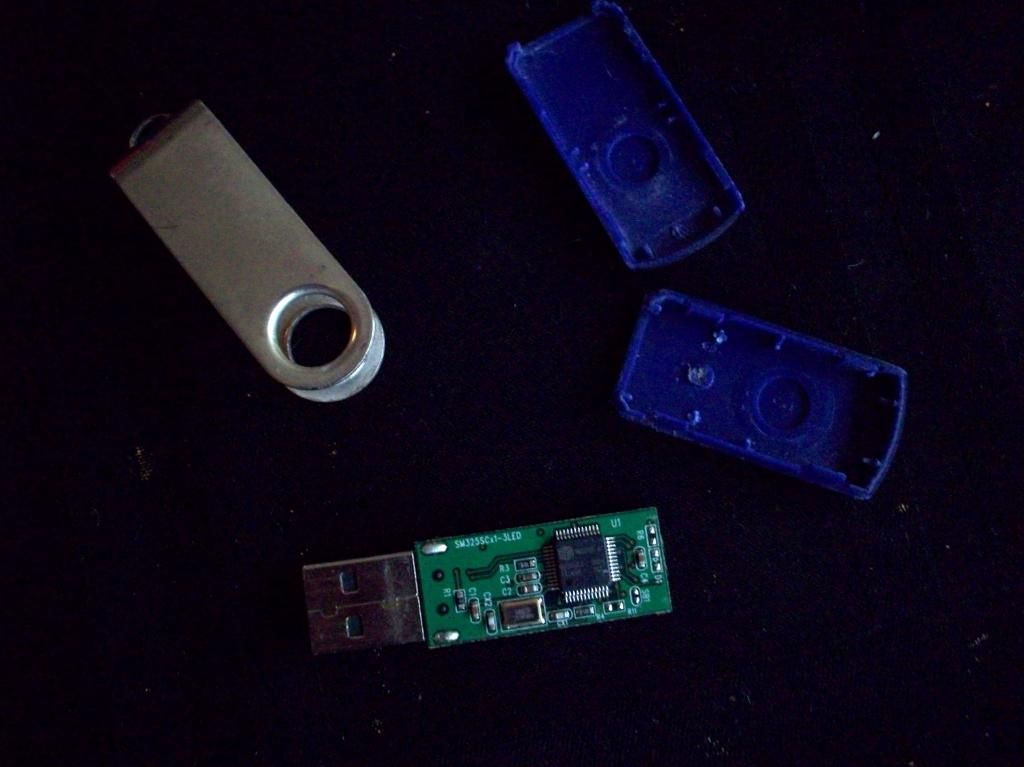
Take the casing off the jump drive.  Depending on how much "preconditioning" your drive has been through this could be really easy.  Use a flat head screwdriver or a small awl to get in along the seam if you're having problems.

We're going to loop the jump ring through the underside of the connector so the head is the new top of your pendant.  Make sure your jump ring will fit doing a visual check.

This will make it difficult to use as a drive, but meh, you can still get in by opening the jump ring.  Open and insert through the back loop.  Loop the other jump ring through the first.  This will keep the necklace lying flat.

Enjoy knowing that the beauty is now outside.  Now, go take apart something else to see what you can do with it!


</sidebar>

Friday, May 16, 2014

Upcyled T-Shirt Tote Bag

It's been awhile since I've crafted something.  I was about to say "at all", but really more "original enough to serve in this sidebar".  I'm definitely a devotee of Pinterest and of the todo list so I'm terribly into trying to knock out every single one of the things I pin.  I think that people fall into 2 categories: those that get the satisfaction from finding the pin, and those that get satisfaction when they've personally done the pin.
No matter what the result.  Or lack there of.
<http://www.boredpanda.com/funny-pinterest-fails/>
I've also been kinda silent on here for awhile because I'm trying to figure out how to make this personal effort look better.  Your cell phone + not-editing photos can only take you so far.  Like to your personal albums.  #vaca4evr
I heard lens flare is a cool effect.
 Not to say I'm trying to serve up drinks just because I have 2 hands and a keyboard.  I've also got a dedicated crafting corner and Kitchen Aid.  I'd like to share some unique ideas and give back to the community that's given me so much over the years.  I went from feeling like the only one who looks at everything through the eyes of the modifier to discovering that there are people out there that like to take things apart, create new things, and gift kit the shit out of holidays!
Tech-savvy DIY Enthusiasts Innovative Projects and Ideas
If I knew about this years ago, life probably would have gone in a different direction
<http://makezine.com/>
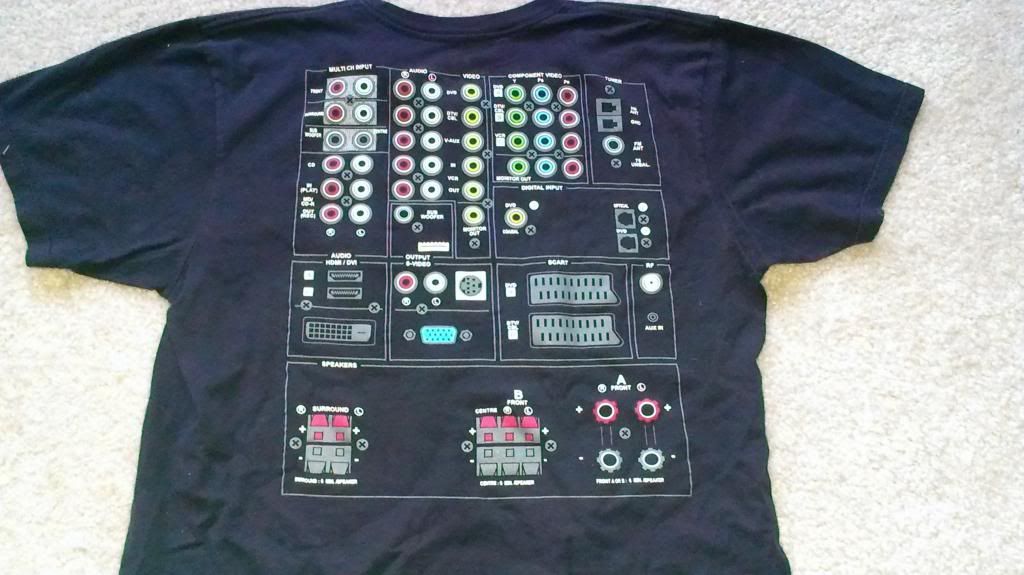
So, after waxing poetic and checking to make sure my Diet Coke didn't also include some rum, I'm back to showing off this nifty tshirt bag.  I'm sure you've seen bags made from tshirts, and just about every which way under the sun too.  This one had an interesting pattern on the back worth saving, and I squared the bottom to enable easy carrying of square boxes.


Materials:
Old (or new) tshirt
..... and that's about it.

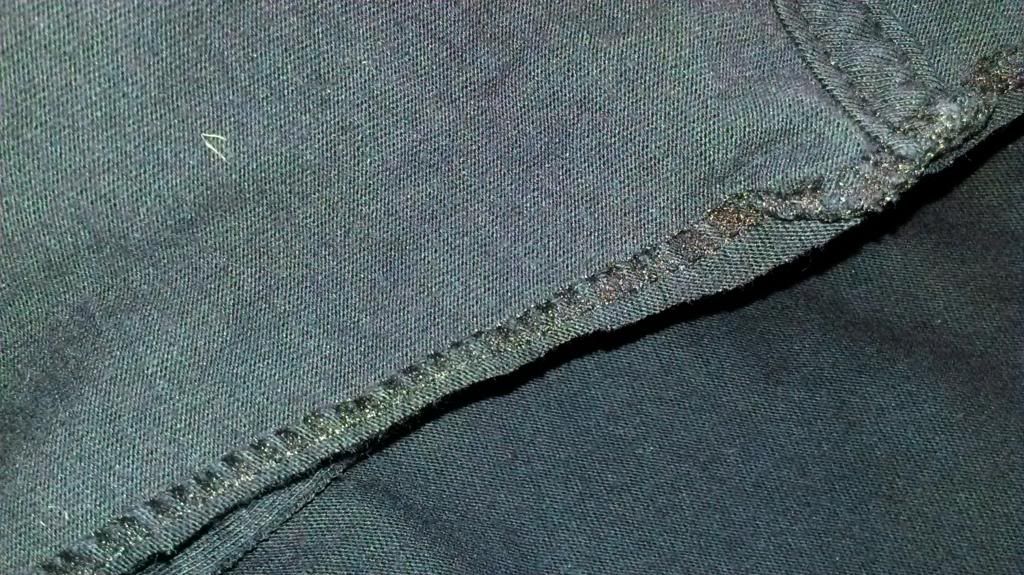
Tshirts are great for modification because if you cut them just right, your seams are taken care of.  This prevents unraveling.  We're going to turn the sleeve holes into the handles for our bag, so we'll start the cutting journey there.  Remove the sleeves avoiding cutting through the seam holding them to the tshirt proper.  Leave the seams on the shirt for some extra reinforcement.
Doesn't have to be perfect, that's why the seam is there
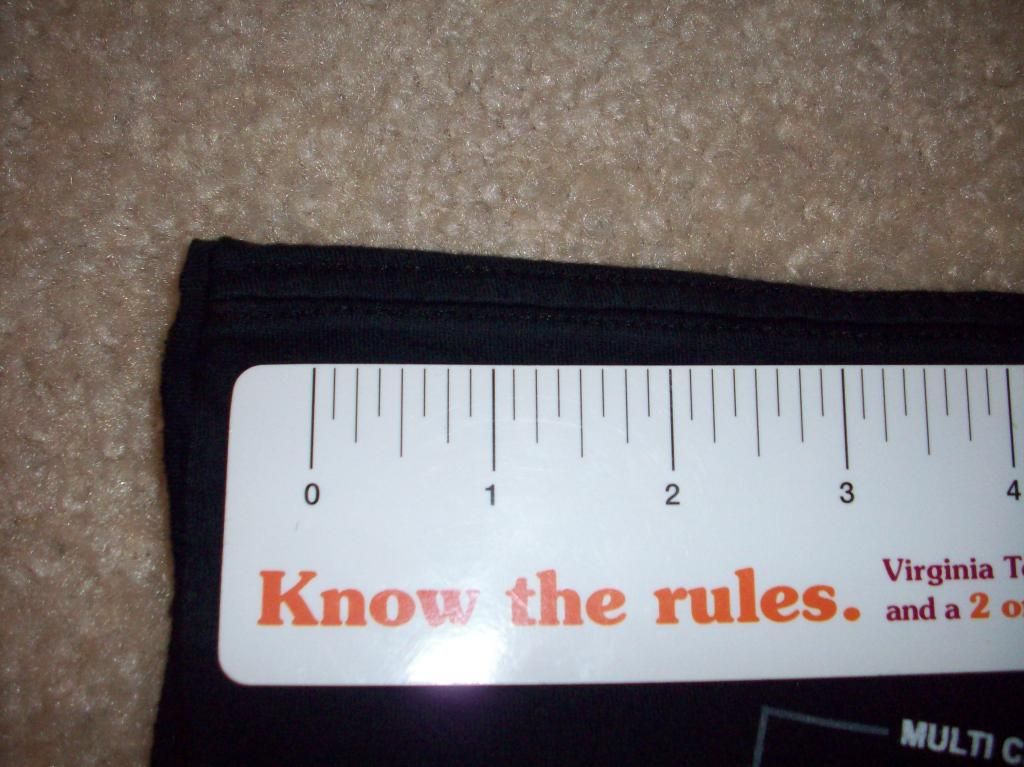
At the bottom of the shirt cut out a 2"x2" square from each of the sides.  This will create a 4" long base giving you a pretty rectangular tshirt bag.  I didn't count below the bottom hem in my measurements since we'll be using that as the marker to sew the bottom of the bag.


Flip the shirt inside out and sew he bottom closed.  Sew as close as you can get to the hem.  Fold the squares along the diagonal so the bottom seam is in the center of the diagonal.  Sew straight across the hole.  I left about a presser foot distance away from the edge of the fabric.  Repeat on the other side.
& sometimes you still take shitty pictures
You could stop there, but why not make this a bit fancy?  You can highlight the effective bottom of you bag by creating an edge running around the outside of the bag with an extra stitch.  You could use matching or contrasting thread to make it a highlight or something that blends in.  Make sure the side is flat; iron if necessary.

Keep the stitch about a 1/4" or side of the presser foot away from the edge.


On the top of the shirt, make a small snip 3 inches from the edge of the sleeve holes.


 Cut a wide sweeping arc from one snip mark to the other.  On the back, make sure you don't cut into the design.

 On the front, cut a deeper arc from one snip mark to the other.  This can be as deep as you deem necessary; don't go more than about 5-6" down from the "top edge" of the shirt.

Leave the edge raw, and fill up with groceries to make what's currently flagged in your cookbook/Pinterest boards!


</sidebar>
Tuesday, May 13, 2014

Wooden Crate with Lid

Summer is awesome for a wide variety of reasons.  Most of them being picking/snacking on fresh fruits and veggies, drinking a fresh brew on the patio in the evening, and getting back into my shop because it's no longer a health risk to expose bare flesh.  I'm saying summer because we kinda skipped over that whole spring thing and went right from pollen season to heat season.
Weather.com
Summer is also great for all the different outdoor games that have been unlocked with the arrival of outdoor-tolerable temperatures.  I Kickstarted (that has now officially been made a verb) a game last summer which was really interesting, but unfortunately was contained only by the US Postal Service's large standard shipping box.
Picture of Finishing Touches!
Not anymore!
So my first instinct was to build a proper storage crate for the pieces.  I also wanted a lid, so nothing would get on the game pieces when transporting them places.  And bonus!  I could balance things on the lid like snackage when bringing it to people's houses.
Picture of Wooden Crate with Lid
Fits a 8x8 or 9x13 dish on the top!
It's 12x12x7 so it can hold a lot of stuff.  Actually, whatever you can fit into a USPS Flat Rate Large Box as the interior dimensions are just an inch taller. Head on over to Instructables to see the complete build at Wooden Crate with Lid.

</sidebar>

Sunday, March 23, 2014

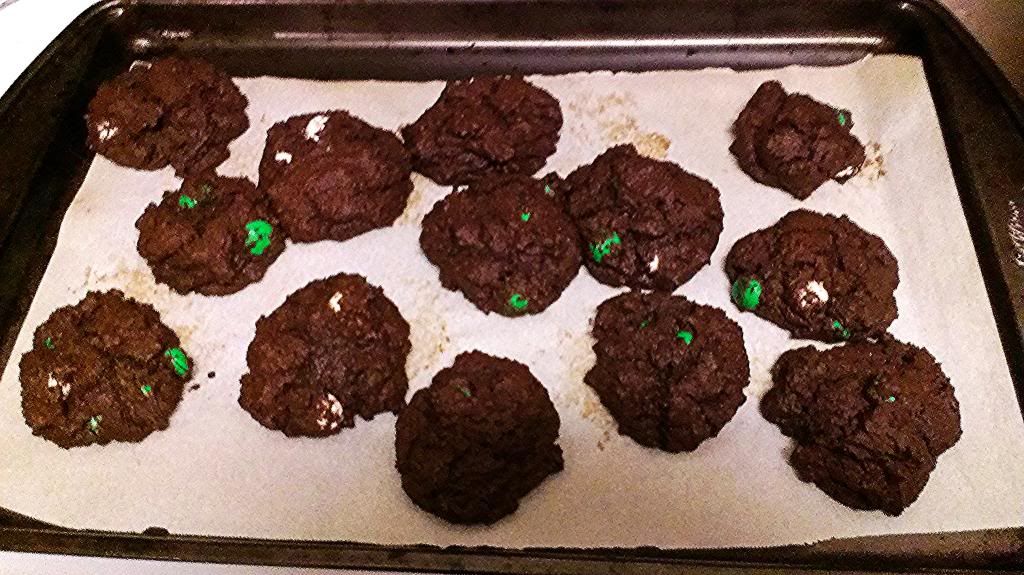
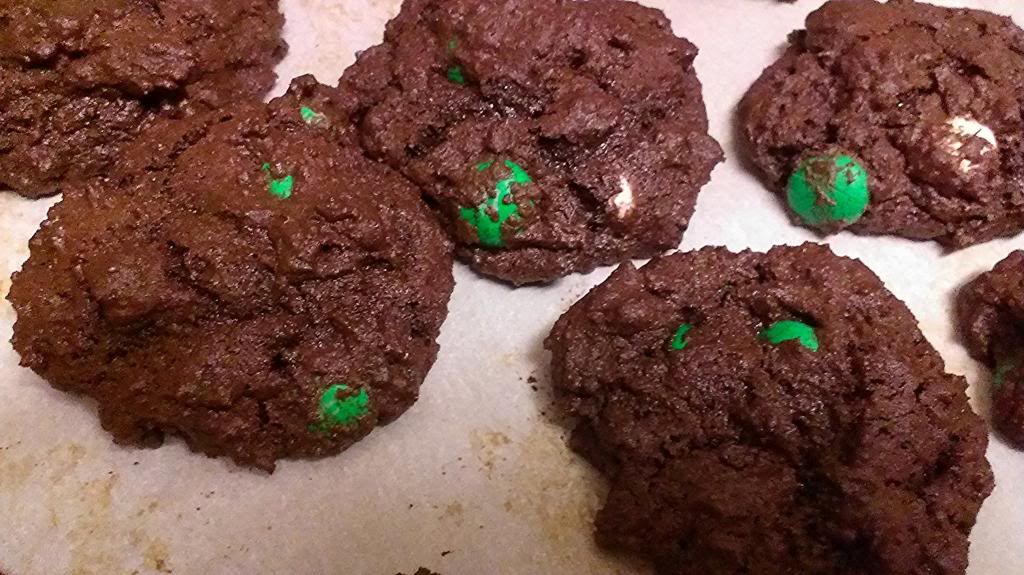
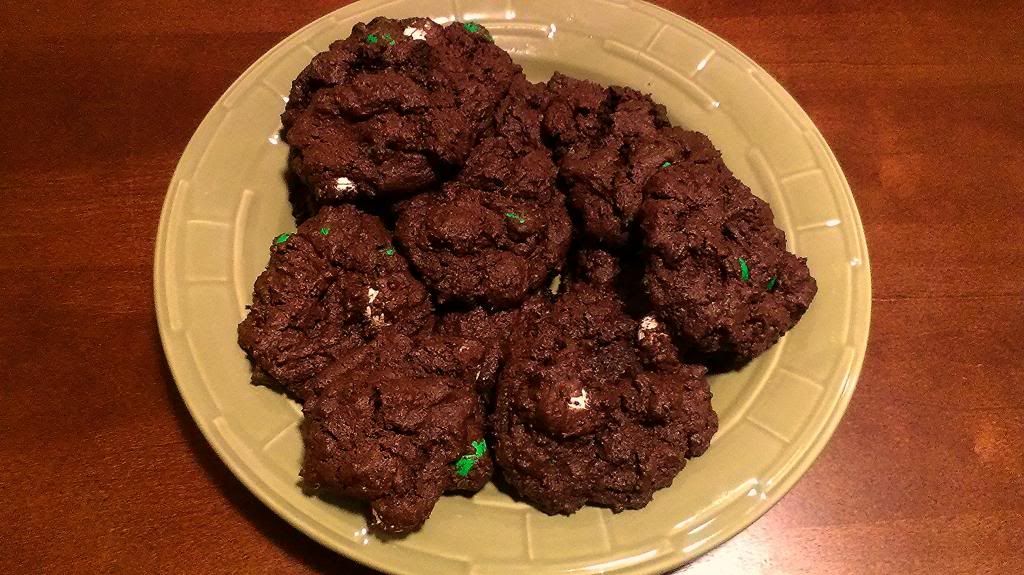
Mint M&M Chocolate Cookies

Winter as a collective whole has pretty much been devoted to food.  We figure if the weather is going to be cold and the sun goes down earlier, we might as well claim it's dessert time and keep the house warm through ovens.
This right here.  And US40 being shut down
<weather.com>
The holidays in the US are luckily closely themed in colors, I'm guessing to let it slide if the decorations for Christmas were buried under a pile of snow for Valentine's Day and are just starting to peek out for St. Patrick's Day.  Sidebar: isn't great how we can also stay warm through all three with some bar tending skills?  This also means that you are presented with the opportunity to save some money when stocking up on discounted merchandise from last season.
Hey girl hey!
It also means some poor soul will have to eat the color that is not currently in season.  Free pour for them.
Someone has to sacrifice.


Ingredients - Cooke recipe adapted from Raspberry Chocolate Cookies by Heat the Oven to 350
1/2 cup unsalted butter
1/2 cup white sugar
3/8 packed brown sugar
1egg
1/2 tsp vanilla
3/8 tsp mint extract
1/4 tsp salt
1/2 + 1/8 cups unsweetened cocoa powder
1/2 + 3/8 cups all-purpose flour
1/2 tsp baking powder
1/2 tsp baking soda
Approx a cup of mint M&Ms


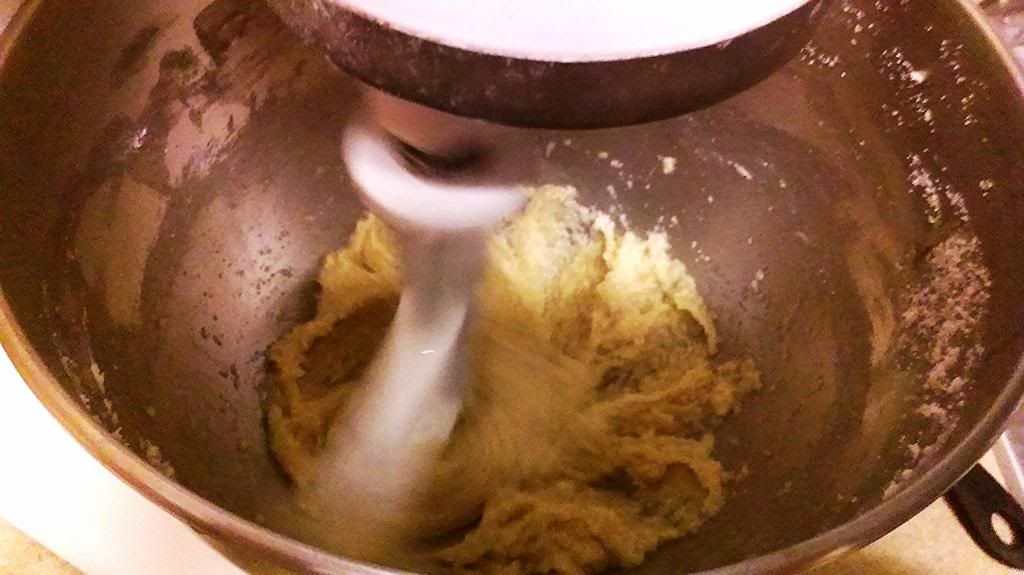
Preheat oven to 350 degrees. In a large bowl, cream together the butter, brown sugar and white sugar until light and fluffy.  Add the vanilla and raspberry extracts and then the eggs one at a time, beating well with each addition.

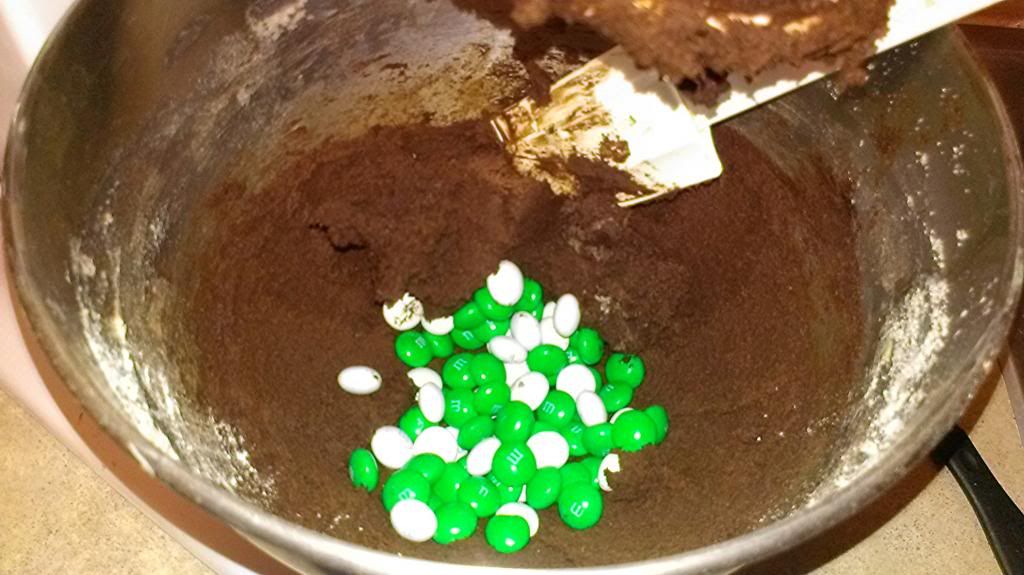
 Combine the salt, cocoa, flour, baking powder and baking soda and gradually stir into the creamed mixture.  Add M&Ms!

Shape dough into 1 1/2 T sized balls.  Bake 8-10 minutes or until the cookies..
 
 
Allow cookies to cool on baking sheet for 5 minutes before removing to a wire rack to cool completely.

Enjoy the various tastes of the season(s)!

</sidebar>
"Let's Cook" Kitchen Towels

There's a lot of debate around Valentine's Day/Lupercalia/Singles Awareness Day.  Countless arguments, infographics, quizzes, guides, and stock photos for and against the holiday have been thrown around.  Either way, it's a great excuse to drink.  AND for 2014-15, it's on the weekend.  Round on the house!


And it's a great excuse to give away gifts.  To everyone you love/like/like like/appreciate/tolerate.  Of course it's really because you want to try making something new.  If you're like me, I can't keep everything in my house because there's just too much.  I enjoy the process of making much more than the realization that I now have a bunch of bottle cap castings lying around, or another bag.  For the required trips to the craft store to get more supplies.  Or to Kroger.  Those gas points aren't earning themselves.

The Breaking Bad train has so left the station that it's stars are using it as a vehicle to step into their next roles.  Sidebar: can't wait to see Need for Speed, hopefully a pure racing movie that gets a video game franchise right.  I decided to share the love of cooking with both Heisenberg and my special someone with a kitchen towel.  Have to have some way to wipe all the evidence off your hands.

Let's Cook Kitchen Towels - following directions from DIY Screen Print by My Calico Skies
Materials
Embroidery Frame - mine was 9 inches
Stocking
Mod Podge
Fabric Paint
Scraper
Bar or Tea Towel

The tutorial is really good; I highly recommend following it!  Draw out your picture.  You can see my Heisenburg poking out from the back of the materials picture; I went for the iconic hat, sunglasses, and goatee.  Trace it onto your stretched frame.  Fill in around picture with Mod Podge; you don't have to slather on the glue, but it does need to be a fairly thick layer.  Let completely dry.
The shiny areas are the Mod Podge
Fill in ay holes where the glue didn't 100% fill.  Place the screen where you want your picture. I ironed the towel after folding it into 3rds to more easily see where the center of the towel fell.  After you're 100% sure of placement, lay down the paint.  There's no going back now!
You can slightly see the ironed lines on the sides of the frame.
Spread out the paint all over the open areas.  Make sure you cover all the areas with a thick coat of paint and run your scraper over the areas where there's no mask.  After you've provided significant coverage, carefully lift the screen.

You may want to fill in some spaces where there was spotty coverage or leave it rugged.  Heisenberg was a rough man, he'd approve.  Take extra paint and letter "Let's Cook" on the bottom

I also experimented with Sharpie if your lettering skills are about as awesome as mine.  I went free hand because I wanted to keep this "gritty".

Now, go whip something up.  We've got mad chemistry bro.

</sidebar>
Monday, February 24, 2014

Cuppa-cuppa-cuppas

College football holds the key to my heart, which the Hokies have done a pretty good job of breaking over the past 2 years.  I didn't eat enough Which Wich... was that it?  I'll go there right now if that will bring back the team unity and the spirit that I loved watching previously.
Which Wich Image
Seriously, how many of these will it take?
http://www.whichwich.com/sandwich/elvis_wich
While we're wiping off the wounds or celebrating the successes of last season, the big game of the league-where-our-best-go-to-disappear had this little shindig called the "Super Bowl".  So after some thoughtful consideration, I determined that this was the last chance I had to have tailgate snackage until next season. I decided to bring out the side carbine to the shoulder cannon of Pinwheels.  My family has been cooking these since I remember hating the taste of alcohol.  Luckily I've gotten over that slight handicap, and now thoroughly enjoy waiting all day for these little puppies of joy.  Or at least that's what mini hotdogs should be called.  You heard it here first.

Ingredients
1 cup brown sugar
1 cup bourbon
1 cup ketchup
1 package mini hotdogs or hotdogs cut into pieces

Pour brown sugar, bourbon, and ketchup into the slow cooker.  Mix until smooth.  Try to make sure the ketchup blends in with the other ingredients and the brown sugar is not in clumps.

Pour in mini hotdogs.  Cook for 8 hours on low.  Check every few hours and stir.  This prevents things from sticking on the bottom.


Stove top variation: Mix as above but in a pot over the stove.  Yep, the cook time is still hours; you want the sauce to be as absorbed as possible!

I've also found this sauce works well over other meats such as hamburgers, pulled pork, and the ever versatile chicken.  Here's to your team, and getting ready for the spring game.  Only 7 more months to go...

</sidebar>
Sunday, January 26, 2014

Dark Chocolate Cream Cheese Cookies

One of the most important questions in a relationship should be: what side are you on?  Hard or soft?  This simple answer can help settle disputes and ensure that there is domestic happiness for years to come.  You could try to take the middle ground if you like being uncooked.  Conversely, this is one debate where the middle ground is the best option.
Straight out of the oven, you can't tell the difference.
<http://www.kingarthurflour.com/blog/2011/11/16/soft-and-chewy-vanilla-orange-cranberry-cookies-homerun-for-the-holidays/>
While I truly fall in the middle ground of hard vs. soft cookies, nothing beats a soft cookie after the initial scarfing/burning of eating cookies right out of the oven.  You have to be very careful that you don't cook the cookies too long, otherwise they get hard. While I'm a huge proponent of just popping them in for a quick "warm", there are other short cuts that you can take to make sure you're not biting into a crumbling disappointment when sneaking a cookie a few days later.
I think you know where this is going.
The answer comes in the form of cream cheese.  This keeps the cookies nice and moist after the golden period of time right after they come out of the oven.  This keeps the cookies soft in time for you to bring them to your favorite bartender.


Ingredients - inspired by Pumpkin Chocolate Chip Cheesecake Cookies by Couponing & Cooking


  • 10 tablespoons of butter
  • 8oz. of Philadelphia Pumpkin Spice Cream Cheese
  • 1 egg
  • 1 cup of sugar
  • 1 teaspoon vanilla
  • 2 cups of flour
  • 1/2 teaspoon baking powder
  • 1/4 teaspoon baking soda
  • pinch of salt
  • 1 cup of chocolate chips
  • - See more at: http://www.couponingncooking.com/2013/09/pumpkin-chocolate-chip-cheesecake.html#sthash.M0i7fYr8.dpuf


  • 10 tablespoons of butter
  • 8oz. of Philadelphia Pumpkin Spice Cream Cheese
  • 1 egg
  • 1 cup of sugar
  • 1 teaspoon vanilla
  • 2 cups of flour
  • 1/2 teaspoon baking powder
  • 1/4 teaspoon baking soda
  • pinch of salt
  • 1 cup of chocolate chips
  • - See more at: http://www.couponingncooking.com/2013/09/pumpkin-chocolate-chip-cheesecake.html#sthash.M0i7fYr8.dpuf


  • 10 tablespoons of butter
  • 8oz. of Philadelphia Pumpkin Spice Cream Cheese
  • 1 egg
  • 1 cup of sugar
  • 1 teaspoon vanilla
  • 2 cups of flour
  • 1/2 teaspoon baking powder
  • 1/4 teaspoon baking soda
  • pinch of salt
  • 1 cup of chocolate chips
  • - See more at: http://www.couponingncooking.com/2013/09/pumpkin-chocolate-chip-cheesecake.html#sthash.M0i7fYr8.dpuf
    10 tablespoons of butter

    10 tbsp butter, softened
    8oz Philadelphia Snack Delights Dark Chocolate Cream Cheese
    1 egg
    1 cup sugar
    1 tsp vanilla
    2 cups flour
    1/2 tsp baking powder
    1/4 tsp baking soda
    pinch salt

    Preheat the oven to 350.  Beat together egg, sugar, vanilla, and cream cheese until smooth.


    Add all dry ingredients and mix thoroughly.

    Drop the cookies on a baking sheet.  I used a cookie stone, and a cookie sheet with parchment paper.  Bake for 10-12 minutes
    Sidebar: let's talk baking sheets.  I've discovered that cooking on a stone vs a cookie sheet produces a more fluffy cookie.  This keeps softer longer, and the bottom isn't as dark.  While cooking a chocolate cookie, that's not as big of a deal, but on sugar or pumpkin, it sure helps make you look like a pro.  I highly recommend using a stone whenever you have a chance.  Even if it doesn't look like you'll ever be able to get it 100% clean again. :)
    Right: from a stone.  Left: from a sheet.
    </sidebar>