<speed rack alt_text:"Southern Eastern cuisine, remixed!">
</speed rack>
Cole slaw was never my favorite part of barbecue. The mayonnaise and the spices killed it for me, and it doesn't keep well on a plate on a hot summer day. Unfortunately, barbecue almost requires cole slaw to the point where it's on the sandwich. Luckily, you can usually scrape it all off in one piece (score!) or get it on the side. Or! If you're really lucky, you can find a recipe that uses vinegar just like the good sauce.
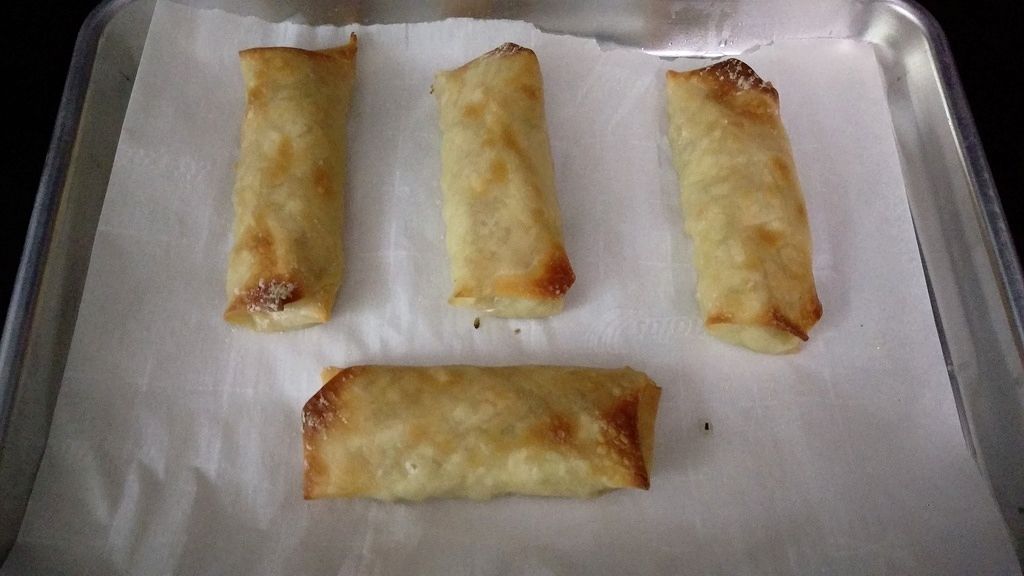
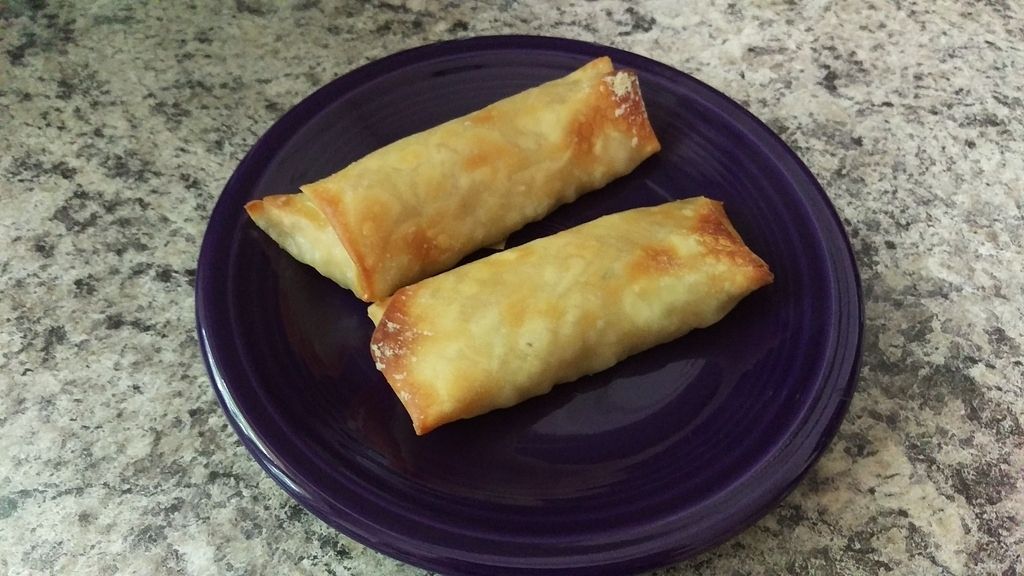
Cole slaw translates pretty well into egg rolls or spring rolls. Since I had a bunch of leftovers, I actually ended up eating it straight from the serving bowl while the egg rolls were in the oven. Cook's gotta eat!
Ingredients Recipe: Eastern North Carolina Slaw from Southern Living
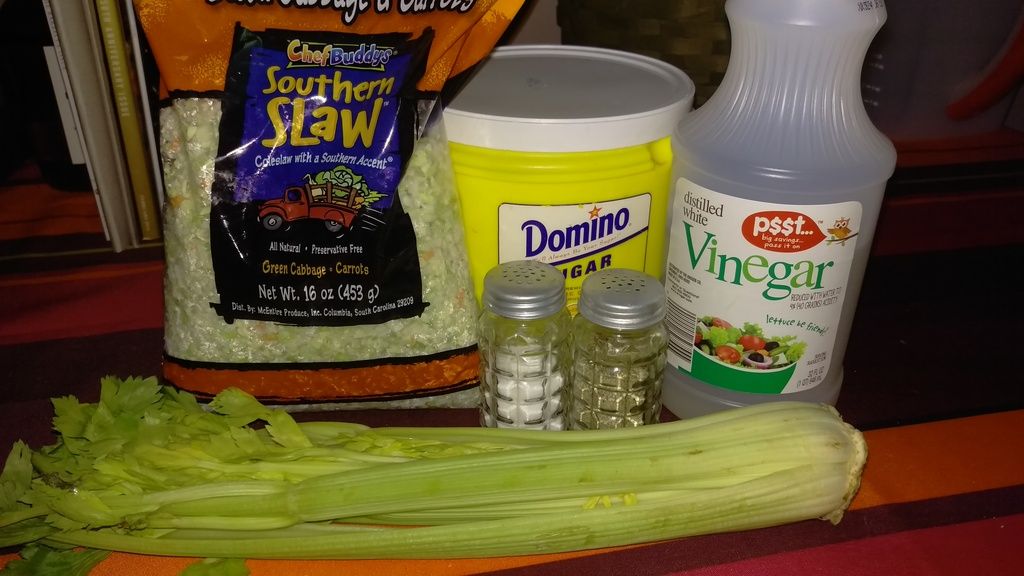
1/2 cup white vinegar
1/4 cup sugar
1 tsp. kosher salt
1/4 tsp. freshly ground black pepper
1/2 head green cabbage (about 1 lb) grated - I usually get it preshredded
1/2 cup chopped celery
Egg roll wrappers
Olive oil
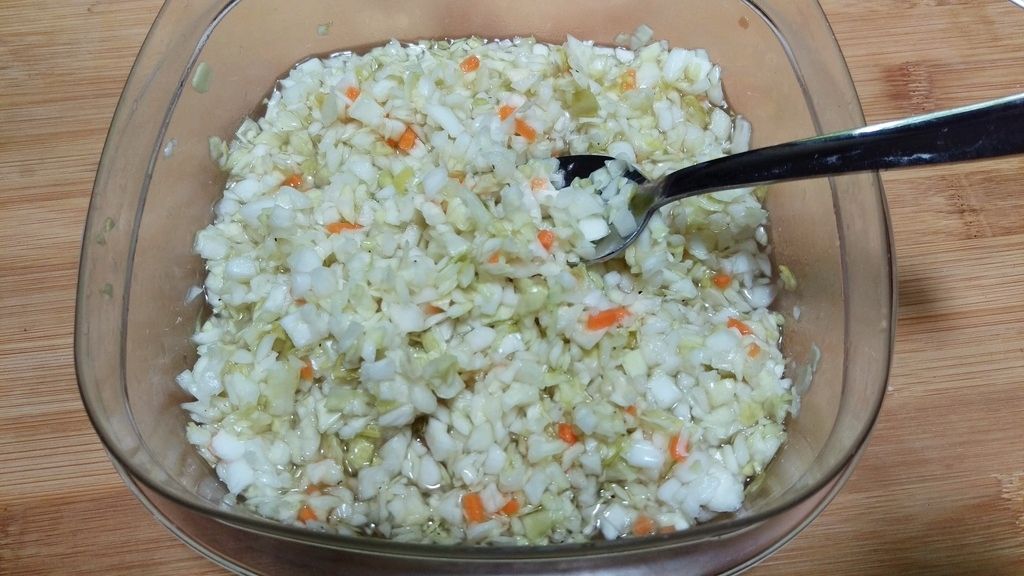
Mix all ingredients, toss to coat. Let stand 1 hour before serving, tossing occasionally.
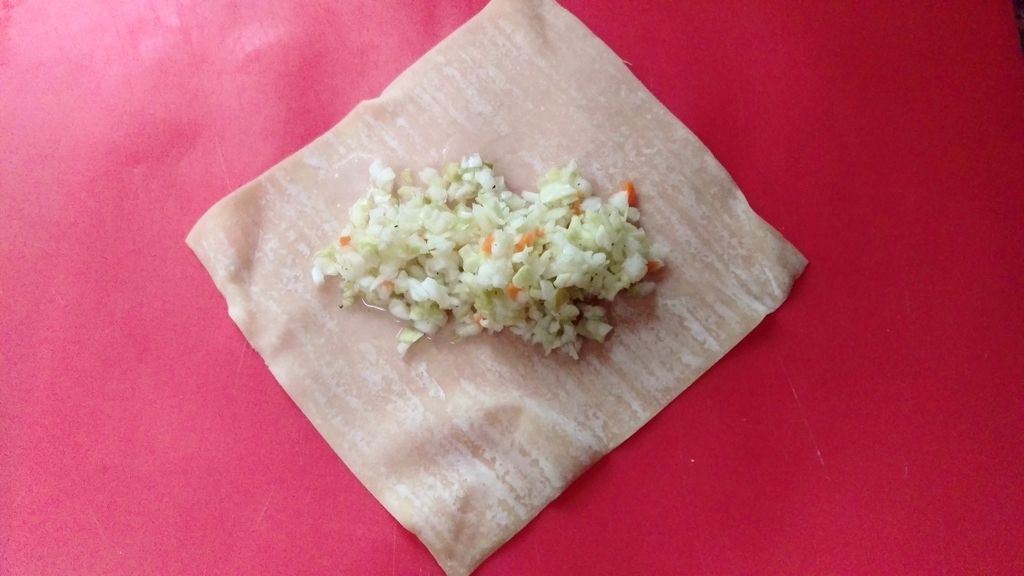
Preheat the oven to 400F. Assemble the egg rolls. Spread a small amount of cole slaw into the center of the egg roll wrapper.
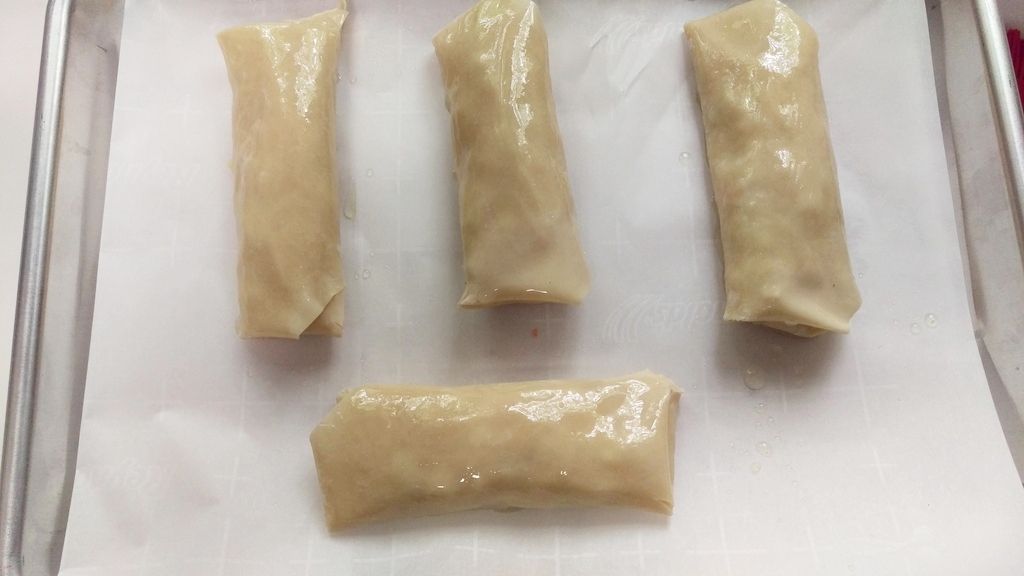
Fold the bottom of the wrapper over the cole slaw, wet and fold in the 2 sides. Wet the edges of the top part of the wrapper and roll closed.
Assemble as many as you'd like to eat. This make approximately 10 egg rolls depending on the amount of filling you use. Brush the tops of the egg rolls with olive oil. Put in the oven at 400 for 10 minutes or until golden.
Let cool and enjoy! I find these are best when cooled, and the reheat very well.
</sidebar>
Friday, May 27, 2016
Friday, May 20, 2016
NC BBQ Dim Sum: Banana Pudding Tartlettes
<speedrack alt_text="Turn pudding into a spoonless treat!">
</speedrack>
Until I moved to/further down in the South I could probably count on one hand the amount of times I ate banana pudding. There are about 30 million different types of pudding I would rather have. Chocolate full stop.
However, I discovered the best part of banana pudding is not the pudding itself, it's the Nilla Wafers. After sitting in the pudding, they absorb the sweet pudding flavor, and it's like eating saturated milk-dipped cookies... with a spoon!!! So much awesomeness.
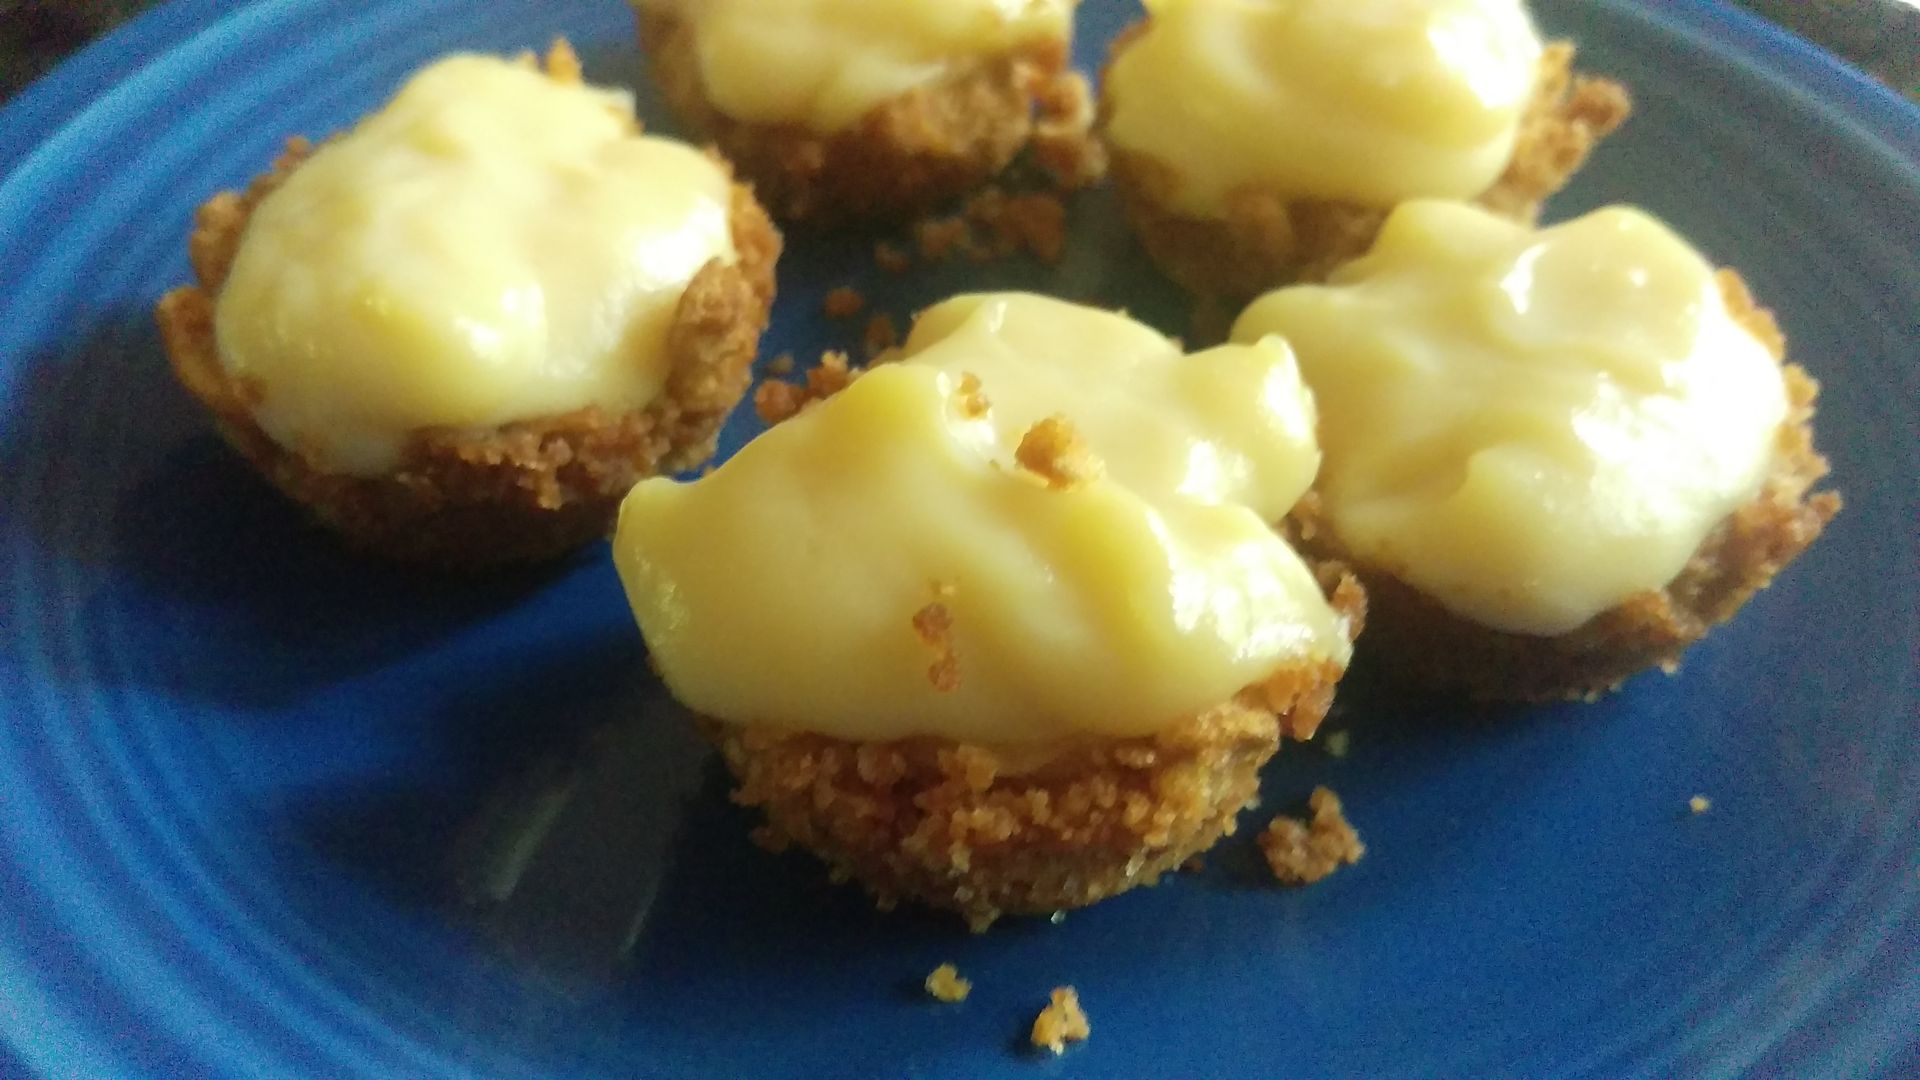
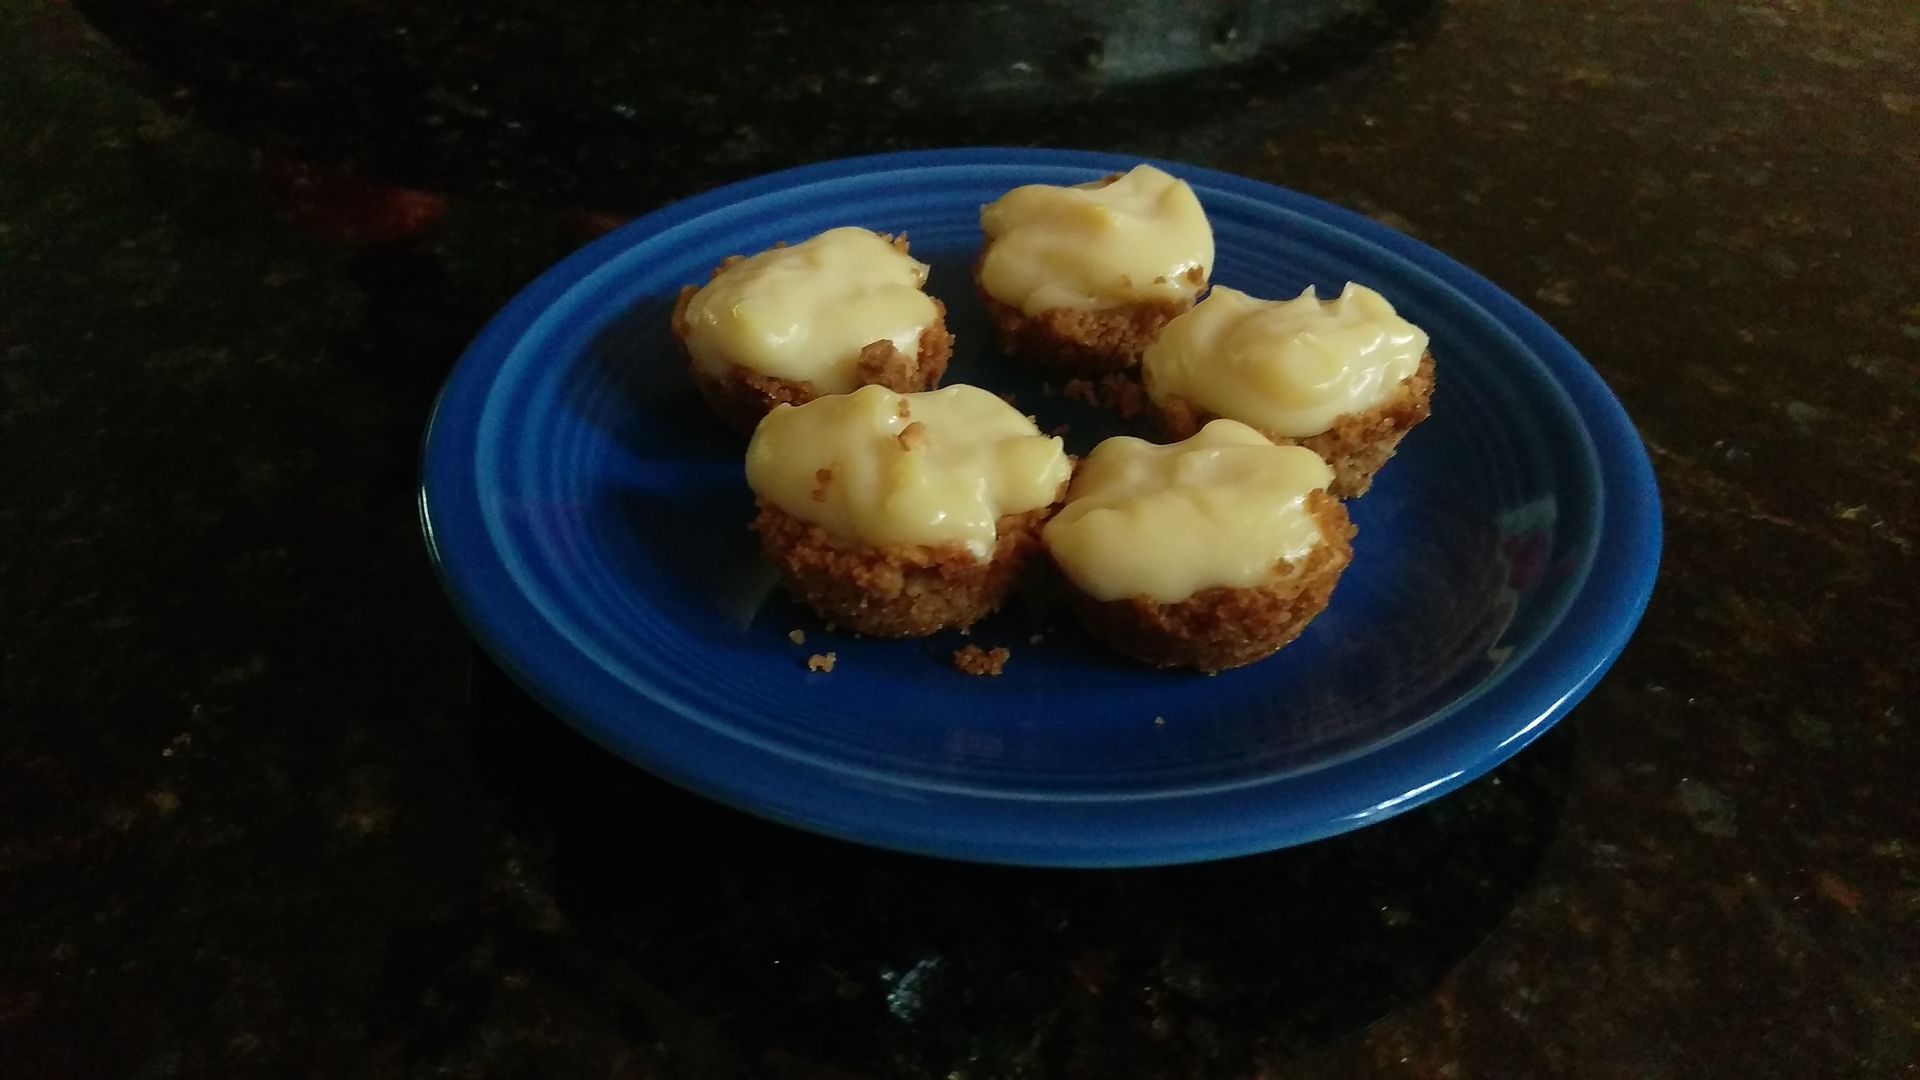
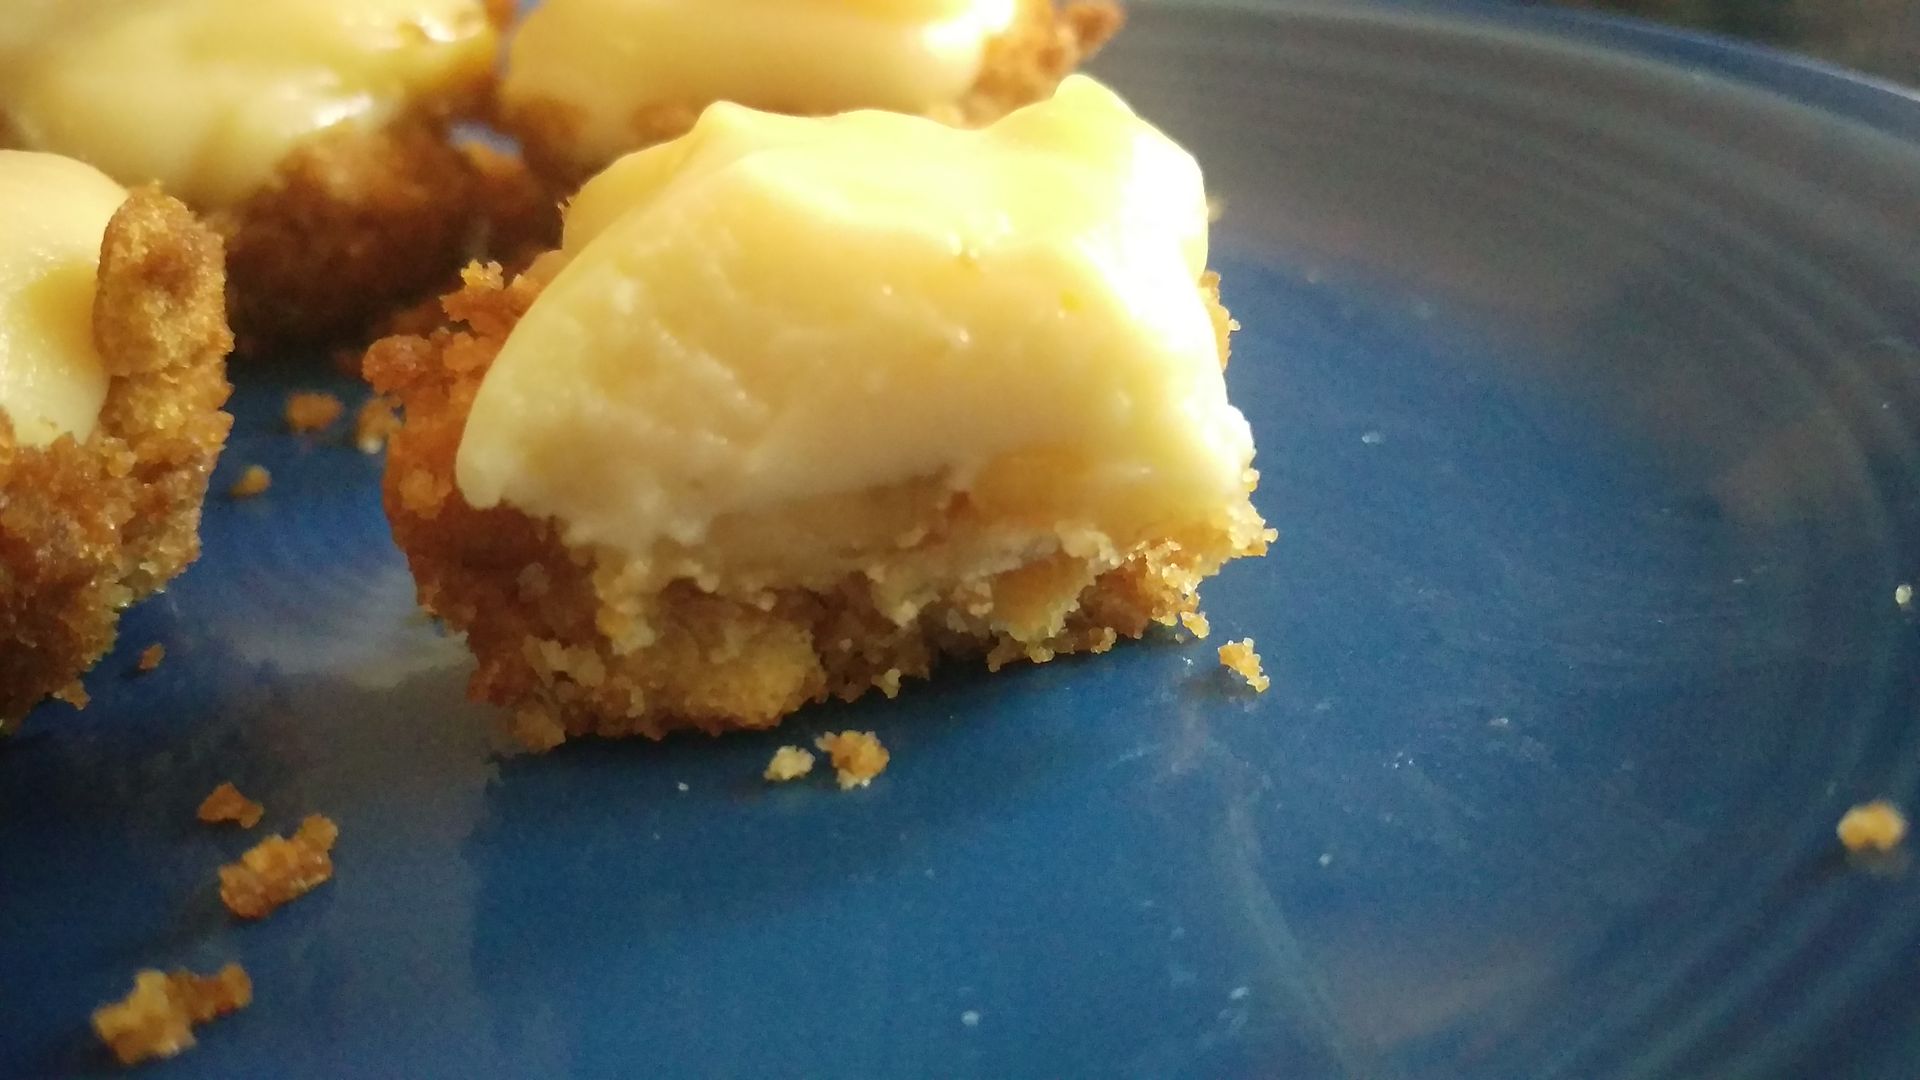
When assembling the NC Dim Sum recipe list, I knew that this one of the first things I had to convert simply for the deliciousness. And the fact this is a huge Southern dessert. When the pudding sets, the shell lightly absorbs the pudding, and makes this perfect for a quick snack out of the fridge.
Crust from Mini Banana Cheesecakes with Nilla Wafer Crust by Baked by Rachael.
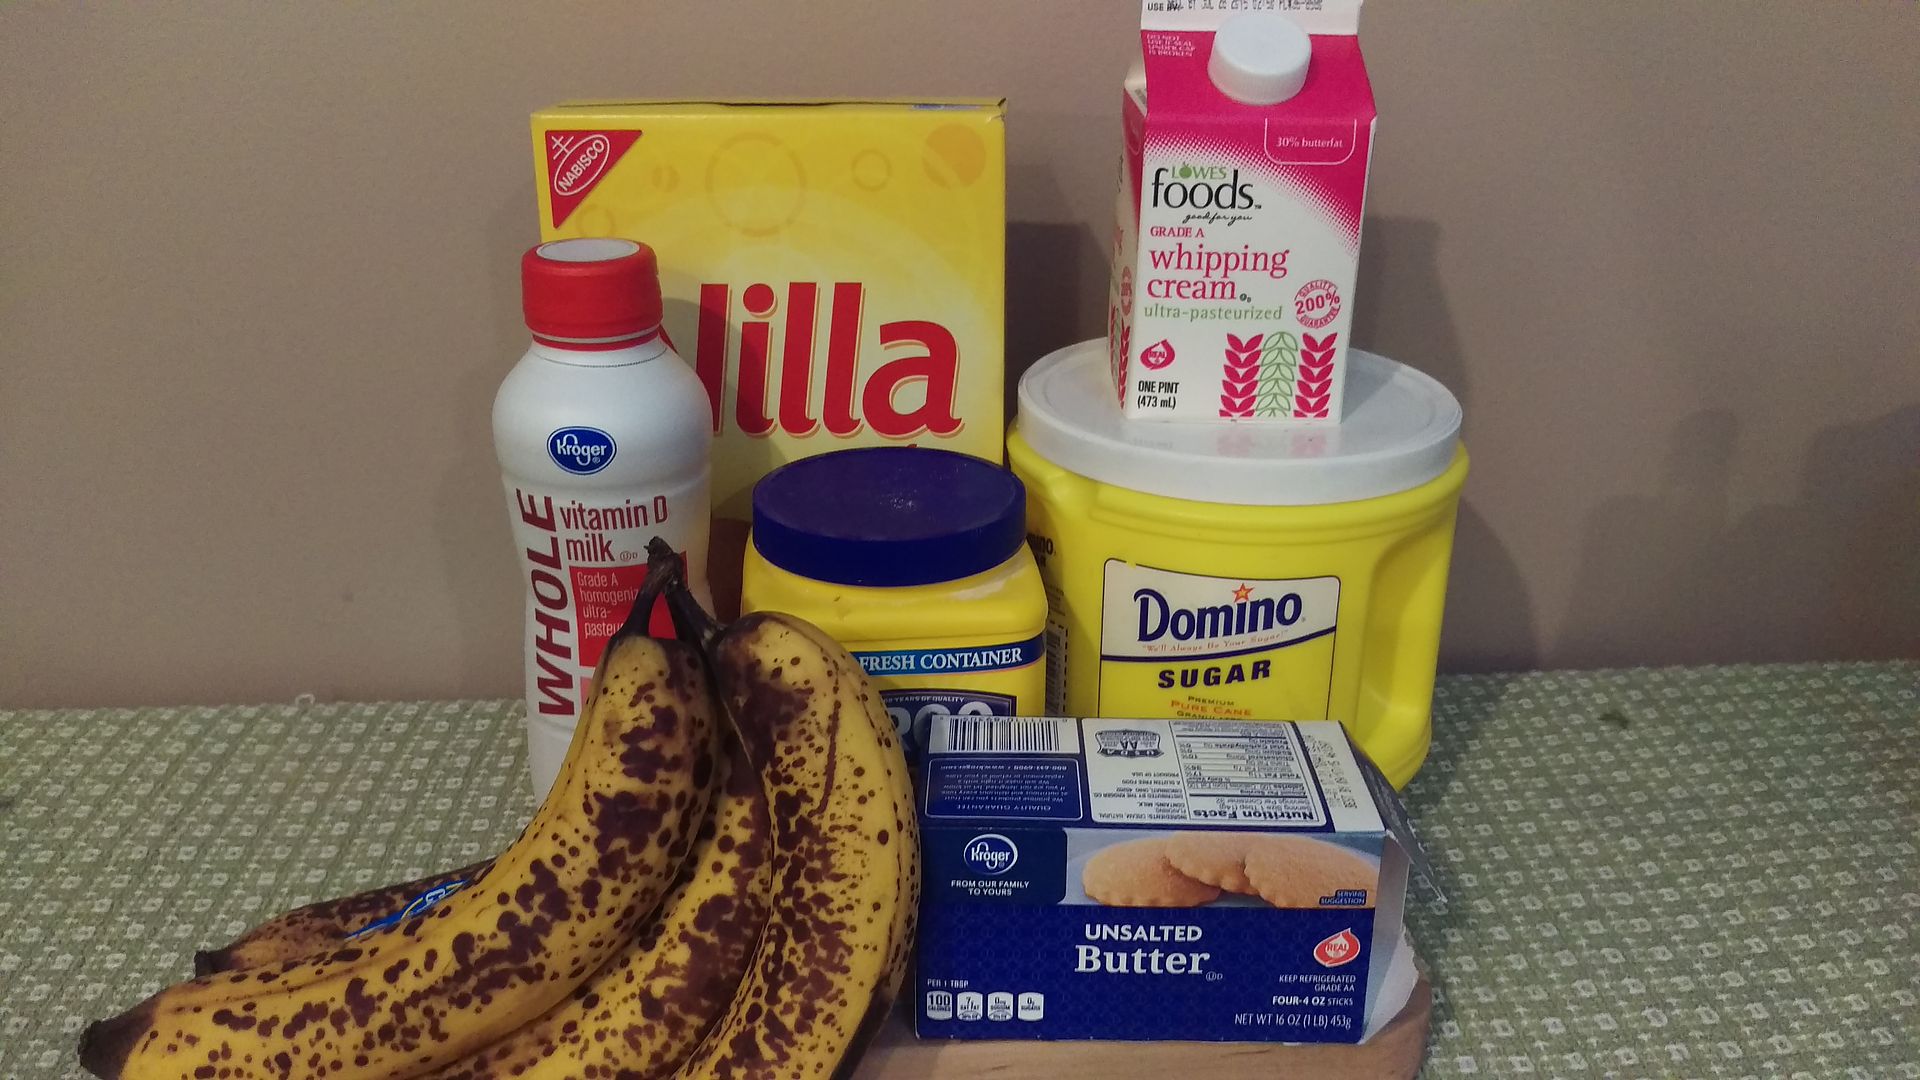
20 Nilla Wafers
2 1/4 tsp sugar
1 1/2 tbsp melted butter
Pudding Base from Southern Banana Pudding by Evil Shenanagans.
2 cups milk, 2% or higher
2/3 cup sugar
3 tablespoons cornstarch
2 teaspoons vanilla bean paste (or vanilla extract)
1/4 teaspoon salt
1 egg
1 egg yolk
2 tablespoons butter
For Assembly:
1-2 bananas
Whipped Cream
1 cup heavy cream
3 tablespoons powdered sugar
1/2 teaspoon vanilla extract
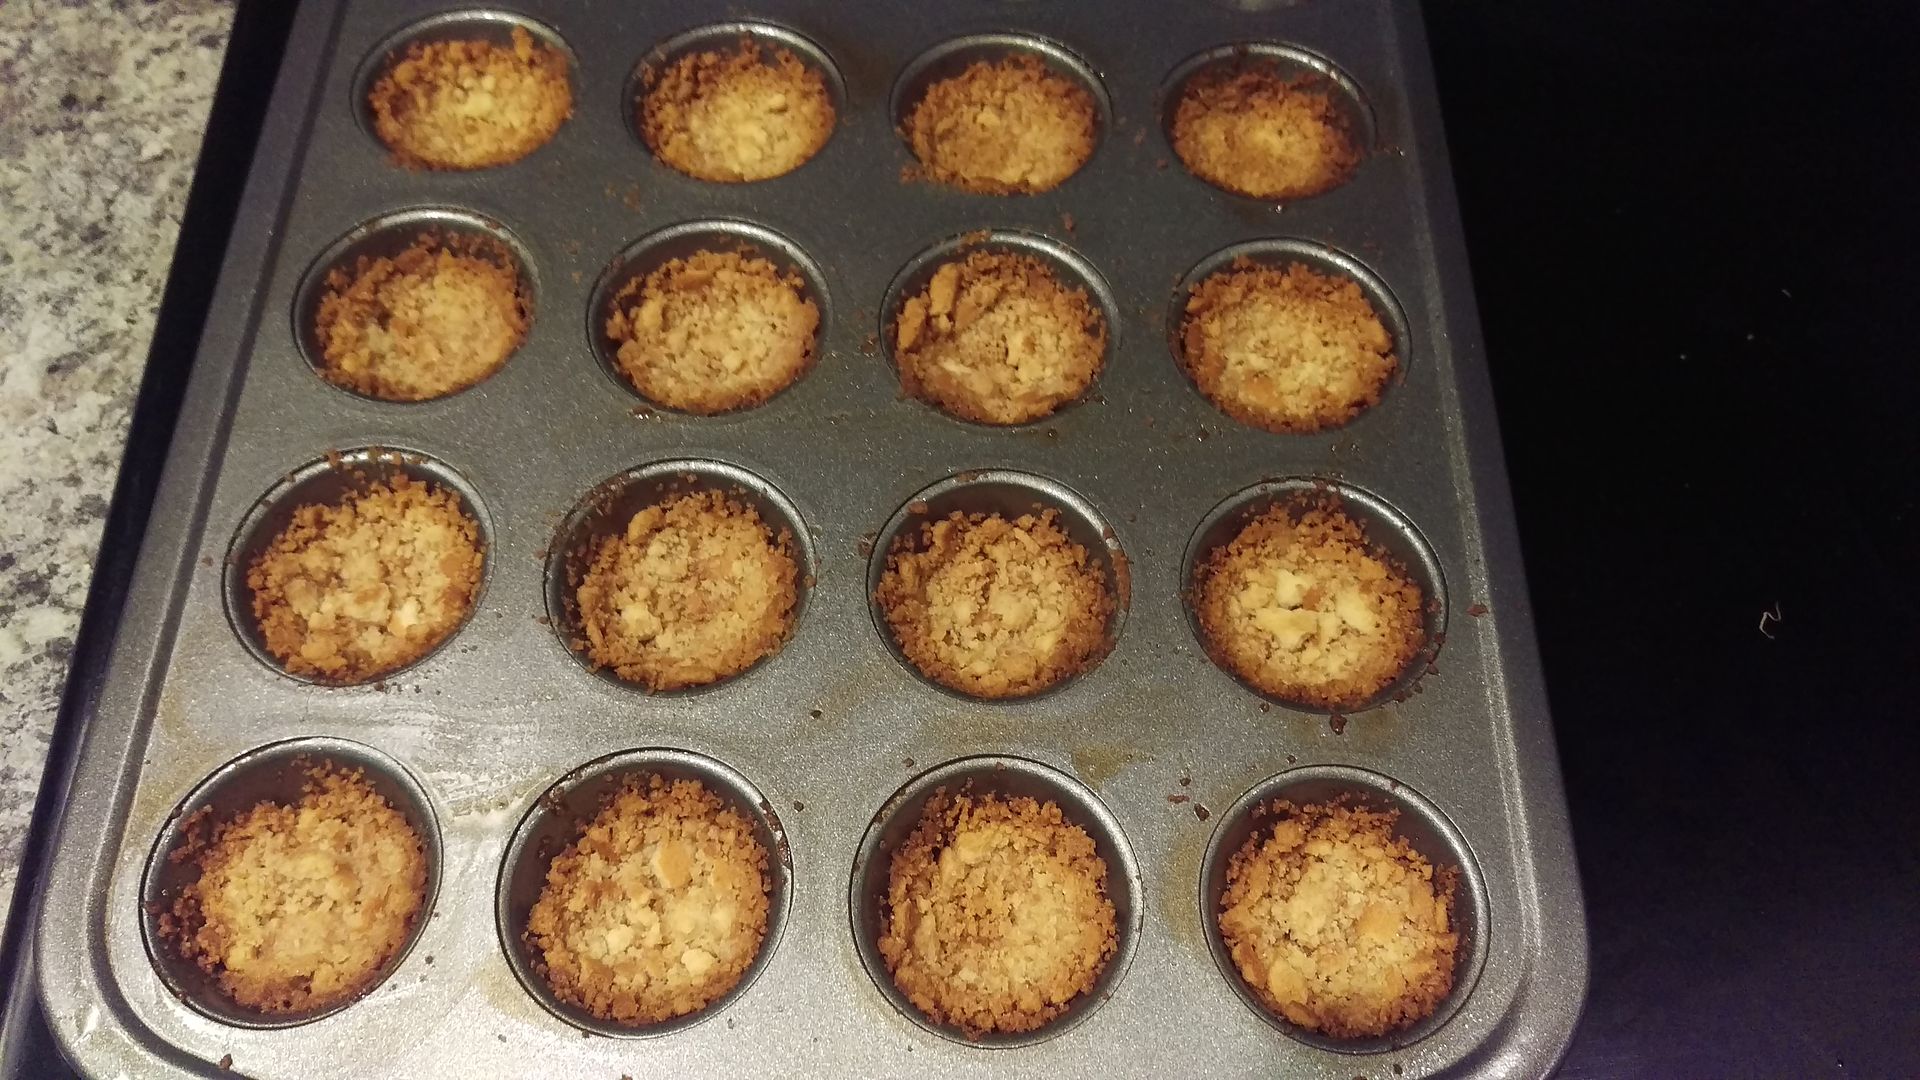
Grind the Nilla Wafers in a food processor until very fine. Mix with sugar and melted butter. Push into greased mini muffin tin.
Bake at 350 for 5 minutes until slightly browned.
Make the pudding! In a medium sauce pan whisk together the milk, sugar, vanilla bean paste (if using), cornstarch, salt, egg, and egg yolk. Once well combined place the pan over medium heat and cool until thick and bubbling.
Note: at this point, it should look/stir a lot like pudding. Remove the pan from the heat and add the butter (and vanilla extract if you are using) and whisk until completely melted. Pour through a strainer to separate all chunks.
Cut the banana into small pieces. Place 1 piece in the bottom of each mini crust. Pour the custard into each crust. Chill in the fridge for 4 hours.
Optionally, make the whipped cream. Add the heavy cream, the sugar, and vanilla to the bowl of a stand mixer. Whip until thick! Can also use a hand mixer if you don't have a stand mixer. Try not to eat too many at once!
</sidebar>
Until I moved to/further down in the South I could probably count on one hand the amount of times I ate banana pudding. There are about 30 million different types of pudding I would rather have. Chocolate full stop.
However, I discovered the best part of banana pudding is not the pudding itself, it's the Nilla Wafers. After sitting in the pudding, they absorb the sweet pudding flavor, and it's like eating saturated milk-dipped cookies... with a spoon!!! So much awesomeness.
When assembling the NC Dim Sum recipe list, I knew that this one of the first things I had to convert simply for the deliciousness. And the fact this is a huge Southern dessert. When the pudding sets, the shell lightly absorbs the pudding, and makes this perfect for a quick snack out of the fridge.
Crust from Mini Banana Cheesecakes with Nilla Wafer Crust by Baked by Rachael.
20 Nilla Wafers
2 1/4 tsp sugar
1 1/2 tbsp melted butter
Pudding Base from Southern Banana Pudding by Evil Shenanagans.
2 cups milk, 2% or higher
2/3 cup sugar
3 tablespoons cornstarch
2 teaspoons vanilla bean paste (or vanilla extract)
1/4 teaspoon salt
1 egg
1 egg yolk
2 tablespoons butter
For Assembly:
1-2 bananas
Whipped Cream
1 cup heavy cream
3 tablespoons powdered sugar
1/2 teaspoon vanilla extract
Grind the Nilla Wafers in a food processor until very fine. Mix with sugar and melted butter. Push into greased mini muffin tin.
Bake at 350 for 5 minutes until slightly browned.
Make the pudding! In a medium sauce pan whisk together the milk, sugar, vanilla bean paste (if using), cornstarch, salt, egg, and egg yolk. Once well combined place the pan over medium heat and cool until thick and bubbling.
Note: at this point, it should look/stir a lot like pudding. Remove the pan from the heat and add the butter (and vanilla extract if you are using) and whisk until completely melted. Pour through a strainer to separate all chunks.
Cut the banana into small pieces. Place 1 piece in the bottom of each mini crust. Pour the custard into each crust. Chill in the fridge for 4 hours.
</sidebar>
Friday, May 13, 2016
NC BBQ Dim Sum: Eastern BBQ Pork Buns
<speedrack alt_text="The Cornerstone of our Dim Sum Meal">
</speedrack>
I never order chicken off menus. My mom made a ton of really good chicken at home, so it never felt "special" enough to justify getting at any restaurant trip. As I've gotten older and cook a wide variety of foods, I just keep thinking "I can make that at home" and the list of special foods has dwindled down to things I either don't have the desire to learn (sushi!), expensive/hard to come by/I-really-can't-justify ingredients (sushi!) or is impossible for me to do at home (Eastern North Carolina style barbecue).
Cooking barbecue right is a process. Whole hog roasting over wood or charcoal for hours upon hours isn't something you can just do in your backyard for dinner. I mean, the smell alone means all your neighbors will want some. Your sauce game needs to be on point too. There are some things best left to the masters. Plus, clean up is so much easier.
The barbecue that I used in this recipe is from one of my favorite barbecue places in North Carolina: Allen and Son in Pittsboro. NC. It's on the side of a highway and you might have to pull a u-turn to get there, but you're probably waiting behind at least one other driver who's there to grab one of the tastiest plates in the region. For real, these guys are on the North Carolina Barbecue Society Heritage Trail. Definitely another trip added to the list.
<ingredients>
BBQ Pork Buns dough recipe from Char Siu Bao by Cherry On My Sundae.
1/4 cup sugar
1 3/4 cups warm water
1 tbsp yeast
6 cups flour
1 tbsp baking powder
2 tbsp butter
BBQ pork - purchase from a barbecue joint or make your own! Use a Eastern NC recipe (go team vinegar!) or for a fun twist, use Cakalacky Cheerwine sauce
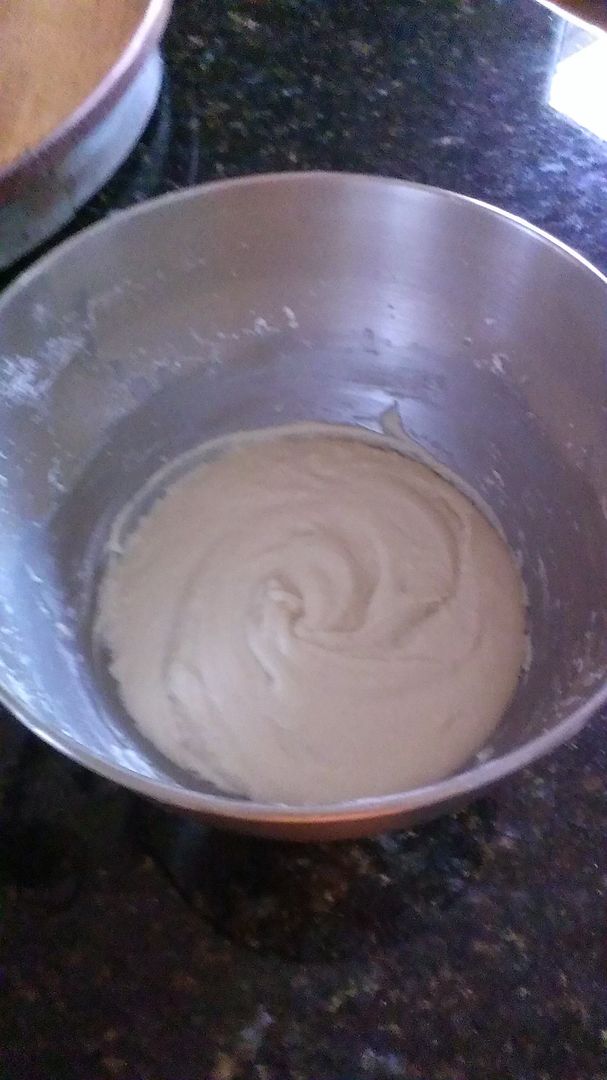
Let's make the dough. Warm the water, mix in the sugar and yeast. Let rest until foaming. Blend in the other liquid, the baking powder. Mix in the flour until it pulls away from the sides of the bowl. Cover and let rise until double (about an hour.)
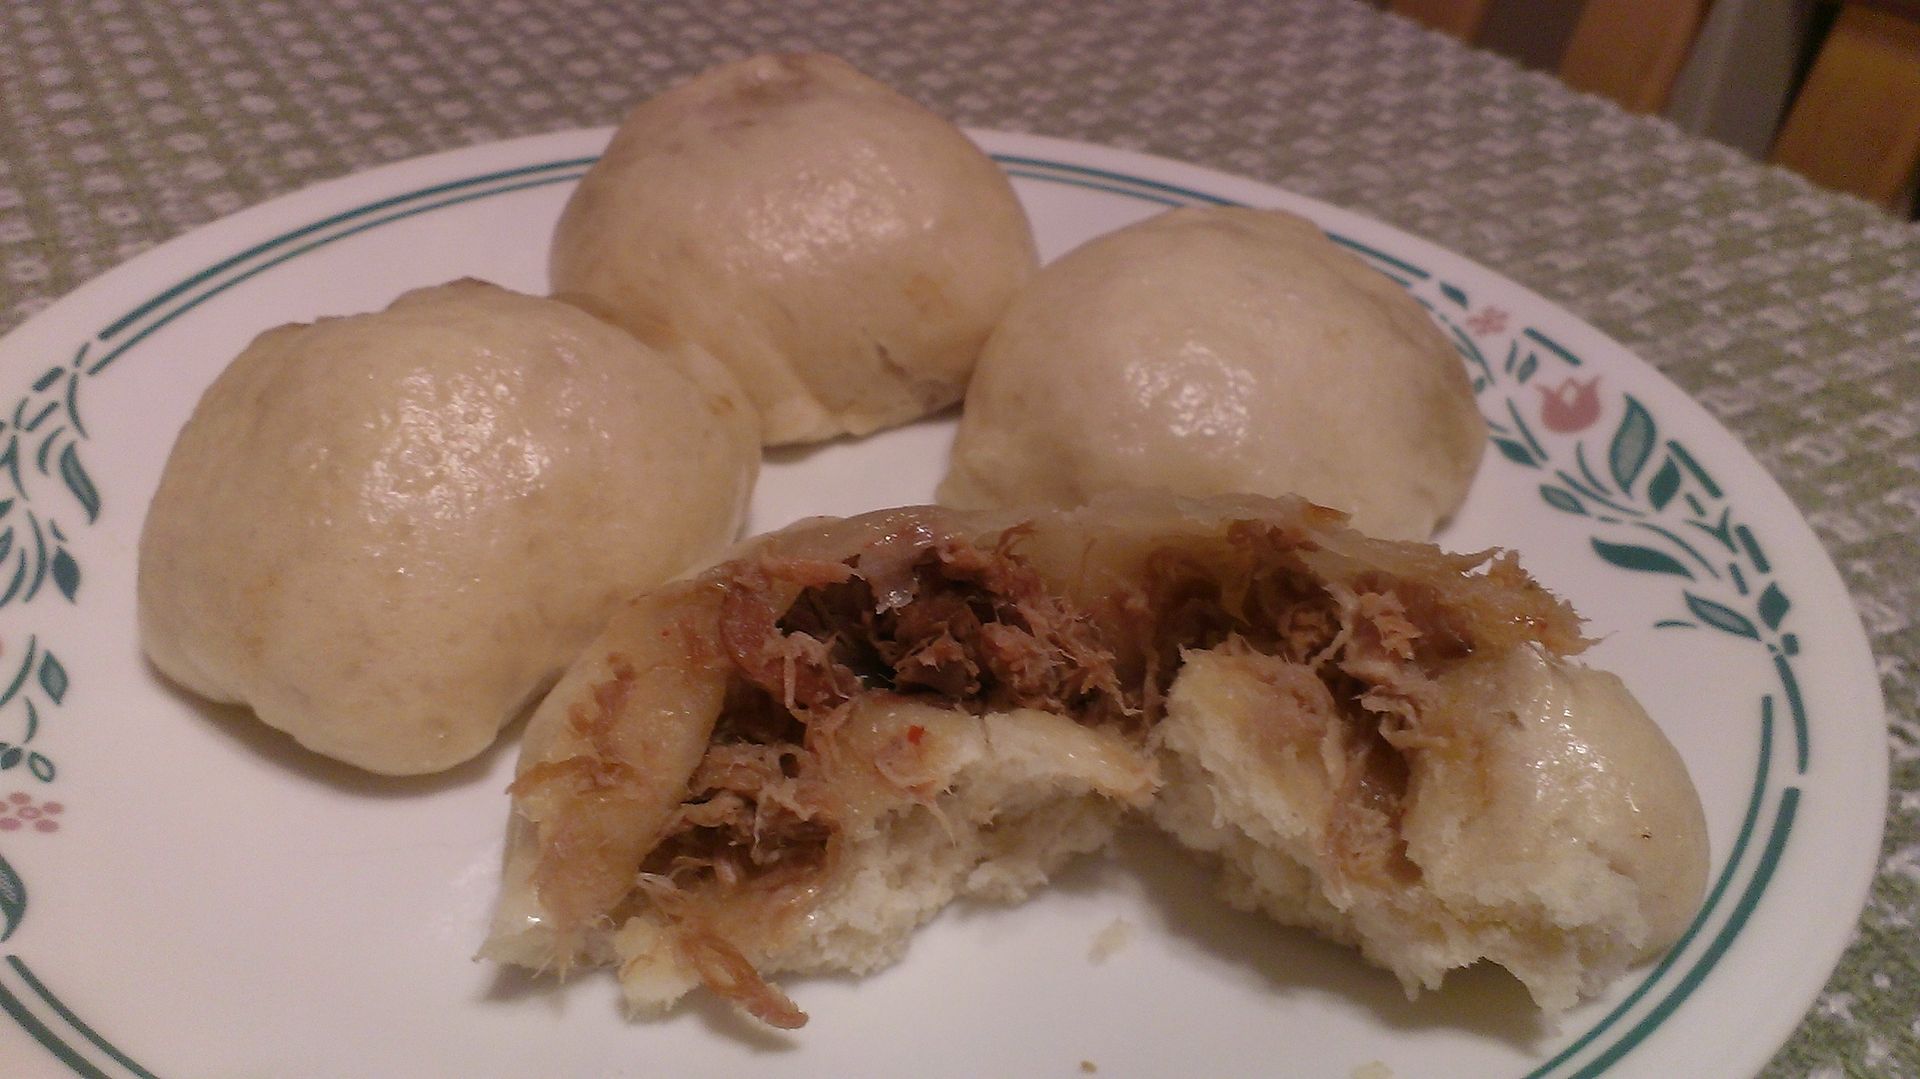
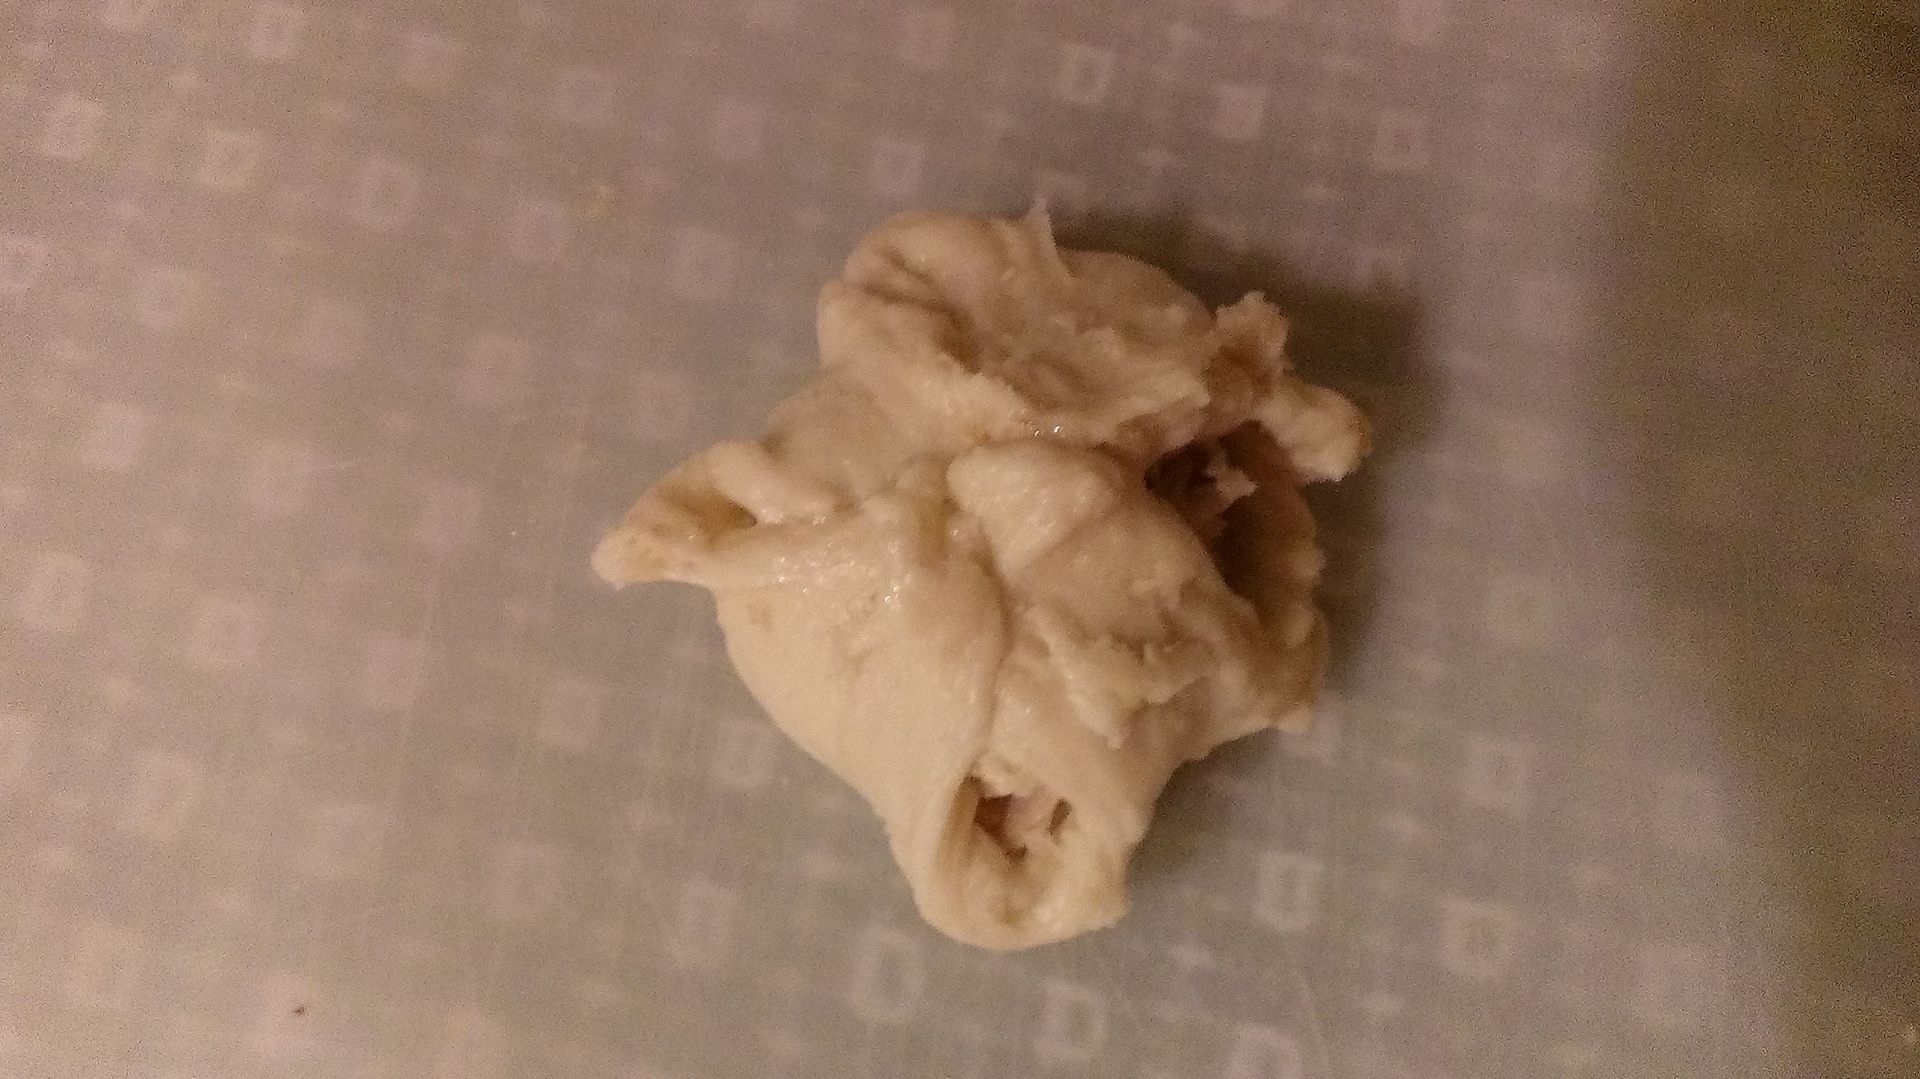
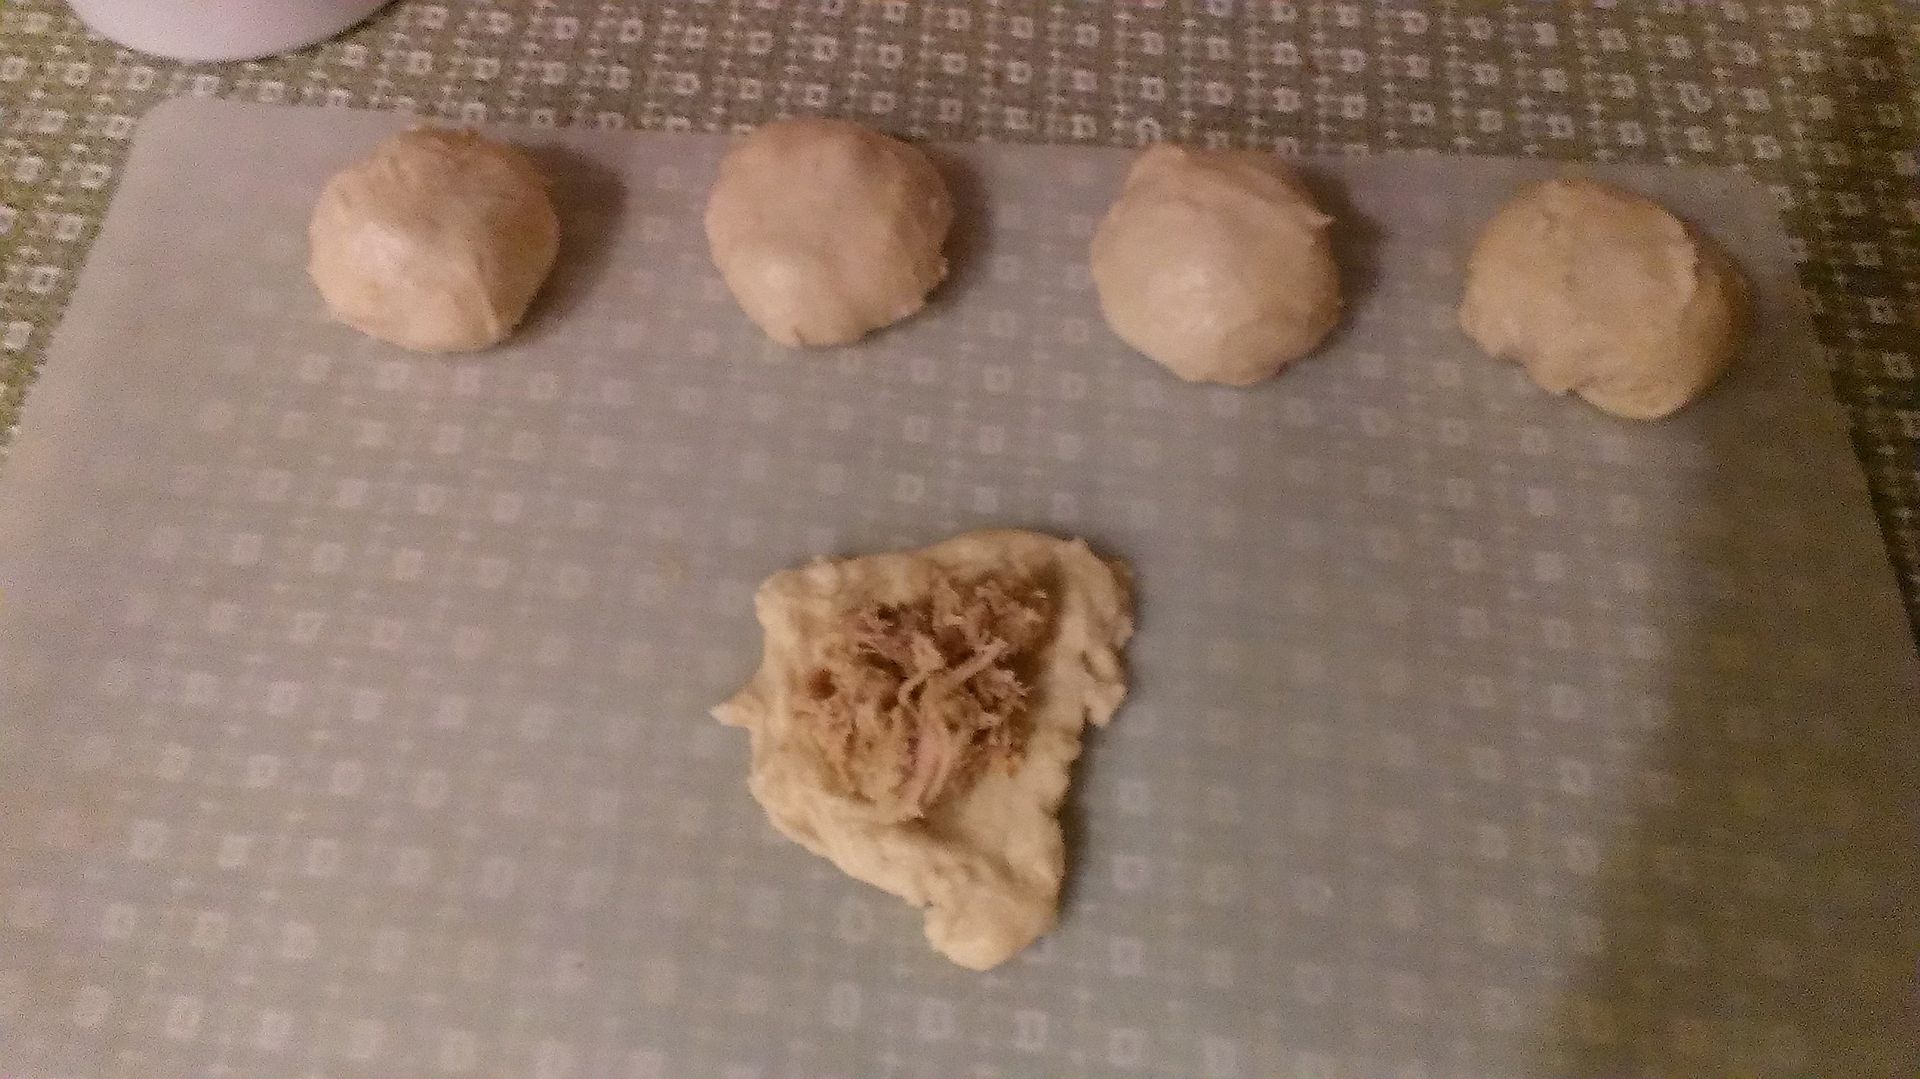
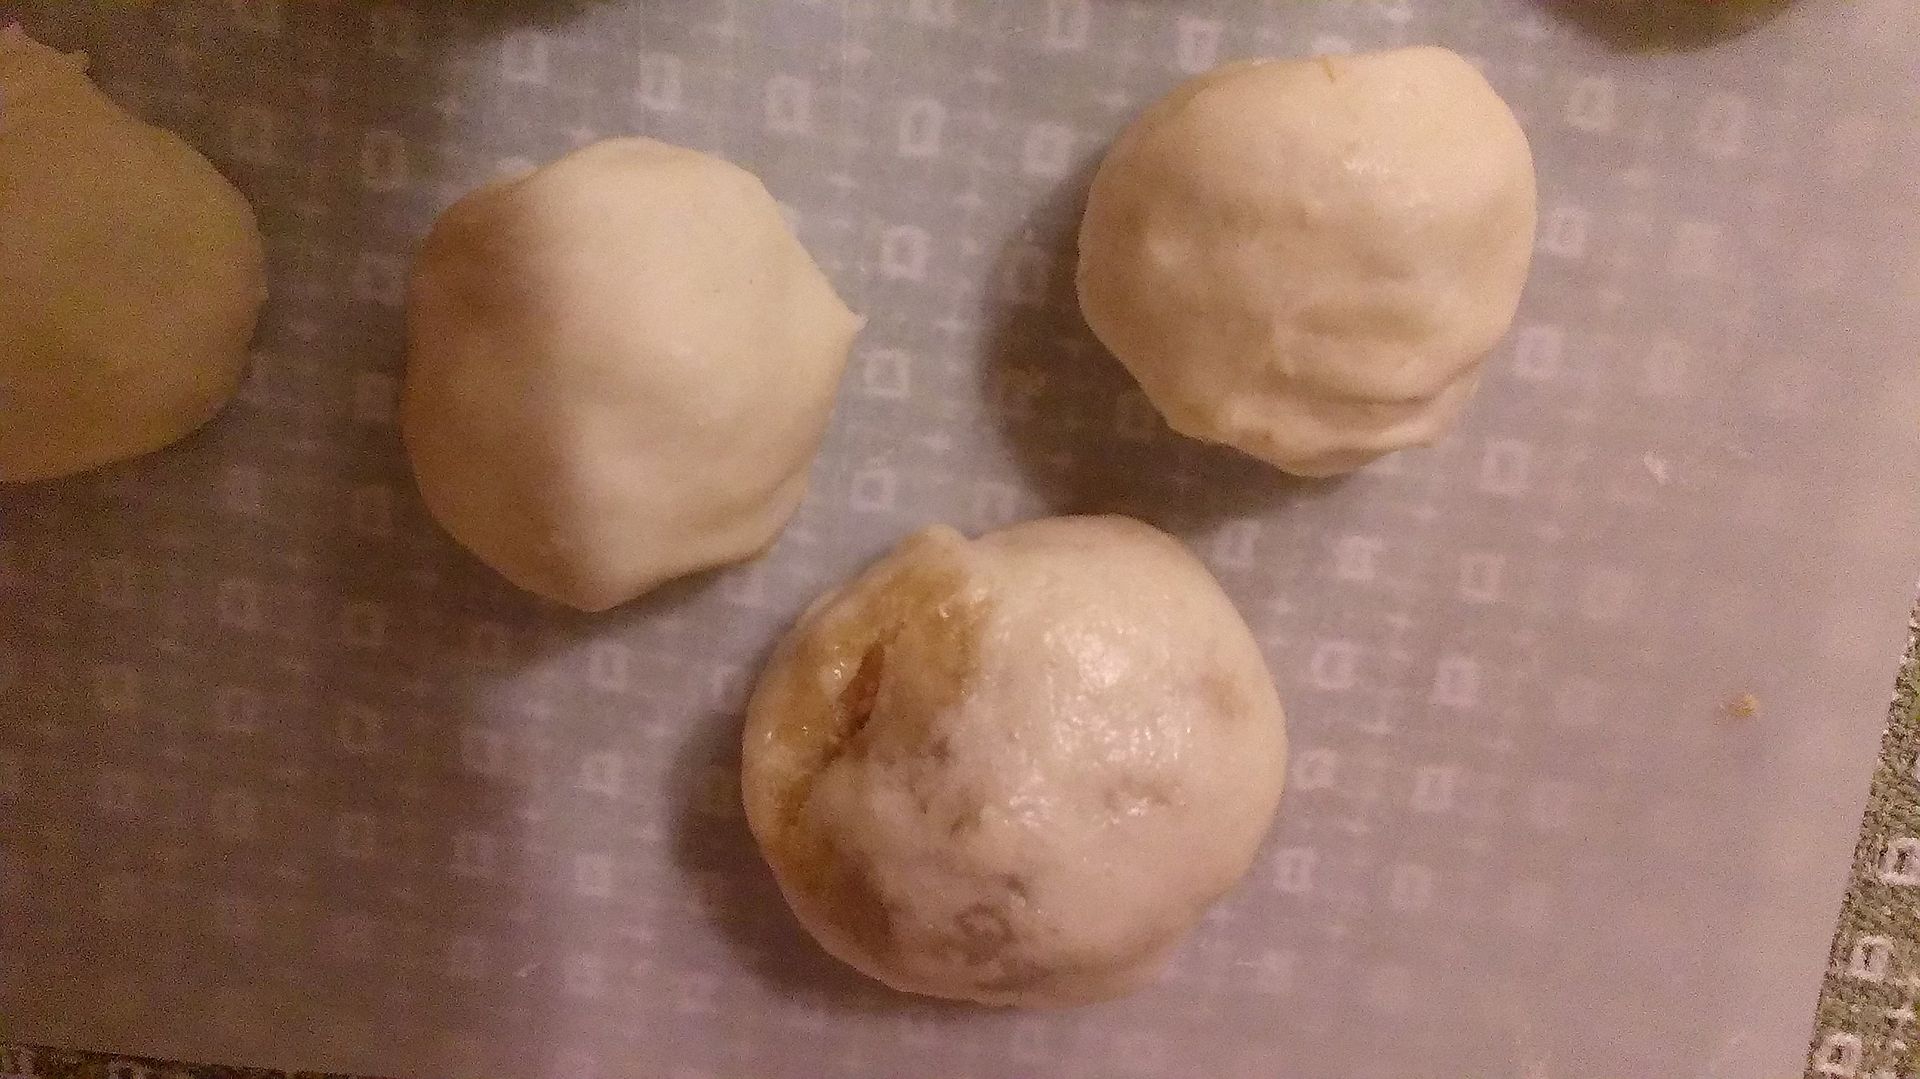
Tear the dough into small pieces; flatten into disks. Put a small piece of BBQ into the center of each disk. Pull up each of the sides creating a pocket. Pocket making skills may vary.
At this point, you can watch some videos and try to work on folding buns. Me? I was never able to master the folds, so I worked on pulling corners to seal the bun.
Keep going until you're out of BBQ or dough. I ran out of BBQ, so you can make plan buns with the rest of the dough. Or stuff with cheese! Or cinnamon sugar... Let rest for 10 minutes.
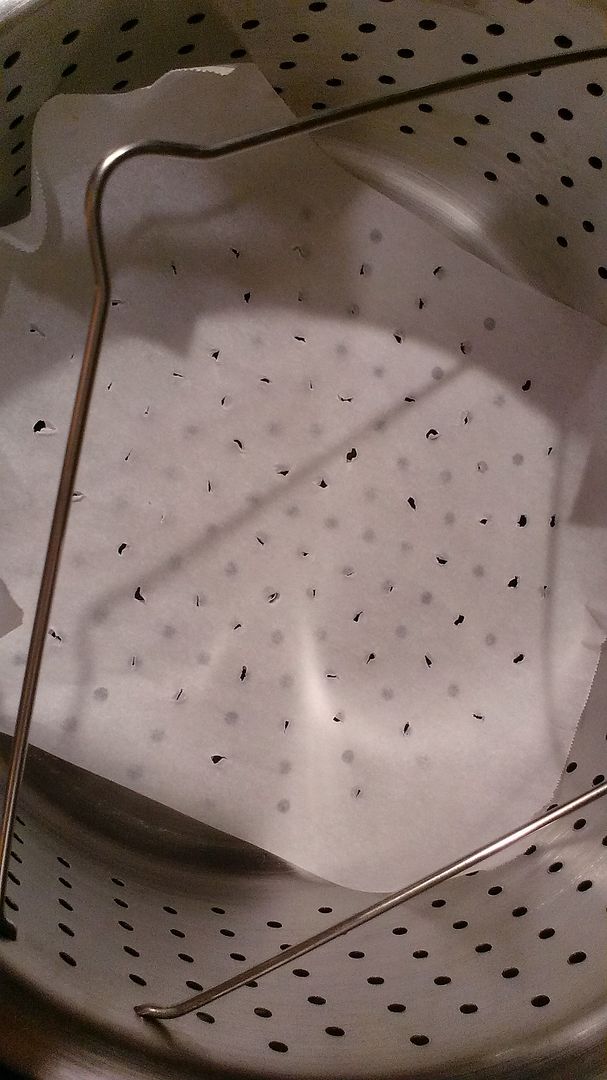
Set up your steam situation. I used the metal steaming basket in my standard set of pots. Fill the bottom pot with a small layer of water. Place a piece of parchment paper on the bottom and poke holes through so the steam can get through. That's how we're cooking our buns!
Boil the water. Add the buns to the pot without overcrowding. Let steam for 15 minutes.
Open the lid slowly to not shock the buns. They will collapse! Let cool slightly and devour!
They also freeze really well, so you don't have to try to eat all of them in one sitting. Before steaming, flash freeze, then place in freezer-safe bags. When reheating, I've always cooked them in the toaster oven at 350. Delicious!
</sidebar>
</speedrack>
I never order chicken off menus. My mom made a ton of really good chicken at home, so it never felt "special" enough to justify getting at any restaurant trip. As I've gotten older and cook a wide variety of foods, I just keep thinking "I can make that at home" and the list of special foods has dwindled down to things I either don't have the desire to learn (sushi!), expensive/hard to come by/I-really-can't-justify ingredients (sushi!) or is impossible for me to do at home (Eastern North Carolina style barbecue).
Cooking barbecue right is a process. Whole hog roasting over wood or charcoal for hours upon hours isn't something you can just do in your backyard for dinner. I mean, the smell alone means all your neighbors will want some. Your sauce game needs to be on point too. There are some things best left to the masters. Plus, clean up is so much easier.
The barbecue that I used in this recipe is from one of my favorite barbecue places in North Carolina: Allen and Son in Pittsboro. NC. It's on the side of a highway and you might have to pull a u-turn to get there, but you're probably waiting behind at least one other driver who's there to grab one of the tastiest plates in the region. For real, these guys are on the North Carolina Barbecue Society Heritage Trail. Definitely another trip added to the list.
<ingredients>
BBQ Pork Buns dough recipe from Char Siu Bao by Cherry On My Sundae.
1/4 cup sugar
1 3/4 cups warm water
1 tbsp yeast
6 cups flour
1 tbsp baking powder
2 tbsp butter
BBQ pork - purchase from a barbecue joint or make your own! Use a Eastern NC recipe (go team vinegar!) or for a fun twist, use Cakalacky Cheerwine sauce
Let's make the dough. Warm the water, mix in the sugar and yeast. Let rest until foaming. Blend in the other liquid, the baking powder. Mix in the flour until it pulls away from the sides of the bowl. Cover and let rise until double (about an hour.)
Tear the dough into small pieces; flatten into disks. Put a small piece of BBQ into the center of each disk. Pull up each of the sides creating a pocket. Pocket making skills may vary.
At this point, you can watch some videos and try to work on folding buns. Me? I was never able to master the folds, so I worked on pulling corners to seal the bun.
Keep going until you're out of BBQ or dough. I ran out of BBQ, so you can make plan buns with the rest of the dough. Or stuff with cheese! Or cinnamon sugar... Let rest for 10 minutes.
Set up your steam situation. I used the metal steaming basket in my standard set of pots. Fill the bottom pot with a small layer of water. Place a piece of parchment paper on the bottom and poke holes through so the steam can get through. That's how we're cooking our buns!
Boil the water. Add the buns to the pot without overcrowding. Let steam for 15 minutes.
Open the lid slowly to not shock the buns. They will collapse! Let cool slightly and devour!
They also freeze really well, so you don't have to try to eat all of them in one sitting. Before steaming, flash freeze, then place in freezer-safe bags. When reheating, I've always cooked them in the toaster oven at 350. Delicious!
</sidebar>
Friday, May 6, 2016
NC BBQ Dim Sum: The Menu
<speed rack alt_text:"Southern Eastern cuisine, remixed!">
</speed rack>
Let's get one thing straight before we keep going here: Eastern NC BBQ is the best on the planet.
For real. It's the vinegar. There's nothing better than that tang. The love of tangy flavors can even be found across the globe in the frequently used rice vinegar of many Asian dishes. Seems like everyone needs more of that flavor! And in bite-sized form. I'm up for a global potluck whenever you are. Seriously, who's bringing dessert?
I guess that explains the popularity of fusion cuisine. And the next flavors in the reactor are dim sum and eastern North Carolina style barbecue. We've got breakfast/brunch + lunch/dinner, with the required dose of vinegar and small dishes.
I'll be breaking these dishes into a few different posts so you don't get overwhelmed by all the different options. There are a lot of different possibilities for the southern-to-dim-sum conversion. There might be a few barbecue dishes that appear in multiple forms; I don't think that's a bad thing! The more the merrier around the table right? And it definitely increases your chance to grab something you like!
The Starting Menu as shown above:
Eastern NC BBQ Buns
Eastern-Style Cole Slaw Baked Egg Rolls
Bacon-Wrapped Green Beans
Potlikker Soup with Collard Greens Wontons
Banana Pudding Tartlets
Sweet Tea
Cackalacky Cheerwine Sauce - can also sub in the Original
</sidebar>
</speed rack>
Let's get one thing straight before we keep going here: Eastern NC BBQ is the best on the planet.
For real. It's the vinegar. There's nothing better than that tang. The love of tangy flavors can even be found across the globe in the frequently used rice vinegar of many Asian dishes. Seems like everyone needs more of that flavor! And in bite-sized form. I'm up for a global potluck whenever you are. Seriously, who's bringing dessert?
I guess that explains the popularity of fusion cuisine. And the next flavors in the reactor are dim sum and eastern North Carolina style barbecue. We've got breakfast/brunch + lunch/dinner, with the required dose of vinegar and small dishes.
I'll be breaking these dishes into a few different posts so you don't get overwhelmed by all the different options. There are a lot of different possibilities for the southern-to-dim-sum conversion. There might be a few barbecue dishes that appear in multiple forms; I don't think that's a bad thing! The more the merrier around the table right? And it definitely increases your chance to grab something you like!
The Starting Menu as shown above:
Eastern NC BBQ Buns
Eastern-Style Cole Slaw Baked Egg Rolls
Bacon-Wrapped Green Beans
Potlikker Soup with Collard Greens Wontons
Banana Pudding Tartlets
Sweet Tea
Cackalacky Cheerwine Sauce - can also sub in the Original
</sidebar>
Friday, August 14, 2015
Spa Bench-Style Hall Table
One sign of someone who keeps clean floors in their house is a requirement to take shoes off at the door. This at least keeps all the mess consolidated to one carefully or piled in one singular spot. Others don't mind, get giddy when watching floors become clean like vacuum commercials, or have had irreparable damage done by paint when cleaning up the last piece of newspaper used as drop cloth during their first craft project in a brand new apartment.
To help struggling guests with their shoes, I found the incredibly awesome website of the woman-who-pretty-much-makes-my-life-literally-and-figuratively Ana White. You pick a room/life setting + skill type, and she will have something for you. Not only that, it'll be incredibly well documented so even if you have no idea what you're doing to start with, you will be able to create a piece of furniture. I would totally serve up a celebratory round for her any time.
I built and painted the Spa Bench with well-placed built in shoe storage.
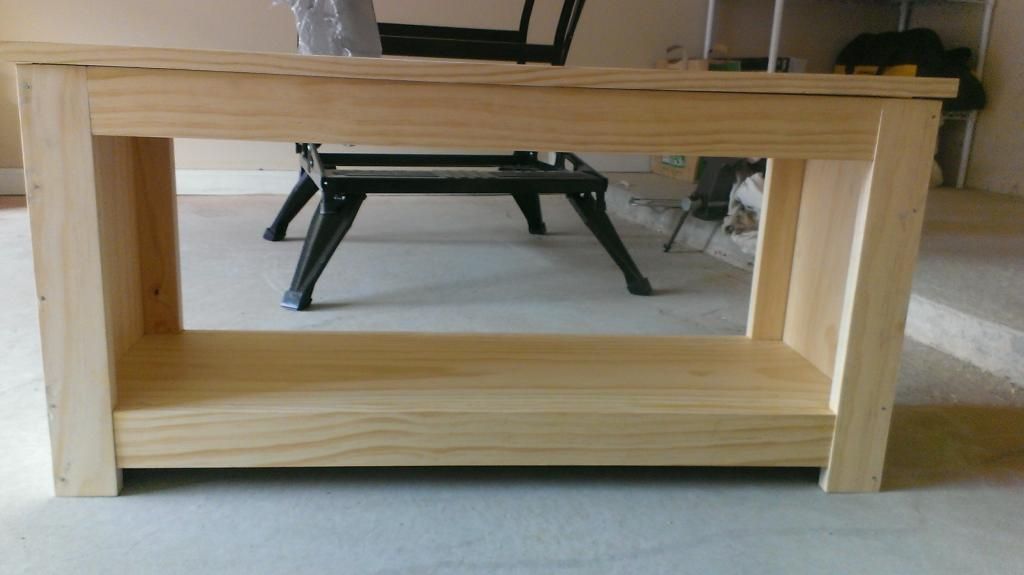
Of course, now that visitors have somewhere to put their shoes, they need somewhere to put random other little things. (Jackets? psh, way too seasonal.) Instead, I created this small hall table to complement the bench. It follows the same design elements of the bench, but was built to try to use up as many pieces of scrap material I have laying around my workshop. I've also included measurements for those who don't want to try pouring outside the recipe.
<spa hall table>
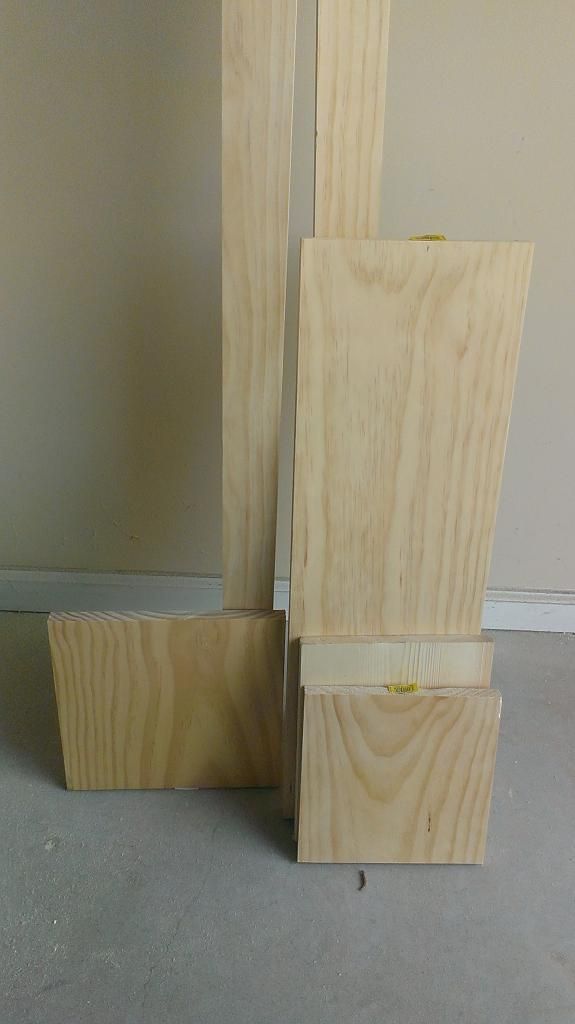
Materials
3 - 1"x3"x8' boards
2 - 1"x10"x11" boards
1 - 1"x12"x13" board
wood glue
nails - optional. (since there's not a lot of pressure on the sides, they'll hold on fine with glue)
paint or stain
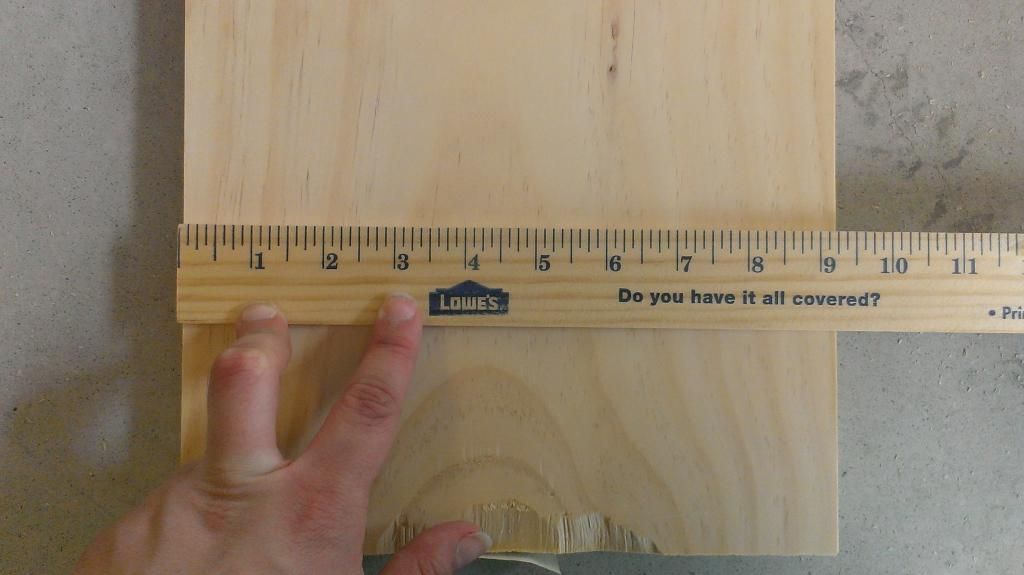
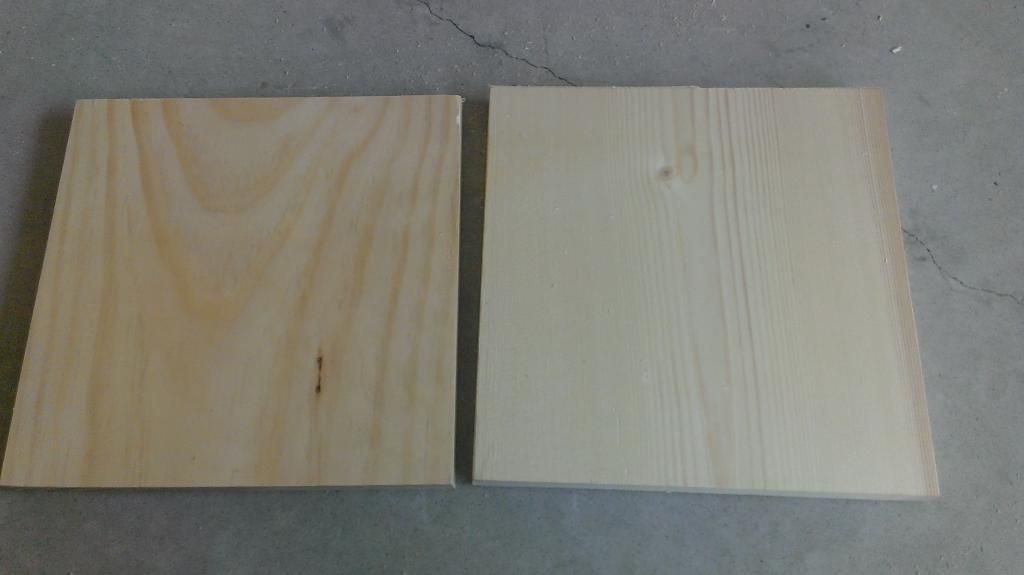
Cut the 1"x10" and the 1"x12" boards down to 2 boards of 9 1/4"x 9 1/4" (shelves) and one board of 11"x11 1/4" (the top). I used scrap for these pieces as they are often sold in much larger pieces.
Using dimensional lumber results in this having a sliiiiiiightly rectangular shape which was perfect for the space. It also fits with the rectangular bench. If you'd like a true square, adjust your cuts to be the width of the boards, but you'll have to change the cuts of the smaller trim sides.
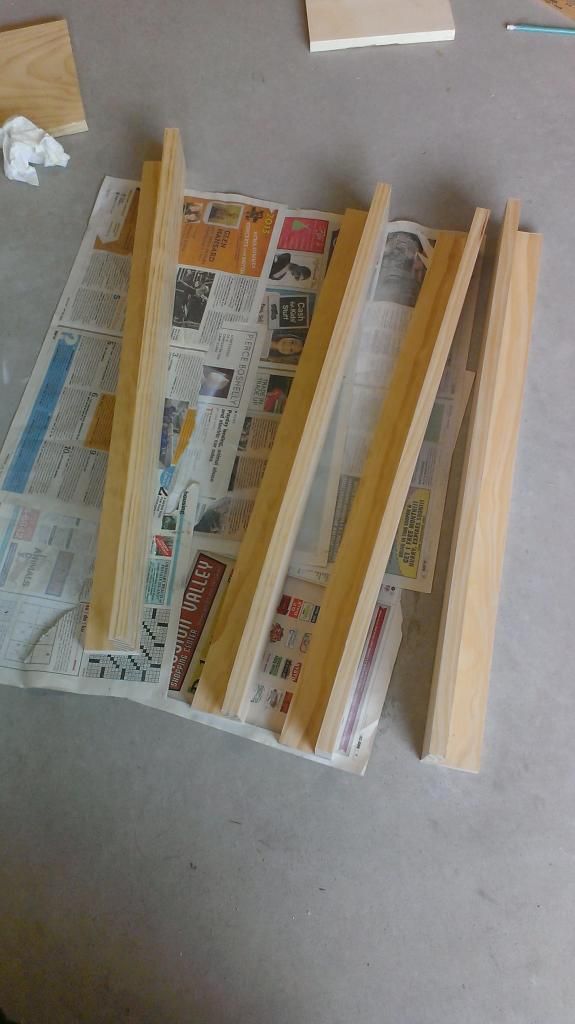
From the 1"x3", cut 8, 30" boards. These are the legs. Pair them so you end up with groups
With each group, place the width (~3" side) of one board against the long side face (~1" side) of another making sure to line up the long edges of each together. Essentially we want to make large "L"s with the legs. This does mean that one part of the L will be longer than the other; that's perfect. Glue and let dry.
Glue one of the shelves to the very top part of the legs. Make sure that the long side of the "L"s are on the same side.
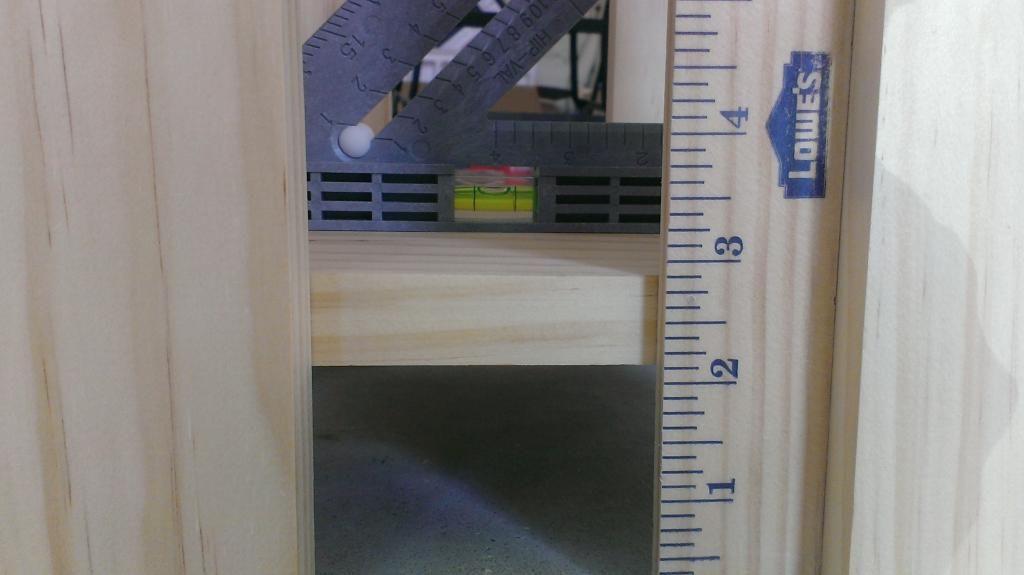
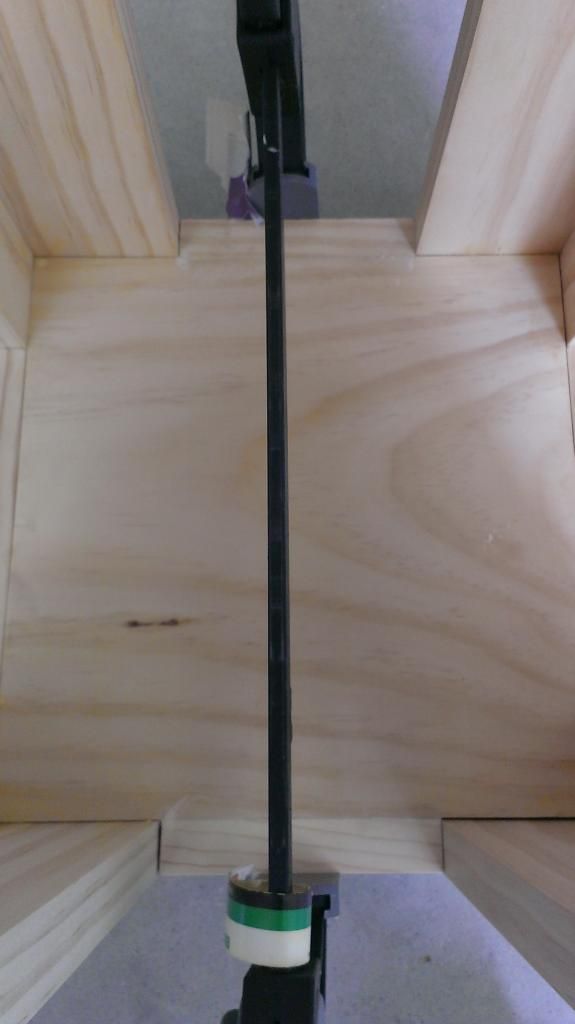
Place the second shelf 3" up from the ground, and make sure this board is level. Glue and clamp to the legs like the previous step
Now you need to make all the decorative side rails. Measure each of the gaps between the legs, and cut the remaining 1"x3"x8" to the various widths. I waited to cut these pieces just so they would fit the most snug and have the fewest lines.
Glue all in place! Lots of clamping, and lots of glue. You can see how the sides are laid out a lot clearer here.
Last piece! We'll sand/plane the top flat after glue.
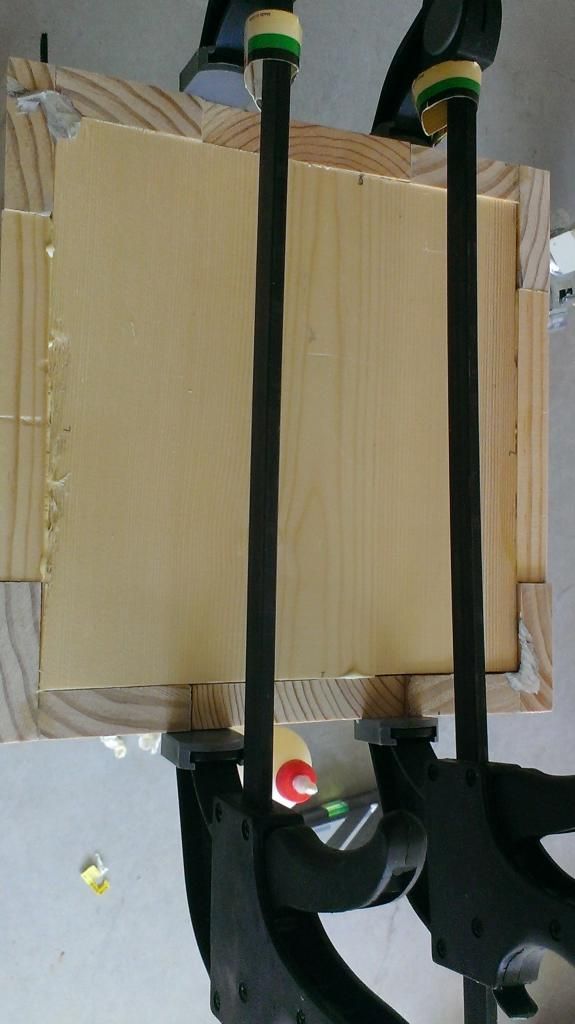
Cover the top (previously shown) with glue and set the top. Weigh it down while drying for the best set. I placed some heavy bags.
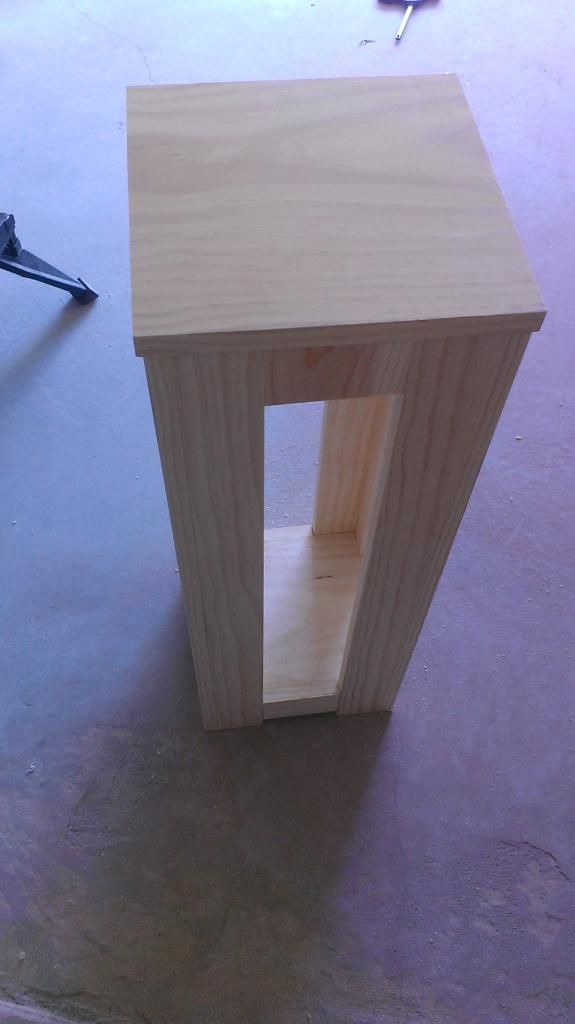
You're done! Just paint and set free on the world.
</sidebar>
To help struggling guests with their shoes, I found the incredibly awesome website of the woman-who-pretty-much-makes-my-life-literally-and-figuratively Ana White. You pick a room/life setting + skill type, and she will have something for you. Not only that, it'll be incredibly well documented so even if you have no idea what you're doing to start with, you will be able to create a piece of furniture. I would totally serve up a celebratory round for her any time.
| BFF |
I built and painted the Spa Bench with well-placed built in shoe storage.
| Apparently the bench doesn't actually make it a spa. |
<spa hall table>
Materials
3 - 1"x3"x8' boards
2 - 1"x10"x11" boards
1 - 1"x12"x13" board
wood glue
nails - optional. (since there's not a lot of pressure on the sides, they'll hold on fine with glue)
paint or stain
Cut the 1"x10" and the 1"x12" boards down to 2 boards of 9 1/4"x 9 1/4" (shelves) and one board of 11"x11 1/4" (the top). I used scrap for these pieces as they are often sold in much larger pieces.
Using dimensional lumber results in this having a sliiiiiiightly rectangular shape which was perfect for the space. It also fits with the rectangular bench. If you'd like a true square, adjust your cuts to be the width of the boards, but you'll have to change the cuts of the smaller trim sides.
From the 1"x3", cut 8, 30" boards. These are the legs. Pair them so you end up with groups
With each group, place the width (~3" side) of one board against the long side face (~1" side) of another making sure to line up the long edges of each together. Essentially we want to make large "L"s with the legs. This does mean that one part of the L will be longer than the other; that's perfect. Glue and let dry.
Glue one of the shelves to the very top part of the legs. Make sure that the long side of the "L"s are on the same side.
| This is the long side face |
Now you need to make all the decorative side rails. Measure each of the gaps between the legs, and cut the remaining 1"x3"x8" to the various widths. I waited to cut these pieces just so they would fit the most snug and have the fewest lines.
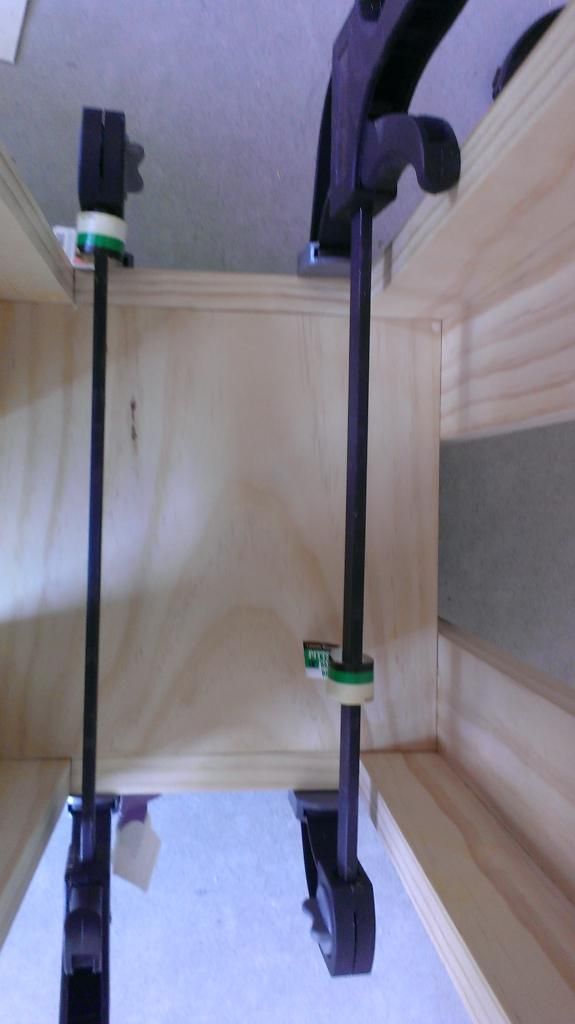
Glue all in place! Lots of clamping, and lots of glue. You can see how the sides are laid out a lot clearer here.
Last piece! We'll sand/plane the top flat after glue.
Cover the top (previously shown) with glue and set the top. Weigh it down while drying for the best set. I placed some heavy bags.
You're done! Just paint and set free on the world.
</sidebar>
Wednesday, February 18, 2015
Developing NodeRed Nodes: Some Extra-Hidden Stuff
While I'm just getting into the glamorous world of webapps (middleware for life!), the adjoining planet of the Internet of Things (IoT) is starting to also gain more satellites. If you don't know about this wonderful place, it's the name for a system of interconnected devices over a network. Since most of these devices previously were non-network enabled, like your thermostat or your personal drone, now you can have a lot more control over how things interact and operate. For example, when you arrive home, the temperature of your house automatically goes up to help with saving energy. Check out this article series from Make for some more detail.
"Alright, cool, the IoT is pretty nifty," you're saying, "and I can see where it'd be useful. Where can I get in on this action?" Good thing you asked because.... IBM has this pretty awesome framework specifically built for the IoT called NodeRed. Basically you can virtually wire different endpoints from a variety of different sources to create a "flow" of information leading to action. Some people have done some pretty amazing stuff with NodeRed like weather prediction linked to lights, and live-tweeting a marathon. There's a huge community out there with a ton of different flows, nodes, helpful hints, and tutorials. Pretty much the only thing holding you back is getting it on your computer. Or spinning an app up on IBM BlueMix!
It even works with Raspberry Pi. Normally, I'm fixing you an actual pie, but just like a different citrus fruit + vodka makes a different drink, we're going the tech route today. Mix one up and follow along.
However! As I definitely learned from dojo, source code reveals a bunch of other fun features that can 100% improve your custom node. The above doc covers details from the javascript and html files. Since pretty much everything in the .html file is enclosed in a script tag, you could use straight up javascript for custom behavior, but why would you want to miss out on all the node.js support packages sitting right over in the .js file?
Digging through the inner bowels of NodeRed, you'll find the only real thing linking the 2 source files is registering them through the NodeRed main service. Sidebar: hand tracing NodeRed's startup flow is actually really interesting, if you're willing to peer down the rabbit hole. However, the main NodeRed process runs 2 express servers under the covers: one for admin work (httpAdmin) and the other for general use (httpNode). A common use for httpAdmin is validation when signing into an external server. Check out the twitter or mqtt node for a great use of this in action.
From twitter.html, using jquery:
Using ajax:
Using js:
</sidebar>
"Alright, cool, the IoT is pretty nifty," you're saying, "and I can see where it'd be useful. Where can I get in on this action?" Good thing you asked because.... IBM has this pretty awesome framework specifically built for the IoT called NodeRed. Basically you can virtually wire different endpoints from a variety of different sources to create a "flow" of information leading to action. Some people have done some pretty amazing stuff with NodeRed like weather prediction linked to lights, and live-tweeting a marathon. There's a huge community out there with a ton of different flows, nodes, helpful hints, and tutorials. Pretty much the only thing holding you back is getting it on your computer. Or spinning an app up on IBM BlueMix!
It even works with Raspberry Pi. Normally, I'm fixing you an actual pie, but just like a different citrus fruit + vodka makes a different drink, we're going the tech route today. Mix one up and follow along.
Digging into NodeRed - httpAdmin & httpNode
Armed with some knowledge and a drink of any variety (Coffee + Developers = Code), you're ready to go off and innovate! Before long you might find you want to create your own nodes to supplement what's currently available. There is so much extra customization you can do before a message could ever touch your node. One of the most powerful things is running custom scripts when you open and close the node in the html editor. NodeRed's own documentation has some good descriptions on how to make a custom node. Highly highly suggest checking checking that out.However! As I definitely learned from dojo, source code reveals a bunch of other fun features that can 100% improve your custom node. The above doc covers details from the javascript and html files. Since pretty much everything in the .html file is enclosed in a script tag, you could use straight up javascript for custom behavior, but why would you want to miss out on all the node.js support packages sitting right over in the .js file?
Digging through the inner bowels of NodeRed, you'll find the only real thing linking the 2 source files is registering them through the NodeRed main service. Sidebar: hand tracing NodeRed's startup flow is actually really interesting, if you're willing to peer down the rabbit hole. However, the main NodeRed process runs 2 express servers under the covers: one for admin work (httpAdmin) and the other for general use (httpNode). A common use for httpAdmin is validation when signing into an external server. Check out the twitter or mqtt node for a great use of this in action.
From twitter.html, using jquery:
$.getJSON('credentials/twitter-credentials/'+twitterConfigNodeId,function(data) {From twitter.js, using httpAdmin:
...
});
RED.httpAdmin.get('/twitter-credentials/:id/auth/callback', function(req, res, next){Cool, but you just want to access all the powers of Node, you can use httpNode to create urls that you can access from your html file. I use ajax for synchronous connections. You define the urls just as you would in express. My use case required me to prepopulate a drop down menu with information I could only get from a remote CouchDB server. Now, Node has some pretty awesome packages for CouchDB, so I want to do the work there and display the returned info You can pretty much do the same thing!
...
});
Using ajax:
$.ajax({So in my .js file (surpise surprise I'm working on something with Kafka!) I defined a route through the node.
url: "/kafka/getTypes",
type: 'get',
async: false,
success: function(data) {
availTopics = data;
}
});
Using js:
RED.httpNode.get('/kafka/getTypes', function(req, res, next){Only 1 place refers to the httpAdmin and httpNode that I can find. Note: they might release something soon; crossing fingers it's more detailed than what I've provided here! Go forth and develop!
... //add node goodness through here
//send the information out through the response!
res.send(allStreams);
});
</sidebar>
Friday, October 3, 2014
USB Pendant Necklace
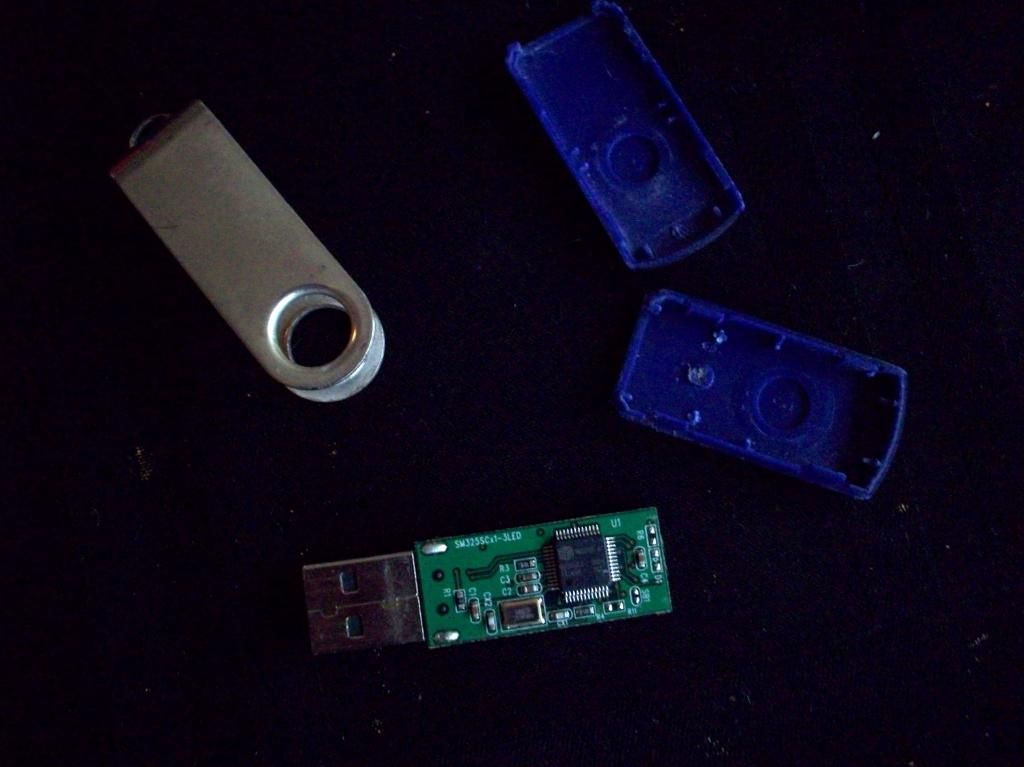
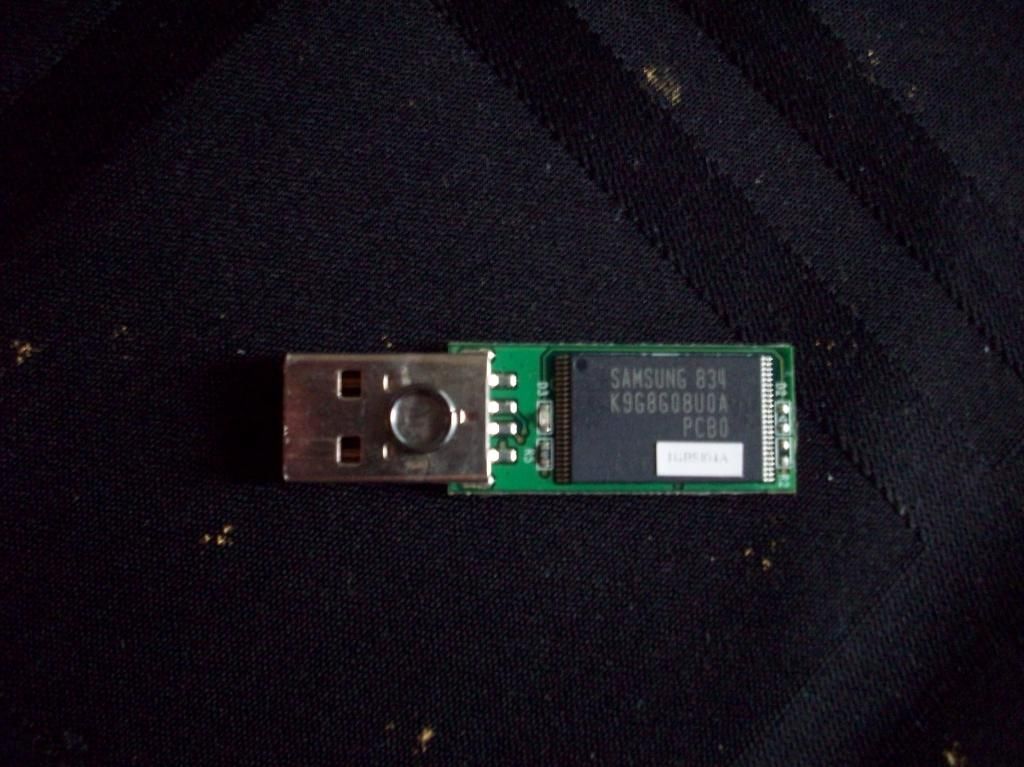
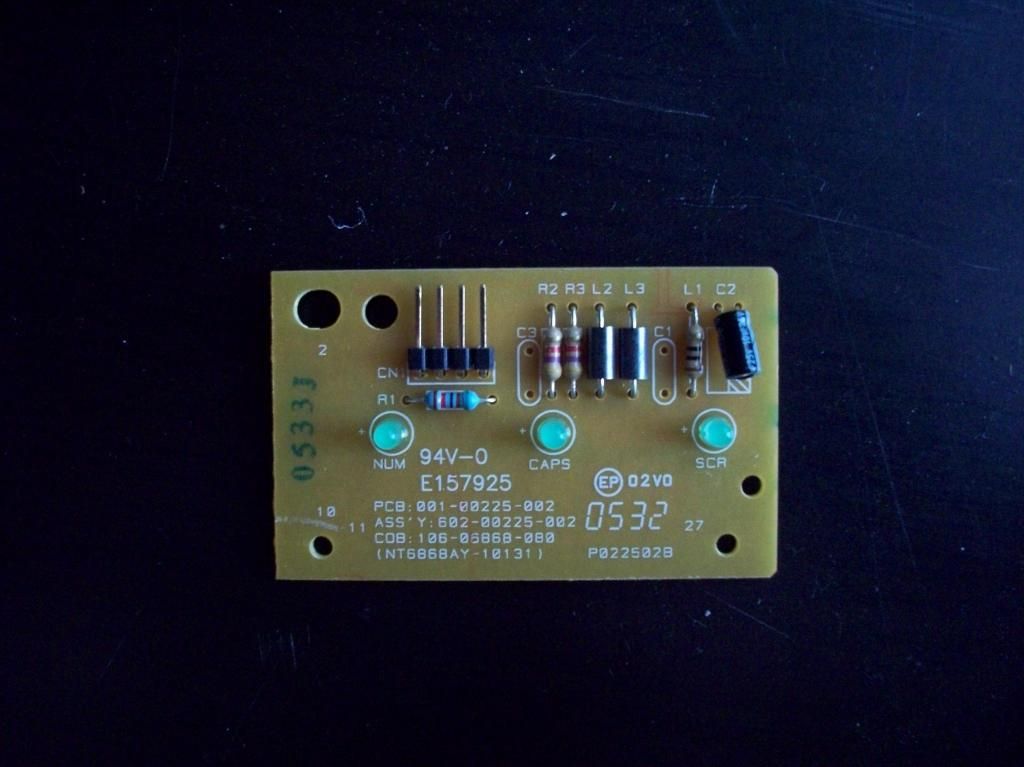
I'm convinced that whoever was talking about beauty being on the inside was talking about tech. You can take your sleek aluminum casing, I want to see the guts! The kelly green background to a swirl of silvers, tans, and flecks of resistor bands. Look at this and tell me it's not cool:
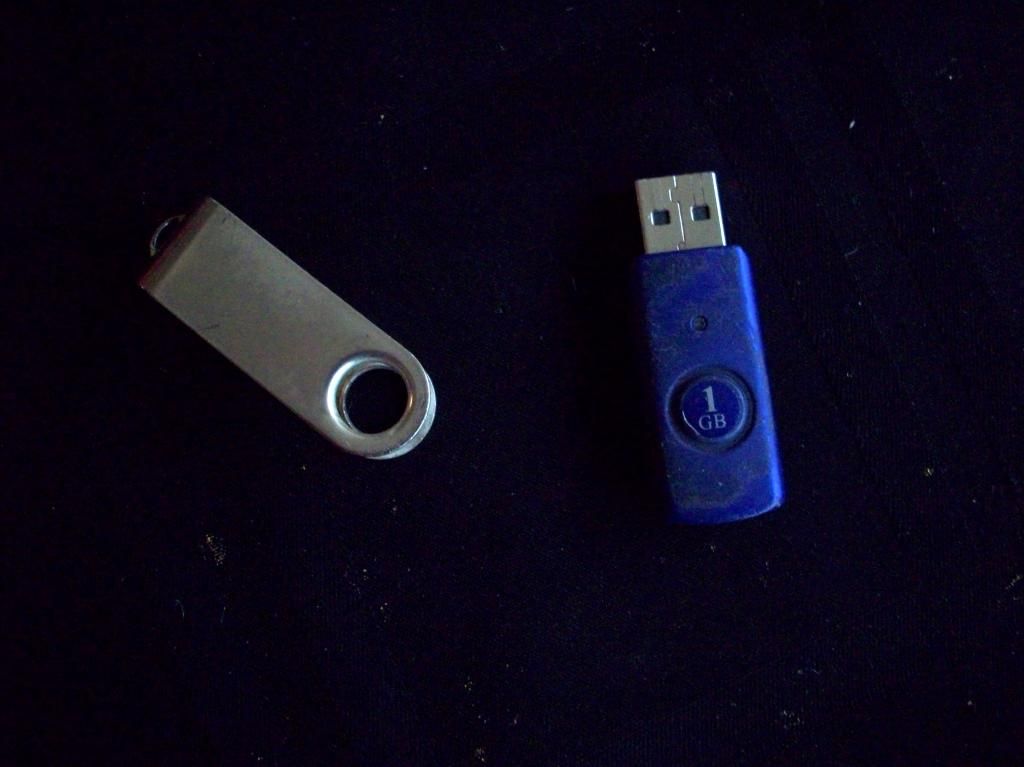
When my handy, dandy 1GB *dies laughing* drive died from being, politely put, "overexposed to adverse conditions", aka living on my keyring for 5+ years, I decided to pry it apart and squeeze just a bit more out of it. Can USB drives be the next lemon? You can use the pulp, juice, and zest?
Of course, you don't have to do this with a dead USB drive. If you have something special, like some photos, a killer drink recipe, or your super secret spy program, you can also store on this device. I don't know how it'll stand up to the elements, so make sure you have that drink recipe backed up. It'd be a shame if the world was deprived of another great way to use gin. *pours out a glass*
MaterialsUSB drive
2 jump rings - 6mm
chain
Take the casing off the jump drive. Depending on how much "preconditioning" your drive has been through this could be really easy. Use a flat head screwdriver or a small awl to get in along the seam if you're having problems.
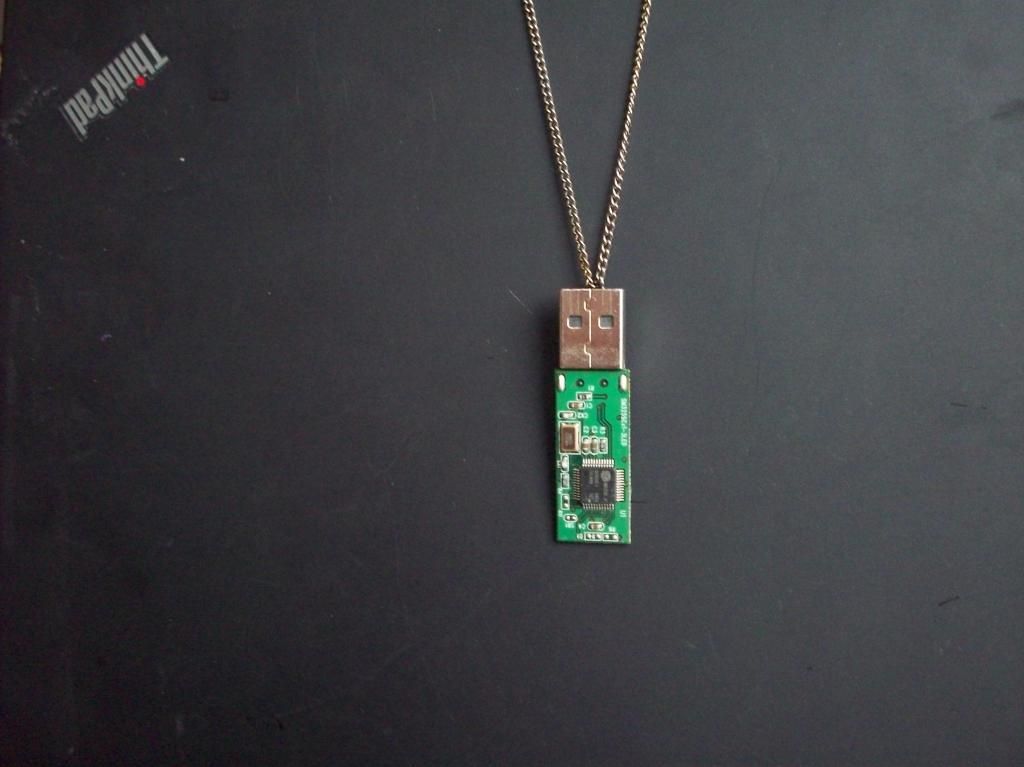
We're going to loop the jump ring through the underside of the connector so the head is the new top of your pendant. Make sure your jump ring will fit doing a visual check.
This will make it difficult to use as a drive, but meh, you can still get in by opening the jump ring. Open and insert through the back loop. Loop the other jump ring through the first. This will keep the necklace lying flat.
Enjoy knowing that the beauty is now outside. Now, go take apart something else to see what you can do with it!
</sidebar>
| You know you've seen this in a museum... of computer history |
| Note: if lemon, do like Meatloaf and get your money back |
MaterialsUSB drive
2 jump rings - 6mm
chain
Take the casing off the jump drive. Depending on how much "preconditioning" your drive has been through this could be really easy. Use a flat head screwdriver or a small awl to get in along the seam if you're having problems.
We're going to loop the jump ring through the underside of the connector so the head is the new top of your pendant. Make sure your jump ring will fit doing a visual check.
This will make it difficult to use as a drive, but meh, you can still get in by opening the jump ring. Open and insert through the back loop. Loop the other jump ring through the first. This will keep the necklace lying flat.
Enjoy knowing that the beauty is now outside. Now, go take apart something else to see what you can do with it!
</sidebar>
Subscribe to:
Posts (Atom)